
Are you ready to give your WordPress website a fresh, unique look? Uploading a custom theme can transform your site, making it stand out and reflect your brand’s personality.
But if you’re wondering where to start, you’re in the right place. This guide will walk you through every step of the process. You’ll discover how easy it is to ditch the generic and embrace the extraordinary. Imagine your site with a design that captures attention and keeps visitors coming back.
Ready to make it happen? Let’s dive in and unlock the potential of your WordPress website.
Credit: www.namecheap.com
Preparing Your Theme Files
Ensure your theme is compatible with the latest WordPress version. This is important to avoid any issues. Look for a ReadMe file. It often contains useful information. Check for any special requirements. Some themes need extra plugins.
Visit the theme developer’s site if needed. They might have updates. Make sure the theme supports responsive design. This means it works on phones and tablets. Compatibility helps your site run smoothly.
Start by creating a new folder on your computer. Name it after your theme. This helps to keep files organized. Inside, place the style.css file. It is essential for your theme. Add the index.php file next. This file is the main template.
Include other files like header.php and footer.php. These files help in creating a complete theme. Finally, check if all files are present and named correctly. Proper organization is key to a successful upload.
Accessing WordPress Dashboard
Open your web browser. Enter your WordPress site URL. Add “/wp-admin” at the end. This is your login page. Enter your username and password. Click the “Log In” button. You will now see the WordPress Dashboard. This is where you manage your site.
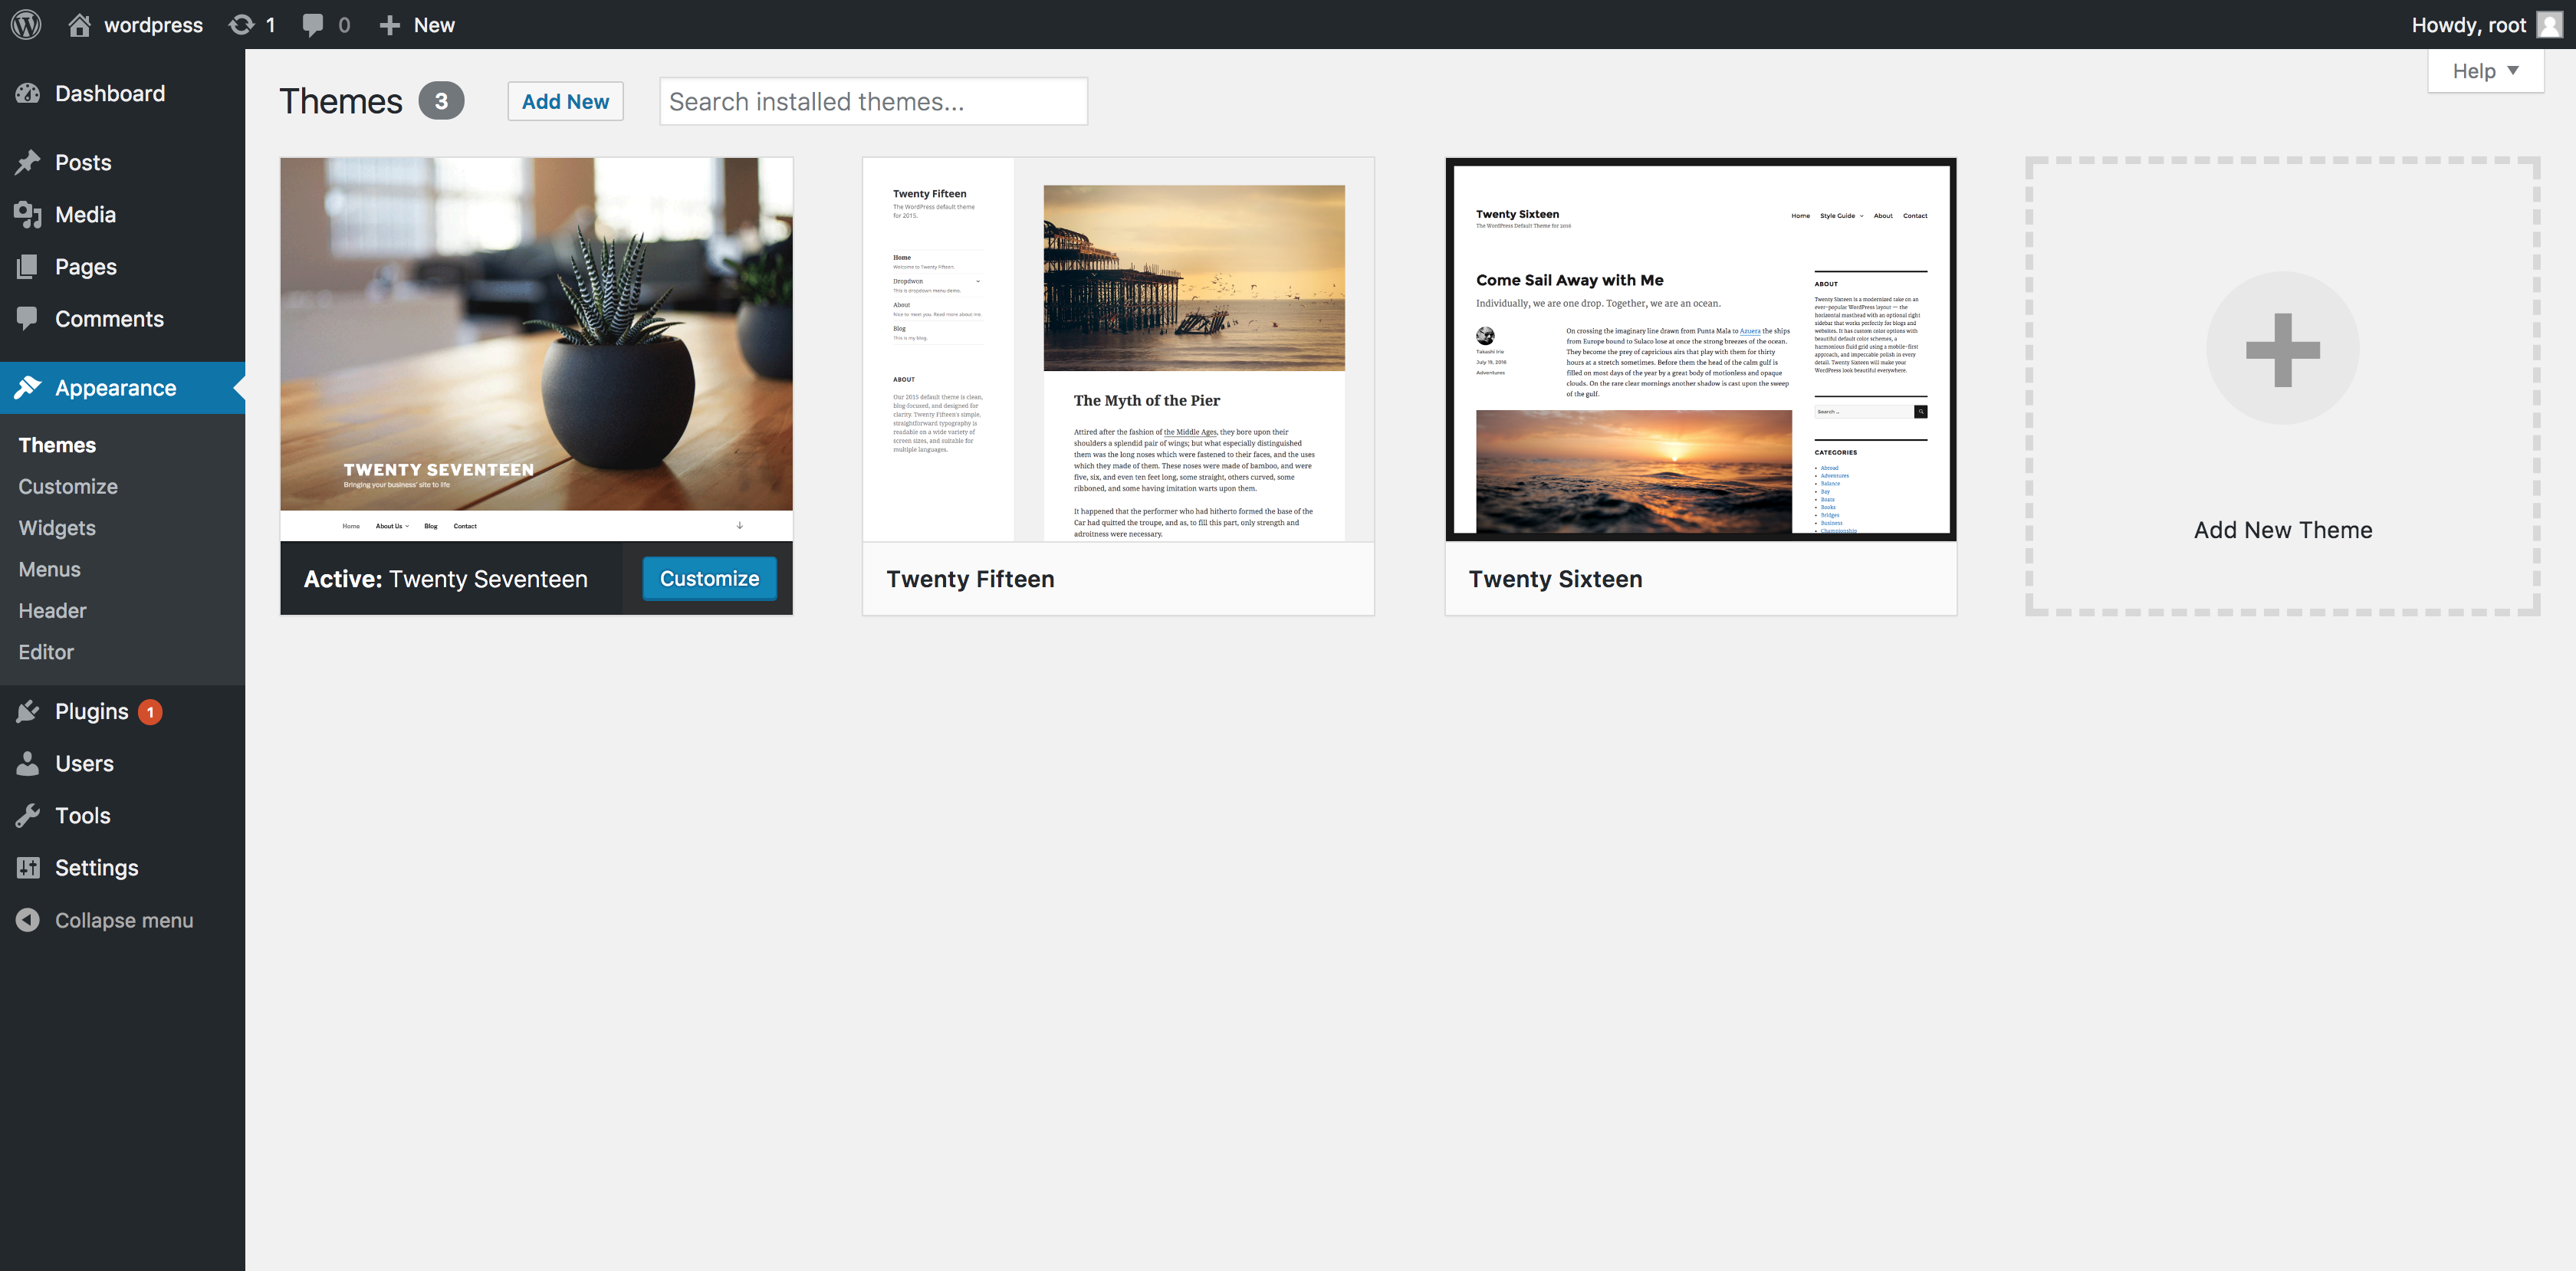
Look at the left menu. Find the “Appearance” option. It is usually below “Plugins”. Click on “Appearance”. A drop-down menu will appear. Choose “Themes” from the list. This takes you to the Themes page. Here, you can see all your available themes.
Uploading Theme Via WordPress
First, go to your WordPress dashboard. Find the Appearance section. Click on Themes. Here, you see all your themes. You want a new one, right? Let’s do it!
In the Themes section, look for Add New. Click it. A new page opens. Now, you see Upload Theme
Click on Upload Theme. A button appears. It says Choose File. This is where you select your theme file.
Click Choose File. Your computer will open a window. Find your theme file. Select it. Then, click Install Now. Wait a moment. Your theme uploads.
After upload, click Activate. Your theme is live! Check your website. Look at the new design. Enjoy your new theme.
Installing Theme Via Ftp
Connect to the server using an FTP client like FileZilla. Enter your username, password, and host address. Click “Connect” to access your server files.
Now, locate the theme directory in your WordPress setup. This is found in “wp-content/themes.” Make sure you see other theme folders here.
Next, upload your theme files to this folder. Drag and drop your theme’s folder into the theme directory. Watch as the files transfer one by one.
Once all files are uploaded, check your WordPress dashboard. Go to “Appearance” and then “Themes.” Look for your new theme there. Activate it to see the changes.
Activating Your Theme
Uploading a custom theme to WordPress is simple. Navigate to the dashboard, select ‘Appearance’, then ‘Themes’. Click ‘Add New’, choose ‘Upload Theme’, and select your theme file. Once uploaded, activate it to enjoy your new design.
Navigate To Installed Themes
First, log into your WordPress dashboard. Find the Appearance menu on the left side. Click on it. Then, select Themes. A list of installed themes will appear. Look through them to find your custom theme. Make sure you recognize it.
Activate Your New Theme
Once you find your theme, hover your mouse over it. You will see an Activate button. Click the button to activate your theme. Your custom theme is now live. You can view your site to see the changes. If you want to change it back, you can always choose another theme from the list.
Customizing Your Theme
Access Theme Customizer lets you change your website’s look. Find it under the Appearance menu. Click on Customize to open the tool. You can see your site and options on the screen.
Adjust Settings and Options for your theme. Change colors to match your style. Pick fonts that fit your brand. Set up menus for easy navigation. Add widgets to show extra information. Use the live preview to see changes instantly.
Make sure to save your changes. Press the Publish button. Your site will update with the new look. You can always go back and change things later. Keep experimenting until you find the perfect design.
Troubleshooting Common Issues
Uploading a custom theme to WordPress can sometimes be tricky. Ensure your theme is in a zip format and check file permissions. Troubleshoot by verifying PHP version compatibility and disabling conflicting plugins.
Resolve Upload Errors
Upload errors can be annoying. Check your file size first. The file should not be too big. Use the WordPress limit as a guide. If the file is too large, use a plugin. Plugins can help you compress the theme file. Another reason could be internet speed. Slow speed may interrupt uploads. Ensure your internet connection is stable. Sometimes, your server may have restrictions. Ask your hosting provider for help if needed.
Fix Compatibility Problems
Compatibility issues often occur with themes. First, check the WordPress version. Ensure it matches the theme’s requirements. Update WordPress if needed. Plugins can also cause issues. Deactivate them and try again. If the theme still does not work, contact the theme developer. They can provide updates or solutions. Sometimes, a theme needs specific PHP versions. Check with your hosting provider to update PHP. Always make sure your settings are correct.
Credit: www.hostdime.com

Credit: www.youtube.com
Frequently Asked Questions
How Do I Upload A Custom Theme In WordPress?
To upload a custom theme, log into your WordPress dashboard. Navigate to Appearance > Themes > Add New. Click on the ‘Upload Theme’ button. Choose the theme file from your computer. After selecting the file, click ‘Install Now’. Finally, activate the theme to apply it to your site.
Can I Upload A Theme Via Ftp?
Yes, you can upload a theme using FTP. Connect to your server using an FTP client. Navigate to the ‘wp-content/themes’ directory. Upload the theme folder directly into this directory. Once uploaded, activate the theme from your WordPress dashboard under Appearance > Themes.
What File Format Should My Theme Be?
Your theme should be in. zip format for uploading. WordPress accepts theme files as. zip archives. Ensure your theme folder is zipped before uploading. This format allows WordPress to properly install and extract the theme files.
Why Is My Theme Not Uploading?
Your theme may not upload due to file size limits. Check your server’s upload settings. Another reason could be incorrect file format. Ensure your theme is in. zip format. Also, verify if the theme is compatible with your WordPress version.
Conclusion
Uploading a custom theme to WordPress is simple. Follow the steps carefully. Choose a theme that fits your style. Download it to your computer. Use the WordPress dashboard to upload. Navigate to “Appearance” and click “Themes. ” Select “Add New” and “Upload Theme.
” Browse for your theme file. Click “Install Now” and then “Activate. ” Your website now has a fresh look. Custom themes offer unique designs. Enhance your site’s appeal with them. Explore different themes and find what you love. Enjoy the creative process.
Your website reflects your personal or business style. Happy theming!


