
Picture this: you’ve just discovered a stunning new WordPress theme that perfectly aligns with your vision. Excitedly, you try to install it, but something goes wrong, and you’re left staring at an error message.
Frustrating, right? But don’t worry—there’s a savvy way to switch themes without even logging into your WordPress dashboard. By using FTP, you can seamlessly change your theme and get your site looking exactly how you want it. This article is your go-to guide for mastering this process.
Whether you’re dealing with theme conflicts, dashboard access issues, or simply want to experiment with a fresh look, knowing how to change your WordPress theme via FTP can be a game-changer. Dive in, and let’s transform your WordPress experience together!
Accessing Your Website Via Ftp
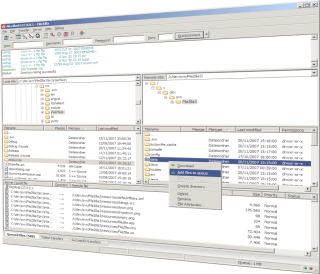
To change your WordPress theme via FTP, first you need an FTP client. An FTP client helps connect your computer to your website. Popular options include FileZilla and Cyberduck. Download one of these tools and install it. Open the FTP client. You will need your FTP credentials. These are your username, password, server address, and port. You can get these from your hosting provider. Enter these details into the FTP client to connect. Once connected, you will see your website files.
Setting Up An Ftp Client
In the FTP client, find the WordPress directory. This is where all your WordPress files are stored. Typically, it’s named public_html or www. Open this folder. Inside, you will see a folder named wp-content. This folder contains your themes. Open the themes folder. Here, you can upload a new theme or rename the old one. This allows WordPress to use a different theme.
Credit: wpmanageninja.com
Identifying The Installed Themes
Access your website’s files using an FTP client. Connect to the server using your login details. Once connected, locate the wp-content folder. Inside, find the themes folder. This folder contains all your installed themes.
Open the themes folder. Look for folders with theme names. Each folder represents a different theme. You can now see all the themes installed on your site.
Each theme folder has several files. Important files include style.css and functions.php. The style.css file contains the theme’s design rules. The functions.php file controls features and options.
Other files may include header.php, footer.php, and sidebar.php. These files help structure the web pages. Understanding these files helps in managing themes effectively.
Changing The Active Theme
First, you need to access your website’s files via FTP. Use an FTP client like FileZilla. Connect to your website. Locate the wp-config.php file. This file is in your website’s root directory. Download the file to your computer. Open it with a text editor. Find the line that says define('WP_DEFAULT_THEME', 'your-theme');. Change ‘your-theme’ to the name of the theme you want. Save the file. Upload it back to the server. Your new theme should now be active.
Sometimes, editing the database directly is needed. Access the wp-options table. This table holds the current theme information. Find the row with template and stylesheet options. Change their values to your new theme’s name. Be careful when editing the database. Mistakes can break the site. Always make a backup before changes.
Credit: www.hostinger.ph
Ensuring Theme Compatibility
Check the theme details. Look for the minimum WordPress version. Ensure your site meets this requirement. See if the theme needs special PHP version. Verify that your server supports it. Check the theme documentation. Know what it requires. Look for recommended plugins. These plugins make the theme work well. Confirm your site can run them.
Install the theme using FTP. Disable all plugins first. Activate the theme. Check the site for errors. If errors appear, plugins may be the cause. Enable plugins one by one. Check the site after each. Find out which plugin causes issues. Deactivate it. Use only plugins that work well with the theme. Ensure the site runs smoothly.
Troubleshooting Common Issues
Switching WordPress themes via FTP involves accessing your site’s files directly. Locate the ‘wp-content’ folder and navigate to ‘themes’. Rename your active theme’s folder, prompting WordPress to default to another installed theme. This quick method resolves theme-related errors without requiring dashboard access.
Resolving File Permission Errors
Changing themes can cause file permission errors. These errors stop new themes from loading. Check the permissions on your theme files. Use an FTP client to access your website files. Look for the wp-content folder. Inside, find the themes folder. Ensure each theme folder has correct permissions. Change them to 755. This allows WordPress to read and write files. Always check the error logs. They offer clues on what went wrong. Fixing permissions can often solve the problem.
Restoring The Previous Theme
Sometimes, the new theme doesn’t work. You may need to go back to the old theme. Use FTP to access your site files. Navigate to the wp-content folder. Find the themes folder. Locate your old theme and remember its name. Open the wp-config.php file. Look for the line with ‘template’. Replace the new theme name with the old one. Save and upload the file back to your server. Your site should now use the old theme.
Best Practices For Theme Management
Access your WordPress files via FTP to change the theme manually. Locate the wp-content/themes directory. Rename the active theme folder to switch to a default theme. This method helps in troubleshooting theme-related issues efficiently without accessing the WordPress dashboard.
Regular Theme Updates
Themes need updates to stay safe. Updates fix bugs and add new features. Always use the latest version. Check for updates once a week. Older themes can have problems. They may not work well with new plugins. Regular updates keep your site fast. They also keep it secure.
Backup Strategies Before Changes
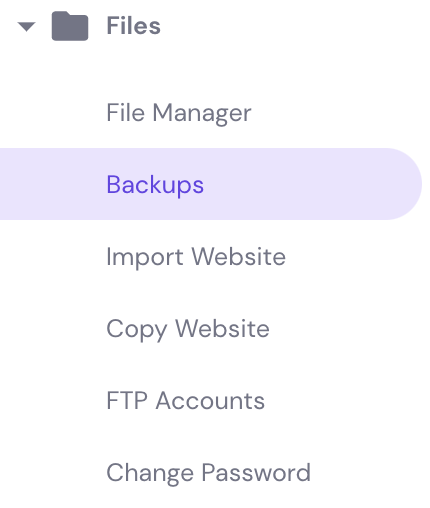
Always save a copy of your site. Backups are very important. They help if something goes wrong. Use a plugin to make backups easy. Store backups in a safe place. Cloud storage is a good choice. Test your backups regularly. Make sure they work. This way, you can bring your site back quickly.
Credit: docs.presscustomizr.com
Frequently Asked Questions
How Can I Change A WordPress Theme Via Ftp?
To change a WordPress theme via FTP, first, access your site’s server using an FTP client. Navigate to `wp-content/themes` and upload your desired theme folder. Then, modify the `wp-config. php` file to set the new theme as the default by updating the `stylesheet` and `template` values.
Is It Safe To Switch Themes Using Ftp?
Switching themes via FTP is safe if done correctly. Ensure you backup your website before making changes. This method allows direct access to your site’s files, preventing potential issues with the WordPress dashboard. Always verify theme compatibility and settings after changing.
Why Use Ftp For Theme Switching?
Using FTP for theme switching is useful when dashboard access is unavailable. It allows direct file management, ensuring theme changes even with login issues. This method is crucial for troubleshooting and resolving backend errors that might prevent theme activation through WordPress admin.
What Should I Do After Changing Themes Via Ftp?
After changing themes via FTP, check your website for any display issues. Ensure widgets and menus are intact. Review your theme settings and adjust configurations as needed. It’s vital to test functionality and responsiveness across different devices to maintain user experience.
Conclusion
Switching WordPress themes via FTP is straightforward. Follow each step carefully. Backup your files first. This prevents data loss. Always use a reliable FTP client. Keep themes updated for security. Check your site after changes. Ensure everything looks correct. Troubleshooting can fix minor issues.
Remember, practice helps understanding. Over time, you’ll gain confidence. Experiment with different themes. Find what suits your style best. Enjoy customizing your website. Enhance user experience with thoughtful design. Happy blogging!


