
Are you ready to take your Minecraft experience to the next level? Imagine having full control over your own game world, customizing every detail, and playing with friends whenever you want.
Hosting your own Minecraft server on a web server might sound complex, but it’s easier than you think. This guide will walk you through each step, ensuring you have everything you need to create your perfect Minecraft environment. By following along, you’ll gain the skills to host your server, unlocking endless possibilities for creativity and fun.
Let’s dive in and discover how you can become the ultimate Minecraft host!
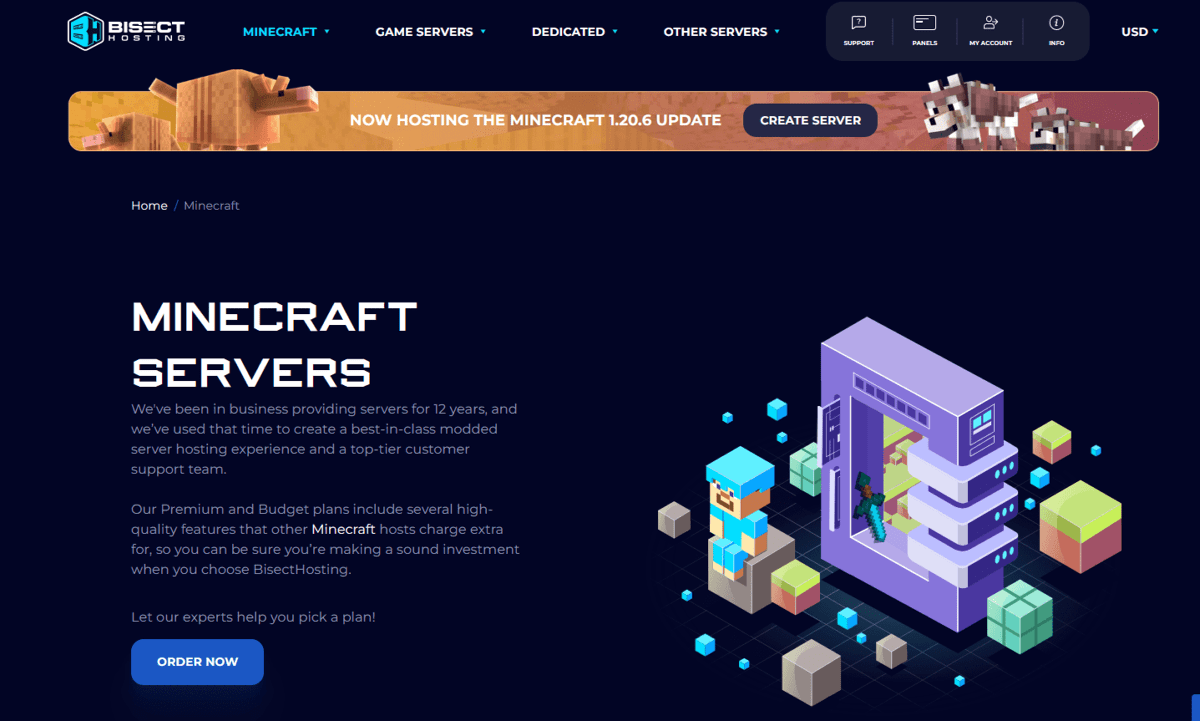
Choosing The Right Server
Selecting a web server for Minecraft hosting ensures smooth gameplay. Prioritize servers with good speed and reliable uptime. Look for easy-to-use management tools to simplify setup.
Requirements And Specifications
Picking the correct server is crucial. Minecraft needs specific requirements. RAM and CPU power are important. More RAM means better game performance. CPU power affects server speed. Hard drive space is needed for game files. Internet speed must be fast for smooth play. Operating system should be compatible. Linux and Windows are popular choices. Consider server location for best connection.
Server Types Explained
Two main server types exist: Dedicated and Shared. Dedicated servers are powerful. They offer full control and high performance. Shared servers are cheaper. They share resources with others. Virtual Private Servers (VPS) are a mix of both. They provide some control. Cloud servers are flexible. They adjust resources as needed. Choose based on budget and needs.
Credit: www.bitcatcha.com
Setting Up Your Web Server
First, choose a server software. Popular options include Spigot and Bukkit. Download the software from its official website. Ensure the downloaded file is saved in an easy-to-find location. Next, open a terminal or command prompt. Navigate to the folder with your downloaded file. Execute the command to start the installation. Follow the instructions on the screen. Installation is complete when you see a success message.
Ensure your network allows traffic for the Minecraft server port. This is usually port 25565. Access your router settings through its IP address. Locate the port forwarding section. Add a new rule for port 25565. Set the destination to your computer’s local IP. Save the settings to apply changes. Your network is now ready for hosting.
Managing Server Files
Uploading files is simple with a web server. First, find the right folder. This is where your Minecraft files go. You can use a file manager. It helps move files easily. Drag and drop your files into the folder. Make sure to upload all necessary files. Check twice before you finish. Proper uploading is crucial.
Organizing directories keeps your server neat. Create a main folder for Minecraft. Inside, make subfolders for different files. For example, one for mods and another for backups. This helps you find files quickly. Use clear names for your folders. It makes navigation easier. Keep everything in its right place. This reduces confusion later.

Credit: www.techradar.com
Configuring Game Settings
Setting up a Minecraft server is fun. First, open the server.properties file. This file holds the server settings. Change the max players if you want more friends. Set difficulty for easy or hard games. Want to play in creative mode? Change the game mode setting. Remember to save the file after changes.
Mods and plugins make the game exciting. They add new features. Find safe mods from trusted sites. Download and save them in the mods folder. Plugins go into the plugins folder. Restart the server to see changes. Mods and plugins are like magic tools. Use them wisely!
Ensuring Security
Keeping your Minecraft server safe is very important. Use a firewall to block bad traffic. Only let good connections through. Protection tools help guard your server from attacks. Check these tools often. Make sure they work well. Update them regularly. This keeps your server safe.
Don’t forget to backup your server often. Backups save your game data. If something goes wrong, you won’t lose everything. Store backups in a safe place. You can use cloud services or external drives. This way, your data is secure. Regular backups give peace of mind.
Monitoring Server Performance
Keeping an eye on server usage is important. Check the CPU and RAM often. See if the server is slow. Count how many players are online. Write down the numbers. These numbers are called usage stats. They help you know how the server is doing.
Make the server faster. Reduce the number of players if needed. This gives more space for each player. Turn off plugins not in use. They use up server power. Lower the view distance in settings. This can make the game run better. Keep the server software updated. New updates fix bugs and improve speed.
Troubleshooting Common Issues
Setting up a Minecraft server can present challenges. Ensure the web server is properly configured to support game hosting. Regularly check server logs for errors and maintain software updates to prevent connectivity issues.
Connection Problems
Many players face connection problems while hosting. First, check your internet connection. It should be stable. Restart your router if needed. Also, ensure your firewall settings allow the game. This can stop connection issues. If nothing works, try contacting your internet service provider. They might help with advanced settings.
Lag And Latency Solutions
Lag and latency can ruin the game. Reduce the number of players on the server. This can improve game speed. Also, close other programs using the internet. This gives more speed to the game. Adjust the server’s view distance to a lower setting. This can also help reduce lag. Finally, always keep the game and server software updated.

Credit: www.hostinger.com
Engaging Your Player Community
Setting up a Minecraft server on a web server fosters a vibrant player community. Players connect and share experiences easily. This setup enhances gameplay by providing a stable and accessible platform.
Building A Community
Creating a community is like building a big team. Players like to feel part of something fun. Start with a friendly welcome for new players. Let them know they are important. Make a space where players can talk. This can be a chat room or forum. Encourage them to share ideas and game tips.
Sometimes, players enjoy competitions. Host small events and give rewards. This makes players come back. Plan regular activities to keep interest high. These can be quests or challenges. Let players vote on new ideas. This gives them a voice and makes them happy.
Organize special days for the community. Celebrate game milestones or holidays together. Players love to feel special on these days. This helps build strong bonds. Remember, happy players help your game grow.
Frequently Asked Questions
Is There A Way To Host A Minecraft Server For Free?
Yes, free Minecraft server hosting is possible using platforms like Aternos or Minehut. These services offer basic server hosting without charges. They have limitations, such as reduced player slots and features, compared to paid options. For casual play with friends, free hosts can be a good solution.
How Do I Join A Minecraft Server Hosted On The Same Network?
Open Minecraft, select “Multiplayer” then “Add Server. ” Enter the server’s local IP address and click “Join Server. ” Ensure both devices are on the same network.
How Do I Host An Offline Minecraft Server?
Download Minecraft server software from the official site. Configure settings in the server. properties file. Start server using the command prompt. Share your local IP for others to join. Ensure your network allows connections. Adjust firewall settings if needed. Regularly update and backup server data to ensure stability.
How To Keep A Minecraft Server Alive?
Regularly update server software for security and performance. Engage players with events and active moderation. Optimize server settings for smooth gameplay. Promote the server on social media and Minecraft forums. Encourage donations or subscriptions for financial support.
Conclusion
Creating your own Minecraft server opens many possibilities. It’s straightforward with a web server. You can invite friends and control your gaming world. Troubleshooting can be simple with online resources. Security is crucial; always update your server. Enjoy the freedom to customize your game environment.
Build structures, explore, and interact freely. Hosting Minecraft enhances creativity and learning. Dive into adventures with your personalized server. It’s a rewarding experience for all ages. With patience and practice, you’ll manage your server effectively. Embrace the fun and challenge of hosting your Minecraft realm.


