
Are you ready to bring your website dreams to life? Installing WordPress on HostGator is a crucial step that can set you on the path to success.
Whether you’re planning to start a blog, showcase your portfolio, or launch an online business, WordPress offers the flexibility and ease of use you need. With HostGator’s reliable hosting services, your site will be up and running smoothly in no time.
This guide will walk you through the installation process, ensuring you avoid common pitfalls and get your website off to a great start. Dive in and discover how you can effortlessly install WordPress on HostGator, paving the way for your online presence to shine brightly.
Choosing The Right Hosting Plan
Picking the right hosting plan is key. Hostgator offers plans that fit different needs. Shared hosting is good for beginners. It’s simple and cost-effective. For more power, VPS hosting is an option. It offers more control and resources. Dedicated hosting provides maximum performance. It’s ideal for big sites with lots of traffic. Each plan has its own perks. Check your site needs. Compare prices and features. Choose the plan that fits your budget. Think about future growth. Upgrading later is possible. Support is available 24/7. Hostgator makes hosting easy for everyone. Their plans are flexible.
Preparing Your Domain
First, make sure you have a domain name. It should be easy to remember. Visit your domain registrar. Sign in to your account. Find the DNS settings. Change the nameservers to Hostgator’s. This connects your domain to your hosting.
Check your email for a confirmation. Hostgator will send you an email. It will have important information. Look for your Control Panel link. Save this email. You will need it later.
Now, your domain is ready. You can start the next step. Hosting and domain are connected. Everything is set for WordPress installation.
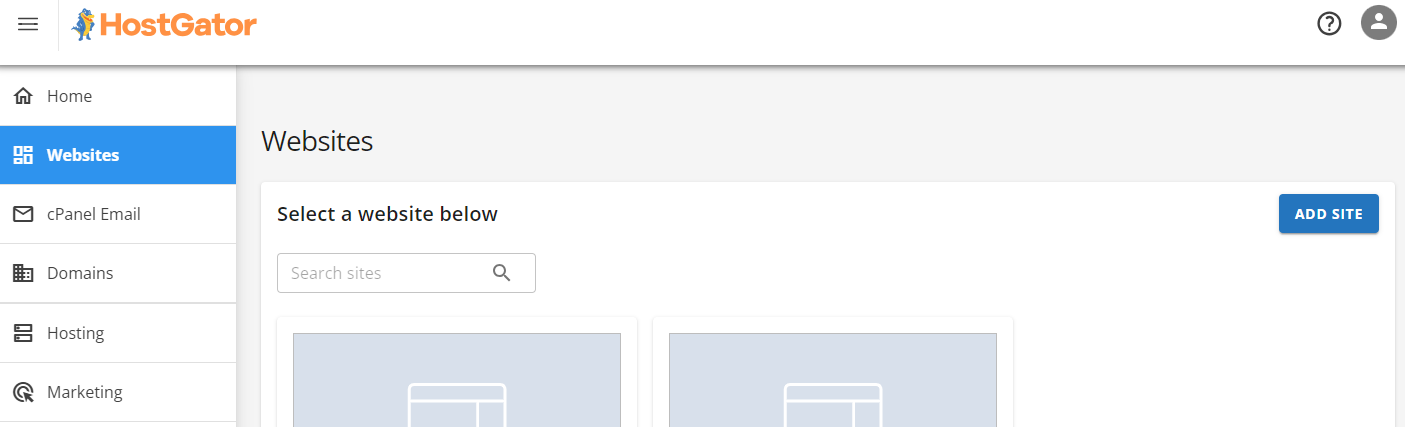
Accessing Hostgator Control Panel
First, log in to your Hostgator account. Use your username and password. Once logged in, look for the Control Panel or cPanel. It’s usually on the main screen. Click on it to open the panel. Inside the control panel, you will see many icons. Each icon has a different function. Find the WordPress installer icon. This is what you will use to install WordPress. It’s often called Softaculous or One-Click Install. If you can’t find it, use the search bar. Type WordPress in the search box. It will help you find it faster. Always keep your login details safe. Never share them with anyone.

Credit: www.youtube.com
Using The Quickinstall Tool
Locating the QuickInstall Option is easy. First, log into your Hostgator account. Look for the cPanel dashboard. You will see many icons. Find the one labeled QuickInstall. It is usually under the Software section. Click on it. This will take you to the installation page.
Now, let’s start the WordPress Installation. Once on the QuickInstall page, find the WordPress option. Click on it. You will see an Install button. Press it. Fill in your site details. This includes the site name and admin email. Next, create a username and password. Make sure they are strong. Click the Install Now button. The process will start. In a few minutes, WordPress will be ready.
Configuring WordPress Settings
Create a strong username for your admin account. Choose a secure password to protect your site. It’s smart to include numbers and symbols in your password. Keep this information safe. You will need it to log in. Only share it with people you trust.
Your site title tells visitors what your site is about. It should be simple and clear. The tagline explains more about your site. It can be a short sentence or phrase. Both should be easy to understand. These help people find your site. They also improve SEO for better search results.

Credit: www.youtube.com
Customizing Your WordPress Site
Easily install WordPress on HostGator to customize your site. Start by logging into your HostGator account. Use the one-click WordPress installer in the control panel. Follow the prompts to complete installation. Your WordPress site is ready for customization.
Selecting A Theme
Choosing a theme is fun. It changes how your site looks. Themes can be simple or colorful. Some themes are free. Others cost money. Start with a free theme. Try different ones. See what you like best. Make your site look unique. A good theme helps people read better. Check how it looks on a phone. Most people use phones today.
Adding Essential Plugins
Plugins add cool features to your site. They are like apps for your blog. Some plugins make your site faster. Others help with security. Always check reviews before adding plugins. Too many plugins can slow your site. Start with a few important ones. You can add more later. Remember to update them. This keeps your site safe.
Securing Your WordPress Installation
Keep your site safe with security plugins. These plugins stop bad people from entering. Install plugins like Wordfence or Sucuri. They help keep your site secure. These tools check for strange activities. They also block harmful files. Make sure to keep plugins updated. Updates fix any weak spots. This way, your site stays safe.
Always update your WordPress. Updates give new features and fix issues. Check for updates weekly. Set up automatic updates if possible. Back up your site often. Backups save your data. Use plugins like UpdraftPlus for easy backups. Store backups in safe places. Cloud storage is a good choice. Regular updates and backups keep your site healthy. They protect against data loss and attacks.
Troubleshooting Common Issues
Discover simple solutions for installing WordPress on Hostgator. Address common issues like database setup errors and file permissions easily. Follow step-by-step instructions to ensure a smooth installation process.
Database Connection Errors
Database connection errors can be scary. They might stop your site from working. Always check your database username and password. These must be correct. Look at your wp-config.php file. It holds the key details. Ensure your database server name is right. Hostgator usually uses ‘localhost’. If this doesn’t work, try contacting Hostgator support. They can help fix connection issues. Keep your WordPress files updated. Updates often fix common errors.
Fixing Plugin Conflicts
Plugin conflicts can break your site. Check your plugins if your site acts weird. Deactivate all plugins first. Then, activate them one by one. This helps find the problem plugin. Keep all plugins updated. Updates fix bugs and improve performance. If you find a bad plugin, remove it. Look for a better alternative. Hostgator support can also help with plugin issues. They have great resources for users.
Credit: www.hostgator.com
Frequently Asked Questions
How To Install WordPress On Hostgator?
Log in to your HostGator cPanel. Click on “QuickInstall” under the Software section. Select “WordPress. ” Fill in the necessary details and click “Install WordPress. ” Access your new WordPress site using the provided link and credentials.
How Do I Install WordPress On My Hosting Server?
To install WordPress, download the latest version from wordpress. org. Upload files via FTP to your server. Create a MySQL database and user. Run the WordPress installation script by accessing your domain. Complete the setup by entering database details and site information.
Enjoy your new WordPress site!
Does Hostgator Come With WordPress?
HostGator offers easy WordPress installation with its hosting plans. You can use the one-click installer. This allows quick setup of your WordPress site. HostGator’s plans also support WordPress updates and management. Enjoy seamless integration and efficient website creation with HostGator’s hosting services.
How To Install WordPress Step By Step?
Begin by downloading WordPress from its official website. Upload files to your server using FTP. Create a MySQL database and user. Run WordPress installation by visiting your site URL. Follow prompts to configure settings and complete the setup.
Conclusion
Installing WordPress on Hostgator is simple and quick. You just follow the steps. Start with logging into your Hostgator account. Use the cPanel for the installation process. Select WordPress from the auto-installer. Enter your details, then click install. Wait a few moments.
Your WordPress site is ready to customize. Add themes, plugins, and content to make it unique. Hostgator provides support if needed. Enjoy your new website. Keep it updated and secure. Happy blogging!


