
Are you looking to take your Windows application to the next level by integrating a Web API? Hosting a Web API in a Windows application can unlock a world of possibilities, allowing your app to communicate seamlessly with other software, exchange data effortlessly, and offer enhanced functionality to your users.
Imagine boosting your application’s capability and interactivity, making it not just a standalone program but a dynamic hub of information and services. In this guide, you’ll discover step-by-step instructions on how to host a Web API within your Windows application.
Whether you’re a seasoned developer or a beginner, this tutorial is designed to be straightforward and easy to follow. You’ll gain insights into the benefits of API integration and learn practical techniques to ensure your application runs smoothly and efficiently. By the end of this article, you’ll be equipped with the knowledge to transform your Windows application into a powerful tool that can serve your users better and stand out in the competitive tech landscape. Don’t miss out on this opportunity to enhance your skills and make your application shine. Dive in and explore how simple it can be to host a Web API in your Windows application!
Understanding Web Api
A Web API allows computers to talk to each other. It uses the internet to share data. Think of it like a messenger between apps. Web APIs help apps get information from other places. They are used in many apps and websites. When you use a phone app, you might be using a Web API. It makes things work together.
Hosting a Web API locally has many benefits. Your data stays safe on your computer. You can work offline without the internet. Local hosting is fast because it uses your computer’s power. It’s easy to control and change settings. Local hosting helps you test new ideas safely. You can learn and grow without risks. Local Web API hosting is good for small projects. It keeps things simple and neat.
Credit: debugmode.net
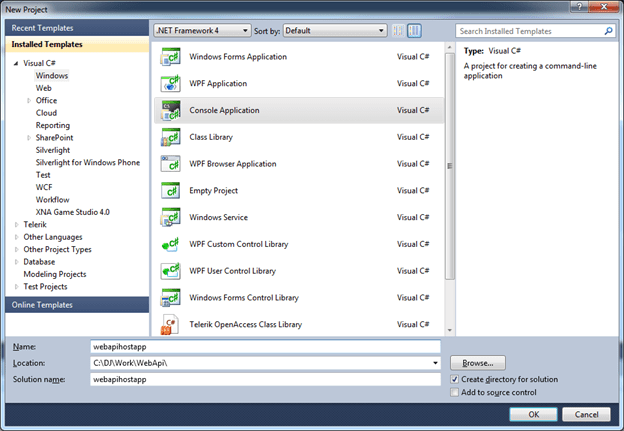
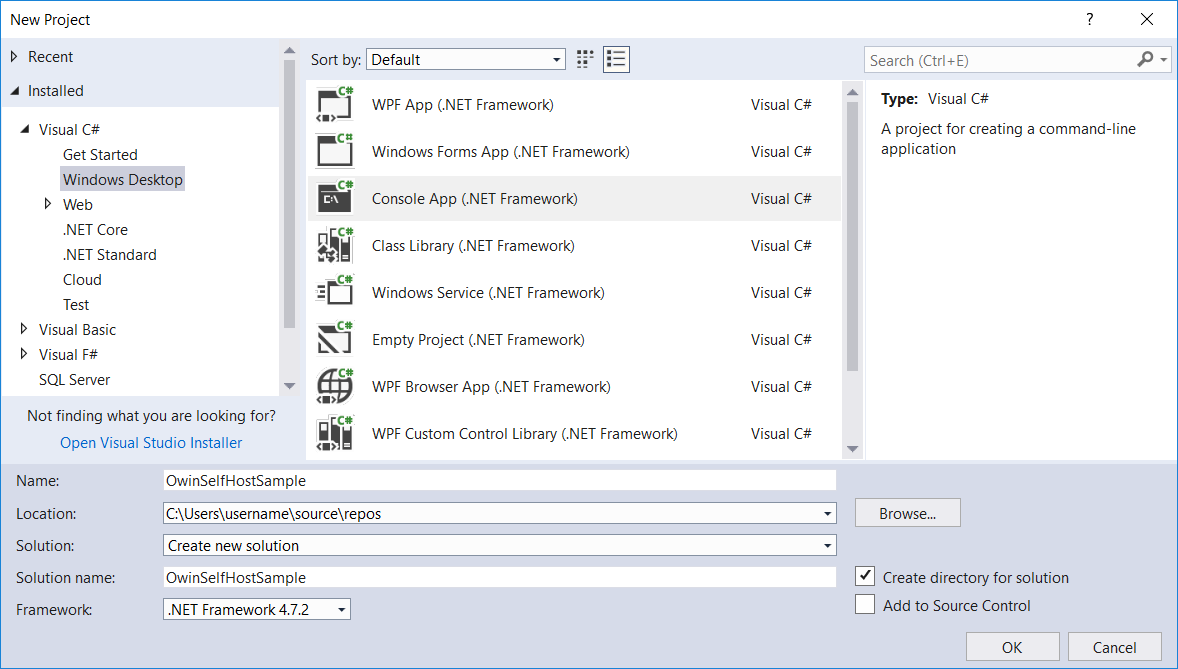
Setting Up The Windows Application Environment
First, install Windows OS on your computer. You need a stable version. Next, download and install Visual Studio. It’s an important tool for developers. Make sure you have the .NET Framework. It helps run applications on Windows. Finally, keep your system updated. Updates improve security and performance.
Open Visual Studio and start a new project. Choose the Windows Forms App template. It helps create Windows applications easily. Set the project name and location. Ensure the correct .NET Framework version is selected. This is crucial for compatibility. Then, click Create to start the project. Now, add the required NuGet packages. They provide additional functionality to your app. Check if all settings are correct. You’re ready to go!
Creating The Web Api
API Endpoints are like addresses. They help users find data. Each endpoint has a specific job. It can get, post, or delete data. Choose clear names for your endpoints. Use words that describe their task. This makes it easy for others to understand.
A framework helps build applications faster. It provides tools and libraries. Choose a framework that suits your needs. Some popular choices are ASP.NET and Spring. Each has its strengths. Consider factors like ease of use and community support.
Credit: learn.microsoft.com
Integrating Web Api With Windows Application
Embedding API Server in Application helps to serve data within the app. A self-hosted server is needed. It runs directly inside your Windows application. This allows you to use API features without extra software. It is like having a mini server inside your app.
Managing API Requests and Responses is key. Handle requests smoothly. Make sure responses are quick and accurate. Use simple code to manage data. This keeps the app fast. Users get the data they need easily. Error handling is important too. Catch errors before they cause problems. This ensures the app stays stable.
Running The Web Api Locally
First, open your Windows application. Find the section for API settings. Set up the local server there. Ensure the port number is correct. Click the start button to launch it. The server should be running now. Check for any error messages. Troubleshoot if needed.
Use a tool like Postman for testing. Enter the API URL in the tool. Add the endpoint you want to test. Click the send button to make a request. Watch for the response code. A 200 code means success. Check the response data. It should match your expectations. Repeat for other endpoints.
Handling Security Concerns
Authentication makes sure the right people use your Web API. Adding usernames and passwords is a common way. Users type them to get access. It’s like a secret door. Only people with the right key can open it. You can also use tokens. These are like special passes. They let users in without typing a password each time. Keep the tokens safe. If someone else gets them, they can sneak in. So, always check who is trying to enter.
Protecting data is very important. Use encryption to keep data safe. It’s like a secret code. Only special people can read it. If data travels, make sure it’s encrypted. This stops bad people from seeing it. Also, keep your software updated. Updates fix weak spots. They make your app stronger. Be careful with the data you collect. Only ask for what you need. This way, you protect the user’s privacy.
Optimizing Performance
Explore how to host a Web API within a Windows application to enhance performance. By integrating seamlessly, applications can efficiently manage resources and provide faster responses. This approach ensures a smooth user experience and optimizes functionality.
Caching Strategies
Caching helps make your app faster. Store data that users often request. It saves time and reduces server load. Use memory caching for quick access. This keeps data close to the app. Disk caching stores data on the hard drive. It’s slower but can hold more information. Choose the right type based on your needs. Caching reduces response time and improves user experience.
Load Management
Managing server load is crucial for smooth performance. Limit the number of requests your server handles at once. Use load balancing to distribute traffic evenly. This prevents any single server from overloading. Monitor your app’s performance regularly. Adjust settings as needed to ensure stability. Handle peak times efficiently to avoid slowdowns. Proper load management keeps your application responsive.
Troubleshooting Common Issues
Hosting a Web API in a Windows application can be challenging. Start by checking firewall settings for blocked ports. Ensure the application is running with administrative privileges to avoid permission issues.
Debugging Techniques
Debugging helps find mistakes in code. Use breakpoints to pause your program. Check variable values to see what’s wrong. Watch the program flow step by step. This shows where errors happen. Debugging tools make this easy. Use debug logs for extra info. They tell what the program does.
Sometimes, the problem is in settings. Ensure your API has correct paths. Make sure firewalls allow the API. Double-check these settings. They often cause issues.
Error Logging And Monitoring
Error logs capture mistakes in code. They help solve problems fast. Set up logging tools in your app. Use them to record errors. Logs show what went wrong. Check them often.
Monitoring tools watch your app’s health. They alert you if something fails. This helps fix issues quickly. Keep these tools updated. They are key for smooth operation.
Credit: www.pragimtech.com
Frequently Asked Questions
How Do I Host A Web Api In Windows Service?
To host a Web API in a Windows Service, create a self-hosted Web API using OWIN. Install required OWIN packages via NuGet. Configure OWIN in the service’s OnStart method. Use HttpListener and specify the URL. Start the OWIN pipeline. Build and install the Windows Service using InstallUtil.
How To Host Web Api Without Iis?
Host Web API using Kestrel, a cross-platform web server, or use self-hosting with. NET Core. Deploy on Docker or use a console application to run it independently. Configure routing and security settings as needed to ensure smooth operation. This avoids the need for IIS.
How Is The Web Api Hosted?
Web APIs are hosted on cloud platforms like AWS, Azure, or Google Cloud. Developers use virtual servers or containers. Hosting ensures scalability, reliability, and security. APIs can be accessed over the internet using HTTP protocols, enabling seamless communication between applications.
How Do You Call A Web Api In A Web Application?
Call a Web API using AJAX or Fetch API in JavaScript for seamless integration with your web application. Send HTTP requests to the API’s endpoint and handle responses to perform actions or retrieve data. Ensure you manage errors and maintain security with authentication and validation practices.
Conclusion
Hosting a Web API in a Windows application is straightforward. It enhances functionality. Follow the steps outlined for smooth integration. You’ll improve efficiency and performance. Ensure your application meets the required specifications. Test thoroughly to avoid issues. A well-hosted Web API can boost user experience.
It makes the application more versatile. Keep your code organized and maintainable. Regular updates are crucial for security and reliability. This guide provides a solid foundation. Now, you can confidently host Web APIs in Windows applications. Your projects will run more efficiently and serve users better.


