
Imagine having your own web page up and running, accessible to anyone in the world. Sounds exciting, right?
Hosting a web page using Xampp is a straightforward way to bring your digital dream to life without spending a fortune. Whether you’re a budding developer or someone curious about building an online presence, Xampp can be your gateway to mastering web hosting.
In this guide, you’ll discover how easy it is to transform your computer into a server, making your web page live with just a few clicks. You don’t need to be a tech wizard to do this—just follow along, and you’ll be amazed at how simple it is. Stick around to unlock the secrets of Xampp and take control of your online destiny.

Credit: www.hostinger.com
Setting Up Xampp
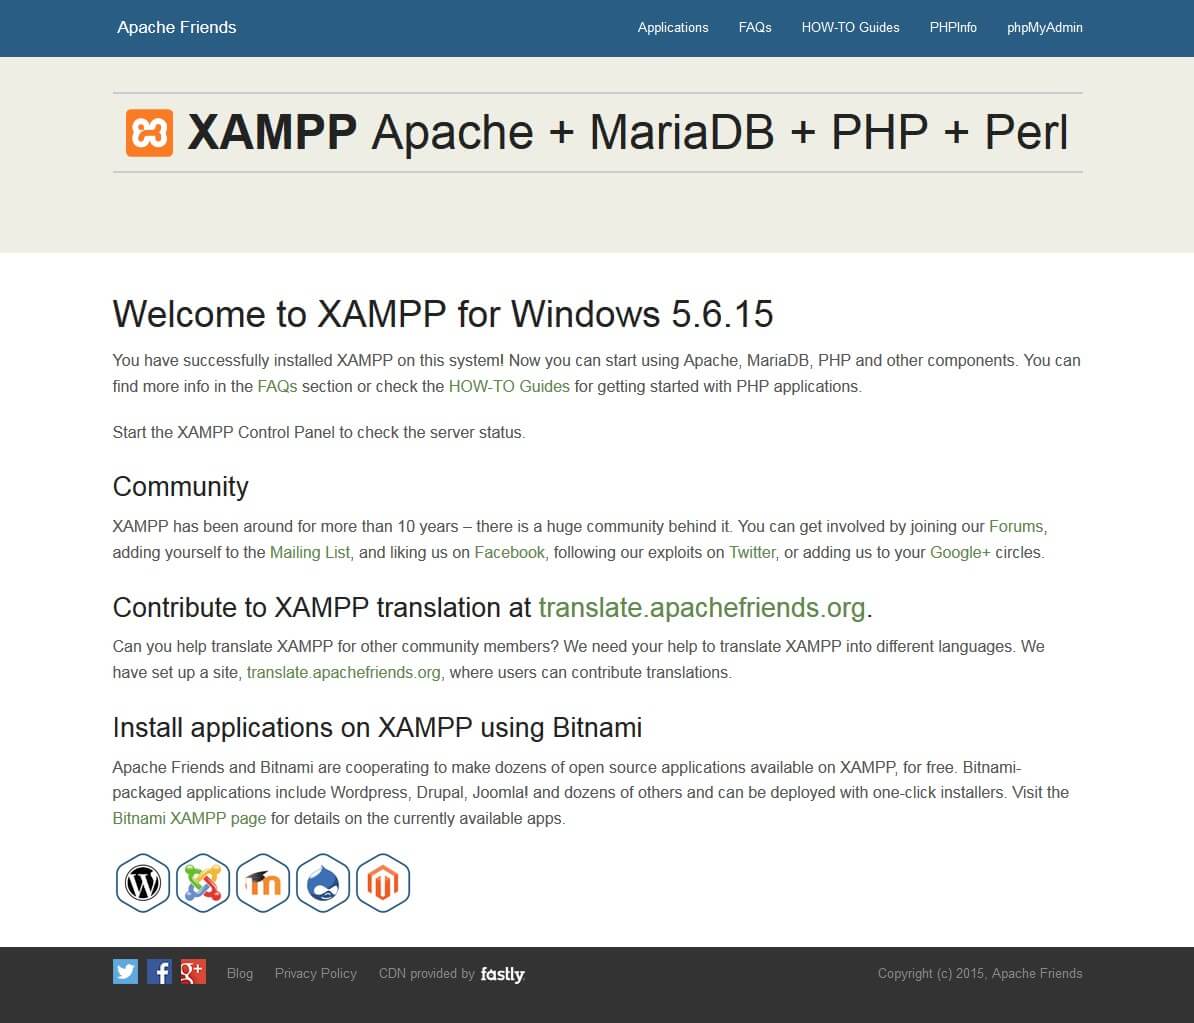
First, go to the XAMPP website. Find the download button. Click it. Choose the version for your computer. Once downloaded, open the file. Follow the installation instructions. Click “Next” to proceed. Choose components to install. Include PHP and Apache. Continue until done.
After installation, find the XAMPP Control Panel. Open it. You will see several buttons. Look for “Start” next to Apache. Click it to run. This will start the server. Check if it’s working. Open a web browser. Type “localhost” in the address bar. Your page should appear. Now, you are ready to host a web page!
Configuring Apache Server
Apache uses port 80 by default. Sometimes, this port is busy. You need to change it. Open the httpd.conf file in XAMPP. Look for the line Listen 80. Change 80 to a different number, like 8080. Save the file and restart Apache. Now, Apache will use the new port. This helps avoid conflicts.
Configuration files control Apache settings. Open the httpd.conf file. Find the DocumentRoot line. This line shows where your files are. Change it to your folder path. Also, update the path. Make sure both paths match. Save the changes and restart Apache. Now, your web page will load from the new folder.
Preparing Your Web Files
Start by creating a new folder. This folder will hold all your web files. Name the folder something easy to remember. Place all files like HTML, CSS, and images inside. Keep files well-organized. This helps Xampp find them easily. Check file names carefully. Avoid spaces in file names. Use underscores instead. Well-organized folders make things simple.
The index file is your homepage. Name it “index.html”. This is the first page people will see. Write basic HTML code inside. Use simple text and images. Make sure it loads fast. Test the file in a browser. If it shows well, it is ready. The index file should be easy to read.
Credit: www.ionos.com
Deploying The Web Page
To start, find the htdocs folder in your Xampp directory. This is where you will put your web files. You can copy your HTML, CSS, and JavaScript files here. Make sure your main file is named index.html for easy access. This helps Xampp know which file to open first. Organize your files neatly. It makes managing them easier.
Open your web browser. Type localhost in the address bar. Press Enter. Your web page should load now. If it doesn’t, check your files in the htdocs folder. Make sure Xampp is running. This step is crucial. Without it, your page won’t appear. Enjoy browsing your web page locally!
Testing And Troubleshooting
Server errors happen often. Check logs in the Xampp control panel. They show helpful details. Look for red errors. Fix them first. Files must be in the right folder. Correct file paths make everything work. Check file names too. A small mistake stops the server.
Database errors are tricky. Open phpMyAdmin in Xampp. Check if databases are running. Ensure usernames and passwords match. Wrong info causes problems. Connection strings must be correct. Edit them in config files. Test changes. Make sure data loads well.

Credit: www.wikihow.com
Securing Your Local Server
Setting up a password is very important for security. Go to the Xampp Control Panel. Find the option for Apache and click on config. Look for the file named httpd-xampp.conf. Open it with a text editor. Add the AuthType and AuthName lines. This will ask for a username and password. Save the file and restart Apache. This way, only people with the password can access your files.
Monitoring server logs helps keep your site safe. Logs show who visits your site. They also show what actions they take. Find the logs in the xamppapachelogs folder. Open the file access.log to see visits. Open error.log to find problems. Check these logs often. This will help you find and fix issues quickly.
Exploring Advanced Features
PHP modules add extra functions to your web page. They help in performing tasks. To enable PHP modules, open the XAMPP control panel. Click on the Config button next to Apache. Choose PHP (php.ini). In the file, find the module you want. Remove the semicolon (;) to enable it. Save your changes. Restart Apache. Your module is now active. Modules make your web page do more things. They are very helpful. Some common modules are cURL and GD. They help with images and data.
Virtual hosts let you run many websites. All on one server. Each site gets its own space. To configure them, open the httpd-vhosts.conf file. It’s in the apache/conf/extra folder. Add a new block for each site. Use tag. Include your site name. Add the document root path. Save the file. Restart Apache. Your sites now work separately. This is useful for testing. And for learning. Virtual hosts keep things organized.
Frequently Asked Questions
How To Run Live Website On Localhost Xampp?
To run a live website on localhost XAMPP, install XAMPP, place website files in the ‘htdocs’ folder, and start Apache and MySQL from the XAMPP control panel. Access your site by typing ‘localhost/your-folder-name’ in the browser. Ensure database configuration matches localhost settings.
How To Host A Website On Localhost?
To host a website on localhost, install a web server like XAMPP or WAMP. Place your website files in the server’s “htdocs” or “www” folder. Start the server and access your site via “http://localhost” in your browser. Ensure your firewall allows server access.
How To Use Xampp Server For Html?
Install XAMPP and start Apache. Place your HTML files in the “htdocs” directory. Access via “localhost/yourfile. html” in a browser.
How Do I Start A Website In Xampp?
Install XAMPP, then launch it. Move your website files to the “htdocs” folder. Start Apache and MySQL services. Access your website by typing “localhost/yourfoldername” in your browser’s address bar. Ensure all files are correctly configured for PHP and database connections.
Conclusion
Hosting a web page with Xampp is simple and efficient. Start by installing Xampp on your computer. Use its user-friendly interface to configure settings. Upload your web files to the htdocs folder. Make sure your server is running. Check everything by accessing your local host in a browser.
Troubleshoot common issues by checking error logs. Practice makes perfect, so experiment with different setups. Soon, you’ll be comfortable hosting web pages. Xampp is a great tool for beginners. It offers flexibility and control. Enjoy building and hosting your own web projects!


