
Imagine having a WordPress theme that perfectly matches your vision. It’s unique, eye-catching, and tailored to your needs.
Designing your own WordPress theme in Photoshop could be the perfect way to achieve this. You might think it’s complicated, but it’s not as daunting as it seems. With some basic Photoshop skills and a sprinkle of creativity, you can bring your ideas to life.
Why settle for generic themes when you can create something that truly represents your brand or blog? In this guide, you’ll discover how easy it is to craft a stunning WordPress theme in Photoshop. You’ll learn the secrets of design and how to make your website stand out in a crowded digital world. Ready to unlock your creative potential and design the perfect theme? Let’s dive in and explore the steps to make your vision a reality.
Getting Started
Open Photoshop and create a new file. Use the correct dimensions for your theme. Most themes use 1200 pixels width. Set the resolution to 72 DPI for web use. Choose RGB color mode for vibrant colors. Save your file often to prevent loss.
Gather necessary tools for your project. Use the Move Tool to place elements. Layers help in organizing your design. Use Guides for alignment. Fonts are important for text. Find fonts that match your theme style. Icons add clarity to your design. Look for free or paid icon sets online. Use stock images for backgrounds or headers. Websites like Unsplash offer free images. Always check the license before use.
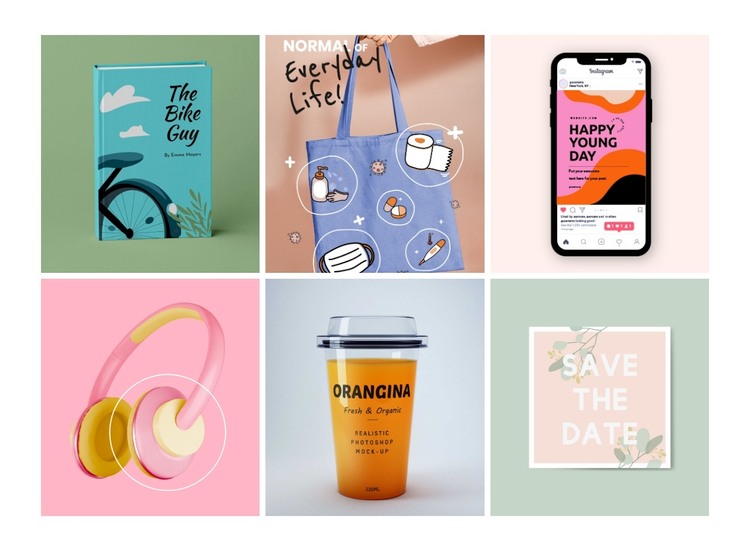
Credit: nicepage.com
Planning The Theme
First, know who will use the theme. Kids and adults may need different styles. Think about their likes and needs. Some people love bright colors, others prefer calm tones. The theme must be easy for everyone. Simple designs work best for all. Ask yourself, “What do they like?” Keep it clear and friendly.
A wireframe is like a sketch. It shows where things go on the page. Start with boxes and lines. Draw where the header, footer, and content will be. This helps plan the layout. Make it neat and clean. Everyone should understand it. Use simple shapes and straight lines. This is the first step in designing.
Designing Layout
Colors make your theme beautiful. Use colors that match your style. A clean look is important. Choose colors that don’t clash. They should be easy on the eyes. Bright colors can be fun. But don’t use too many. Keep it simple and clear. Your theme should be easy to read. Colors can show emotions. So pick wisely. Your theme will look better with good color choices.
Fonts change the look of your theme. Pick fonts that are easy to read. Avoid fancy fonts. They can be hard to read. Simple fonts look clean and neat. Fonts can show personality. Choose fonts that match your style. Big fonts are easy to see. Small fonts can be missed. Use bold for important words. Italics can be used too. Make sure all text is clear. Everyone should understand your theme.
A grid helps keep everything in place. It makes your theme look neat. Everything should be in order. Use lines to guide your design. Align text and pictures well. This makes the theme look good. Wrong alignment can confuse users. Keep things straight and tidy. Use a grid to check your work. It helps maintain balance. Neat alignment is important for a professional look.
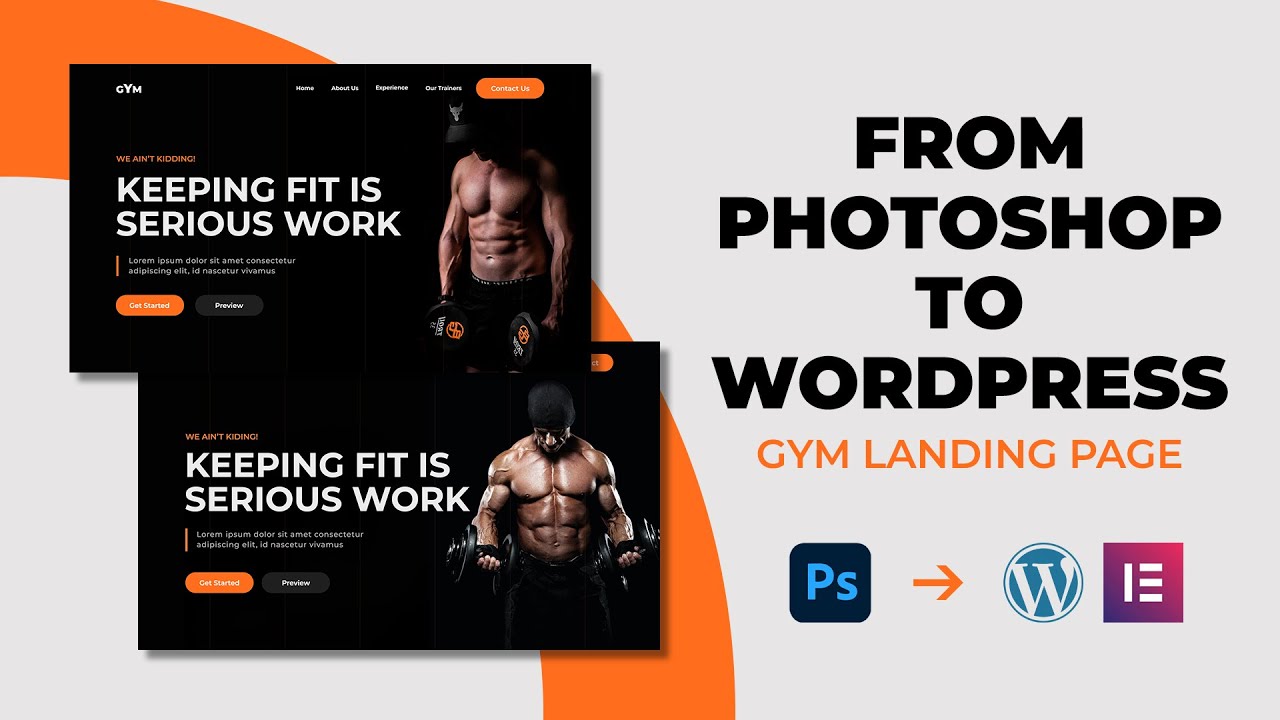
Credit: www.youtube.com
Creating Header And Footer
Start by opening Photoshop. Create a new document for the header. Set the width to 1200 pixels. This width fits most screens. Choose a height of 150 pixels. Keep the background simple. Add a logo to the top left corner. Place the navigation menu on the right. Use clear, readable fonts. Make sure the colors are easy on the eyes. Balance the design with space. This keeps it clean and tidy. Save the file in a high-quality format.
Set the footer width to match the header. Keep the height smaller, around 100 pixels. Use soft colors that match the theme. Include important links like “Contact” and “About Us”. Add social media icons. Place them at the bottom center. Use a smaller font size for footer text. This helps keep it unobtrusive. Ensure everything is legible. Save the design as a separate file.
Designing Main Content Area
Crafting the main content area in a WordPress theme using Photoshop requires creativity and precision. Focus on layout, color schemes, and typography to ensure clarity and appeal. Design elements should enhance the user experience while maintaining visual harmony.
Content Layout Variations
The main content area is crucial for any theme. Different layouts can make your website unique. You can choose from single-column, two-column, or three-column designs. Each layout offers different advantages. Single-column is simple and clean. Two-column can show both content and a sidebar. Three-column gives more space for widgets. Decide based on your needs.
Incorporating Images And Media
Images make your site more engaging. Use high-quality pictures to attract visitors. Media like videos can add value. Ensure they are easy to view and load quickly. Place images where they enhance the content. Avoid clutter. Balance text with visuals. This creates a pleasant reading experience.
Designing Sidebar Elements
Widgets and plugins make sidebars more useful. They add extra features to your WordPress theme. Use plugins for special tasks like showing recent posts. Widgets can display small tools like a search bar. Choose ones that fit your site’s theme and purpose.
Links in sidebars help users find content quickly. Make them clear and easy to see. Use simple words for navigation labels. Keep the list short to avoid confusion. Link to important pages like “About Us” and “Contact”. This helps users find what they need fast.
Adding Buttons And Icons
Buttons are key in guiding users. They need to be simple and clear. Use bright colors that stand out. The text should be short and direct. “Buy Now” or “Learn More” are good examples. Make sure the button size fits well on screens. Ensure buttons are easy to click. Test on different devices. Always check button links to see they work.
Social media icons help users share content. They should be visible and easy to find. Use standard icons for platforms like Facebook and Twitter. Place them where users can see. Choose colors that match your theme. Make sure they are not too small. Test on mobile and desktop. Ensure links go to correct pages.
Finalizing The Design
Completing the design process in Photoshop is crucial for a WordPress theme. Carefully arrange elements to ensure a cohesive layout. Final touches in Photoshop bring your visual concept to life, ready for coding.
Reviewing The Design
Check every part of your design. Ensure it looks clean and balanced. Look at colors and fonts. They should match your theme. Think about your users. Is it easy for them to read and navigate? Make sure your design is user-friendly. Ask friends for feedback. Listen to their suggestions.
Preparing For Export
Get your design ready to move to WordPress. First, organize all layers. Group them logically. Label each layer clearly. This makes it easy to find parts later. Next, decide which elements need exporting. Choose images and icons carefully. Save them in the right format. Use PNG for transparent images. Use JPG for photos. This keeps quality high. Export other design parts as needed. This helps when creating the final theme.
Exporting For WordPress
Designing a WordPress theme in Photoshop involves creating a visual layout. Start by sketching a wireframe to outline structure. Next, design elements like headers, footers, and sidebars with Photoshop tools. Save layers separately for easy conversion to HTML and CSS for WordPress integration.
Slicing The Design
Start by slicing your design into smaller parts. This helps in managing the design elements. Use the slice tool in Photoshop. Choose areas that need to be sliced. Make sure slices are neat and precise. This will make your WordPress theme look better. Take your time and do it right.
Saving For Web
Save your sliced images for the web. This keeps the file size small. Smaller files load faster on websites. Use the “Save for Web” option in Photoshop. Choose the right file format. JPEG is good for photos. PNG works well for images with text. GIF is best for simple graphics. After saving, your images are ready for WordPress.

Credit: designm.ag
Frequently Asked Questions
What Tools Are Needed To Design A WordPress Theme?
To design a WordPress theme in Photoshop, you need Photoshop software, a computer, and a basic understanding of design principles. Familiarity with WordPress theme structure is helpful. You may also need plugins for integration. These tools help in creating visually appealing and functional themes.
Can Photoshop Export Directly To WordPress?
Photoshop cannot directly export to WordPress. You must convert your design into HTML/CSS and then integrate it into WordPress. This involves coding and using a theme framework. There are plugins that may assist in this conversion, but manual integration ensures better customization and functionality.
How Do I Start Designing A Theme In Photoshop?
Begin by sketching a layout on paper. Use Photoshop to create mockups of each page. Focus on design elements like headers, footers, and sidebar. Ensure the design is responsive. Once your design is ready, convert it into HTML/CSS and integrate it with WordPress for functionality.
Are There Any Photoshop Templates For WordPress Themes?
Yes, there are Photoshop templates available for WordPress themes. These templates provide a base for designing. They include elements like grids and layout structures. Templates save time and provide consistency. You can customize them to fit your specific theme needs and style preferences.
Conclusion
Creating a WordPress theme in Photoshop is exciting. You can craft unique designs. Tailor every element to your vision. Start with a clear plan. Sketch your ideas first. Use layers for organization. Experiment with colors and fonts. Keep user experience in mind.
Test your design for responsiveness. Save your work regularly. Export to WordPress carefully. This process demands creativity and patience. But the result is rewarding. Your custom theme will stand out. It can enhance your site’s appearance and functionality. Take the time to refine your skills.
Enjoy the journey of design exploration.


