

Are you ready to give your WordPress site a fresh new identity by changing its domain name? Whether you want to rebrand, switch to a more memorable web address, or move to a better domain, this process might seem tricky at first.
But don’t worry—by following the right steps, you can make the switch smoothly without losing your traffic or SEO rankings. In this guide, you’ll discover exactly how to change your WordPress domain name safely and effectively. Keep reading, and you’ll gain the confidence to update your site’s address like a pro.
Credit: wedevs.com
Reasons To Change Your Domain
Changing your domain name can feel like a big step. The right reasons make it worth the effort. A new domain can help your website grow and reach new people. It also fixes problems that hold your site back. Here are common reasons to change your domain name.
Rebranding And Marketing
Sometimes your brand needs a fresh look. A new domain can match your new business name or style. It helps build a clear, strong identity online. A simple, memorable domain makes marketing easier. People remember your site better with a good name. This change supports your overall marketing plan.
Improving Seo
Search engines like Google use your domain to rank your site. A better domain name can boost your SEO. Short, clear domains with keywords help your site appear higher. This brings more visitors from search results. Changing to a domain that fits your content can increase traffic. It helps your website get noticed faster.
Fixing Domain Issues
Old or problematic domains can cause trouble. Problems like bad reputation or penalties hurt your site’s ranking. A new domain removes these issues and gives a clean start. Sometimes the old domain is too long or hard to spell. Changing it makes your site easier to find and use. This improves user experience and trust.
Preparing For The Domain Change
Changing your WordPress site’s domain name needs careful preparation. It is not just about picking a new web address. It involves steps to keep your site safe and running smoothly. Planning helps avoid loss of data and keeps visitors happy. Follow these key steps to prepare well for the domain change.
Backing Up Your Website
Always start with a full backup of your site. Backup your files and database. This protects your content if something goes wrong. Use a reliable plugin or your hosting control panel. Store backups in a safe place. This step is crucial to restore your site quickly if needed.
Choosing A New Domain
Select a domain that matches your brand or purpose. Keep it short and easy to remember. Avoid complicated spellings or long names. Think about your audience and what suits them best. A clear domain name helps visitors find your site faster.
Checking Domain Availability
Check if the new domain name is available. Use domain registration websites to search for it. Ensure it is not taken or trademarked by others. Confirm the domain extension fits your site’s goal. Securing the right domain prevents legal issues later.
Updating Domain Settings
Changing the domain name of a WordPress site requires careful updates in several settings. This step ensures that your website works correctly with the new domain. You must update the domain settings inside WordPress and its files. Also, the database URLs need to be adjusted to reflect the new domain. Follow these simple steps to update your domain settings smoothly.
Changing Domain In WordPress Admin
Start by logging into your WordPress admin dashboard. Go to the Settings menu and select General. Here, find the fields labeled WordPress Address (URL) and Site Address (URL). Replace the old domain with your new domain name in both fields. Scroll down and click Save Changes. This action tells WordPress to use the new domain for your site.
Modifying Wp-config.php
Access your website files using an FTP client or file manager in your hosting control panel. Locate the wp-config.php file in the root directory of your WordPress installation. Open this file and add these two lines, replacing newdomain.com with your new domain:
define('WP_HOME','https://newdomain.com'); define('WP_SITEURL','https://newdomain.com');Save the changes and upload the file back to your server. This step forces WordPress to use the new domain even before you log in.
Updating Database Urls
Your WordPress database stores URLs in many places. These need updating to prevent broken links and missing images. Use a plugin like Better Search Replace or run SQL queries in your database. Search for the old domain and replace it with the new domain everywhere. Always back up your database before making changes. This ensures your site’s content points to the correct new domain.

Credit: wordpress.com
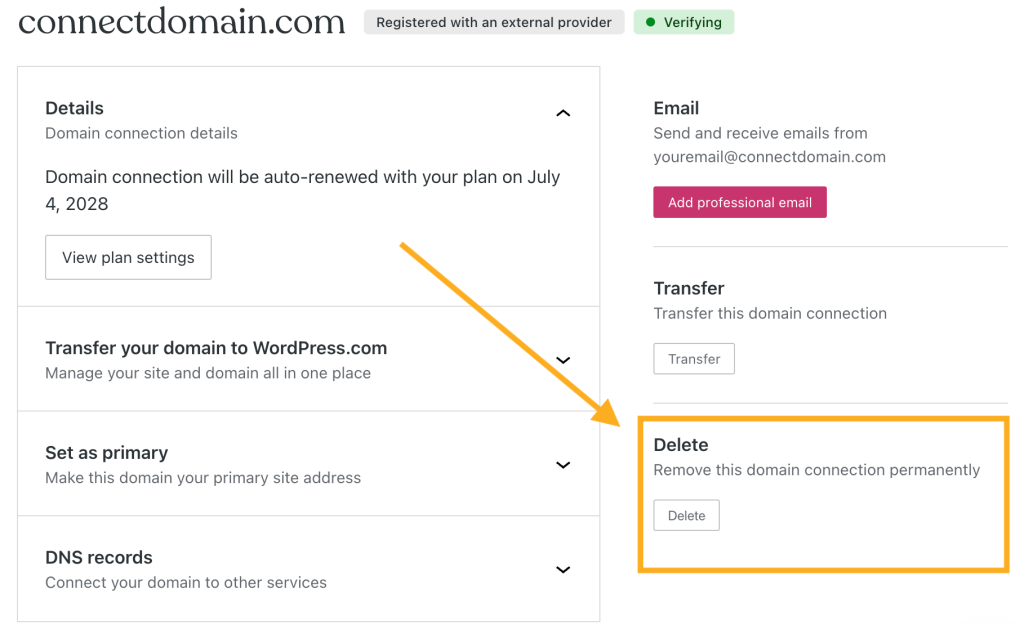
Configuring Dns And Hosting
Configuring DNS and hosting is a key step when changing your WordPress site’s domain name. DNS settings connect your domain to your hosting server. Hosting handles your website’s files and data. Both must work together to make your site live under the new domain.
Proper setup ensures visitors reach your site without errors. It also helps search engines find your new domain easily. Follow these steps to set up DNS and hosting correctly for your WordPress site.
Pointing Domain To Hosting
Log into your domain registrar’s control panel. Find the DNS settings or name server section. Replace current name servers with your hosting provider’s name servers. This links your domain to the hosting server.
Save the changes and wait for DNS propagation. This can take up to 48 hours. Your domain will then point to your WordPress site on the new hosting server.
Setting Up Ssl Certificate
SSL certificates protect your website and visitors’ data. Most hosting providers offer free SSL certificates. Use your hosting control panel to activate SSL for your new domain.
Once activated, update your WordPress settings to use https URLs. This improves security and boosts SEO rankings.
Configuring Redirects
Redirects send visitors from the old domain to the new one. Use 301 redirects for permanent moves. Add redirect rules in your hosting control panel or .htaccess file.
This keeps your SEO value and prevents broken links. Visitors will automatically reach your new domain without confusion.
Fixing Broken Links And Media
Changing your WordPress domain name can cause broken links and missing media files. These issues hurt user experience and SEO. Fixing them quickly keeps your site working well. This section explains how to fix broken links and media.
Using Search And Replace Plugins
Search and replace plugins help update old URLs in your database. They scan posts, pages, and settings for the old domain. Then, they replace it with the new domain automatically. Popular plugins like “Better Search Replace” make this task easy. Always back up your database before running a search and replace.
Updating Hardcoded Urls
Some URLs may be hardcoded in your theme or plugins. These links do not change with search and replace tools. You need to find and update them manually. Check theme files, widgets, and custom code for old domain references. Use a code editor or file manager to make these edits.
Testing Site Functionality
After updating URLs, test your site carefully. Click through pages and posts to check links. Look at images and media files to ensure they load properly. Use tools like Broken Link Checker to find missed broken links. Fix any issues to maintain smooth site performance.
Credit: wordpress.com
Improving Seo After Domain Change
Changing your WordPress domain can affect your site’s SEO. Search engines need to know that your site has moved. Without clear signals, you might lose search rankings and traffic. Follow key steps to keep your SEO strong after the change.
Setting Up 301 Redirects
301 redirects tell search engines your site has moved permanently. They send visitors and link value from the old domain to the new one. Set up redirects for all old URLs to match new URLs. Use your hosting control panel or a plugin to create these redirects. This step helps keep your search rankings stable.
Updating Google Search Console
Google Search Console tracks your site’s performance in search results. Add and verify your new domain in Search Console. Use the Change of Address tool to notify Google about your domain switch. This tool speeds up the transfer of your site’s data. It helps Google crawl and index your new site quickly.
Submitting Sitemap
A sitemap lists all your site pages for search engines. Create a new sitemap for your new domain. Submit this sitemap in Google Search Console under your new property. This action helps search engines find your new pages faster. Keep your sitemap updated as you add new content.
Troubleshooting Common Issues
Changing your WordPress domain name can cause some common issues. These problems may disrupt your website’s functionality or user experience. Knowing how to fix these issues quickly saves time and stress.
This section covers key problems and easy solutions. Follow these steps to keep your site running smoothly after the domain change.
Handling Mixed Content Errors
Mixed content errors happen when some resources load from the old domain using HTTP. This causes browsers to block those files for security reasons. To fix this, update all URLs in your database to use the new domain and HTTPS if enabled.
Use plugins like Better Search Replace or run SQL queries to replace old links. Clear your cache after making changes. Check your site with online tools to ensure no insecure content remains.
Resolving Login Problems
After changing the domain, login issues may arise due to cookie or URL mismatches. Check your wp-config.php file for correct site URLs. Clear your browser cookies and cache.
Resetting your password via the database or WordPress recovery can help. Make sure your new domain is correctly set in WordPress settings and your hosts file if used.
Fixing Permalink Issues
Permalinks might stop working or show 404 errors after a domain change. Go to WordPress Dashboard > Settings > Permalinks and click Save Changes without editing. This refreshes your rewrite rules.
If problems persist, check your .htaccess file for correct rewrite rules. Disable plugins that affect URLs to find conflicts. Fixing permalinks ensures your pages and posts load correctly under the new domain.
Frequently Asked Questions
How Do I Safely Change My WordPress Domain Name?
To safely change your WordPress domain, back up your site first. Update the domain in WordPress settings and database. Modify your DNS records and test the new domain thoroughly before going live to avoid downtime or broken links.
Will Changing My Domain Affect My Seo Rankings?
Changing your domain can temporarily impact SEO rankings. Use 301 redirects from the old domain to the new one. Update Google Search Console and sitemap to help search engines index your new domain quickly.
How Do I Update Urls After Changing My Domain?
Use a plugin like Better Search Replace to update old URLs in your database. Replace all instances of the old domain with the new one to ensure all links and images work correctly.
Do I Need To Update My Ssl Certificate After Domain Change?
Yes, you must update or reissue your SSL certificate for the new domain. This ensures your site remains secure and trusted by browsers after the domain switch.
Conclusion
Changing your WordPress domain name can seem tricky at first. Take it step by step and follow the right process. Back up your site before making any changes. Update your WordPress settings and database carefully. Test your website after the switch to catch any issues.
Doing this helps keep your site running smoothly. A new domain can give your site a fresh start. Stay patient and double-check each step. Your website will be ready for visitors on the new address in no time.


