
Are you struggling to showcase your product or service prices clearly on your WordPress site? Adding a pricing table can be the game-changer you need.
It helps your visitors compare options at a glance and makes their buying decision easier. In this post, you’ll learn simple, step-by-step ways to create an attractive pricing table that fits your website perfectly. Keep reading, and by the end, you’ll have a powerful tool to boost your sales and impress your customers.
Choose The Right Pricing Table Plugin
Choosing the right pricing table plugin is important for your WordPress site. It helps show your product or service prices clearly. The right plugin makes your site look professional and easy to use. It also helps visitors compare plans quickly. This can increase your chances of getting more customers.
Free Vs Premium Plugins
Free plugins are good to start with. They offer basic features and simple designs. You can use them without any cost. But free plugins may have limited options. They might not fit all your needs.
Premium plugins cost money but offer more features. They have better design choices and more settings. You get support from the developers too. Premium plugins work well for larger sites or businesses.
Top Plugin Recommendations
Some popular free pricing table plugins include Easy Pricing Tables and Pricing Table by Supsystic. These are simple and user-friendly. They let you create nice tables fast.
For premium plugins, consider WP Table Builder and ARPrice. These plugins offer many templates and customization options. They also come with customer support to help you.

Credit: www.wpbeaverbuilder.com
Install And Activate The Plugin
Adding a pricing table to your WordPress site starts with installing and activating the right plugin. This step allows you to create clear, attractive pricing options for your visitors. Plugins make the process simple, even without coding skills. Follow these easy steps to get your plugin ready.
Plugin Installation Methods
You can install plugins directly from your WordPress dashboard. Go to the “Plugins” menu and click “Add New.” Use the search bar to find a pricing table plugin. Once found, click “Install Now.”
Another way is to upload a plugin file. Download the plugin’s ZIP file from a trusted source. In your dashboard, go to “Plugins” > “Add New” > “Upload Plugin.” Choose the ZIP file and click “Install Now.”
Activating Your Plugin
After installation, activate the plugin. Find the “Activate” button near the installed plugin. Click it to enable all features.
Activation makes the plugin ready to use. Now, you can start creating and customizing your pricing table easily.
Create Your Pricing Table
Creating a pricing table helps visitors see your offers clearly. It shows plans side by side. This makes choosing easier. A well-made table boosts trust and sales.
Follow simple steps to build a clear and neat pricing table. Start with the layout. Then add your plans and features. Keep it simple and easy to read.
Selecting Table Layouts
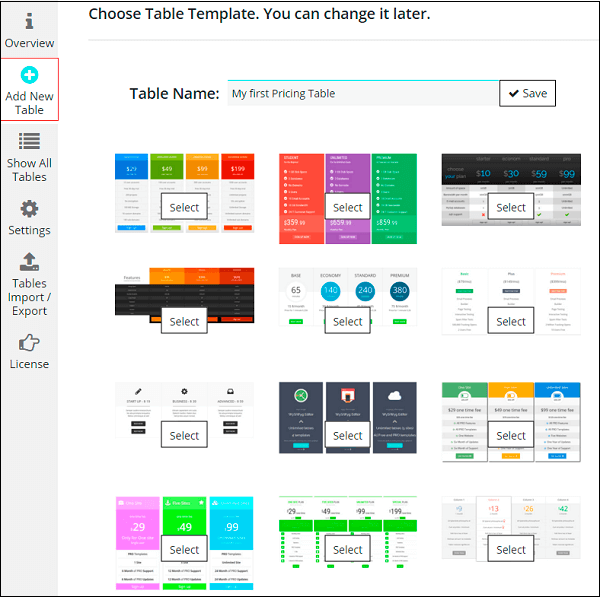
Pick a layout that fits your site style. Choose from columns or rows. Use a clean design with clear borders. Make sure it looks good on phones and tablets. Simple layouts work best for quick reading.
Adding Plans And Features
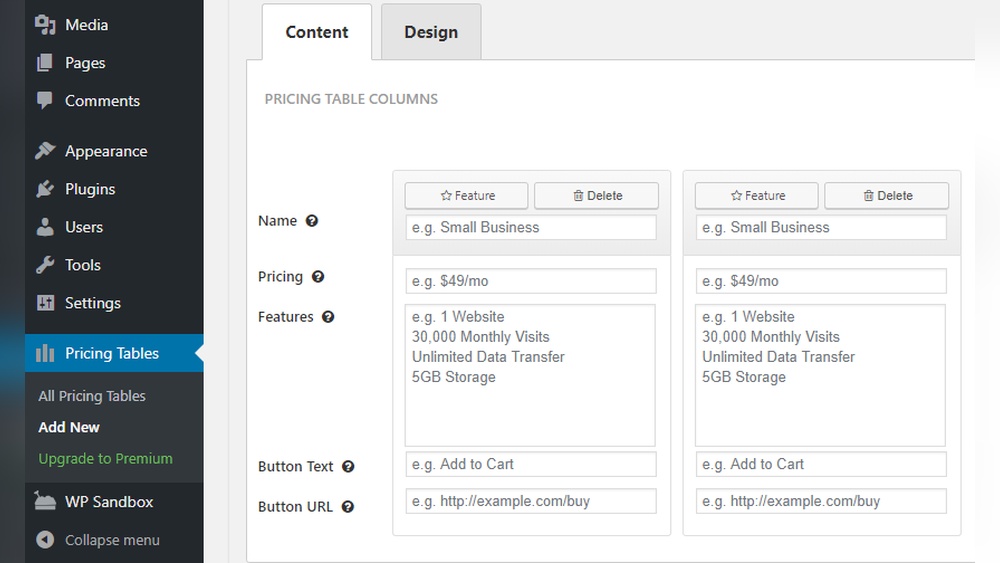
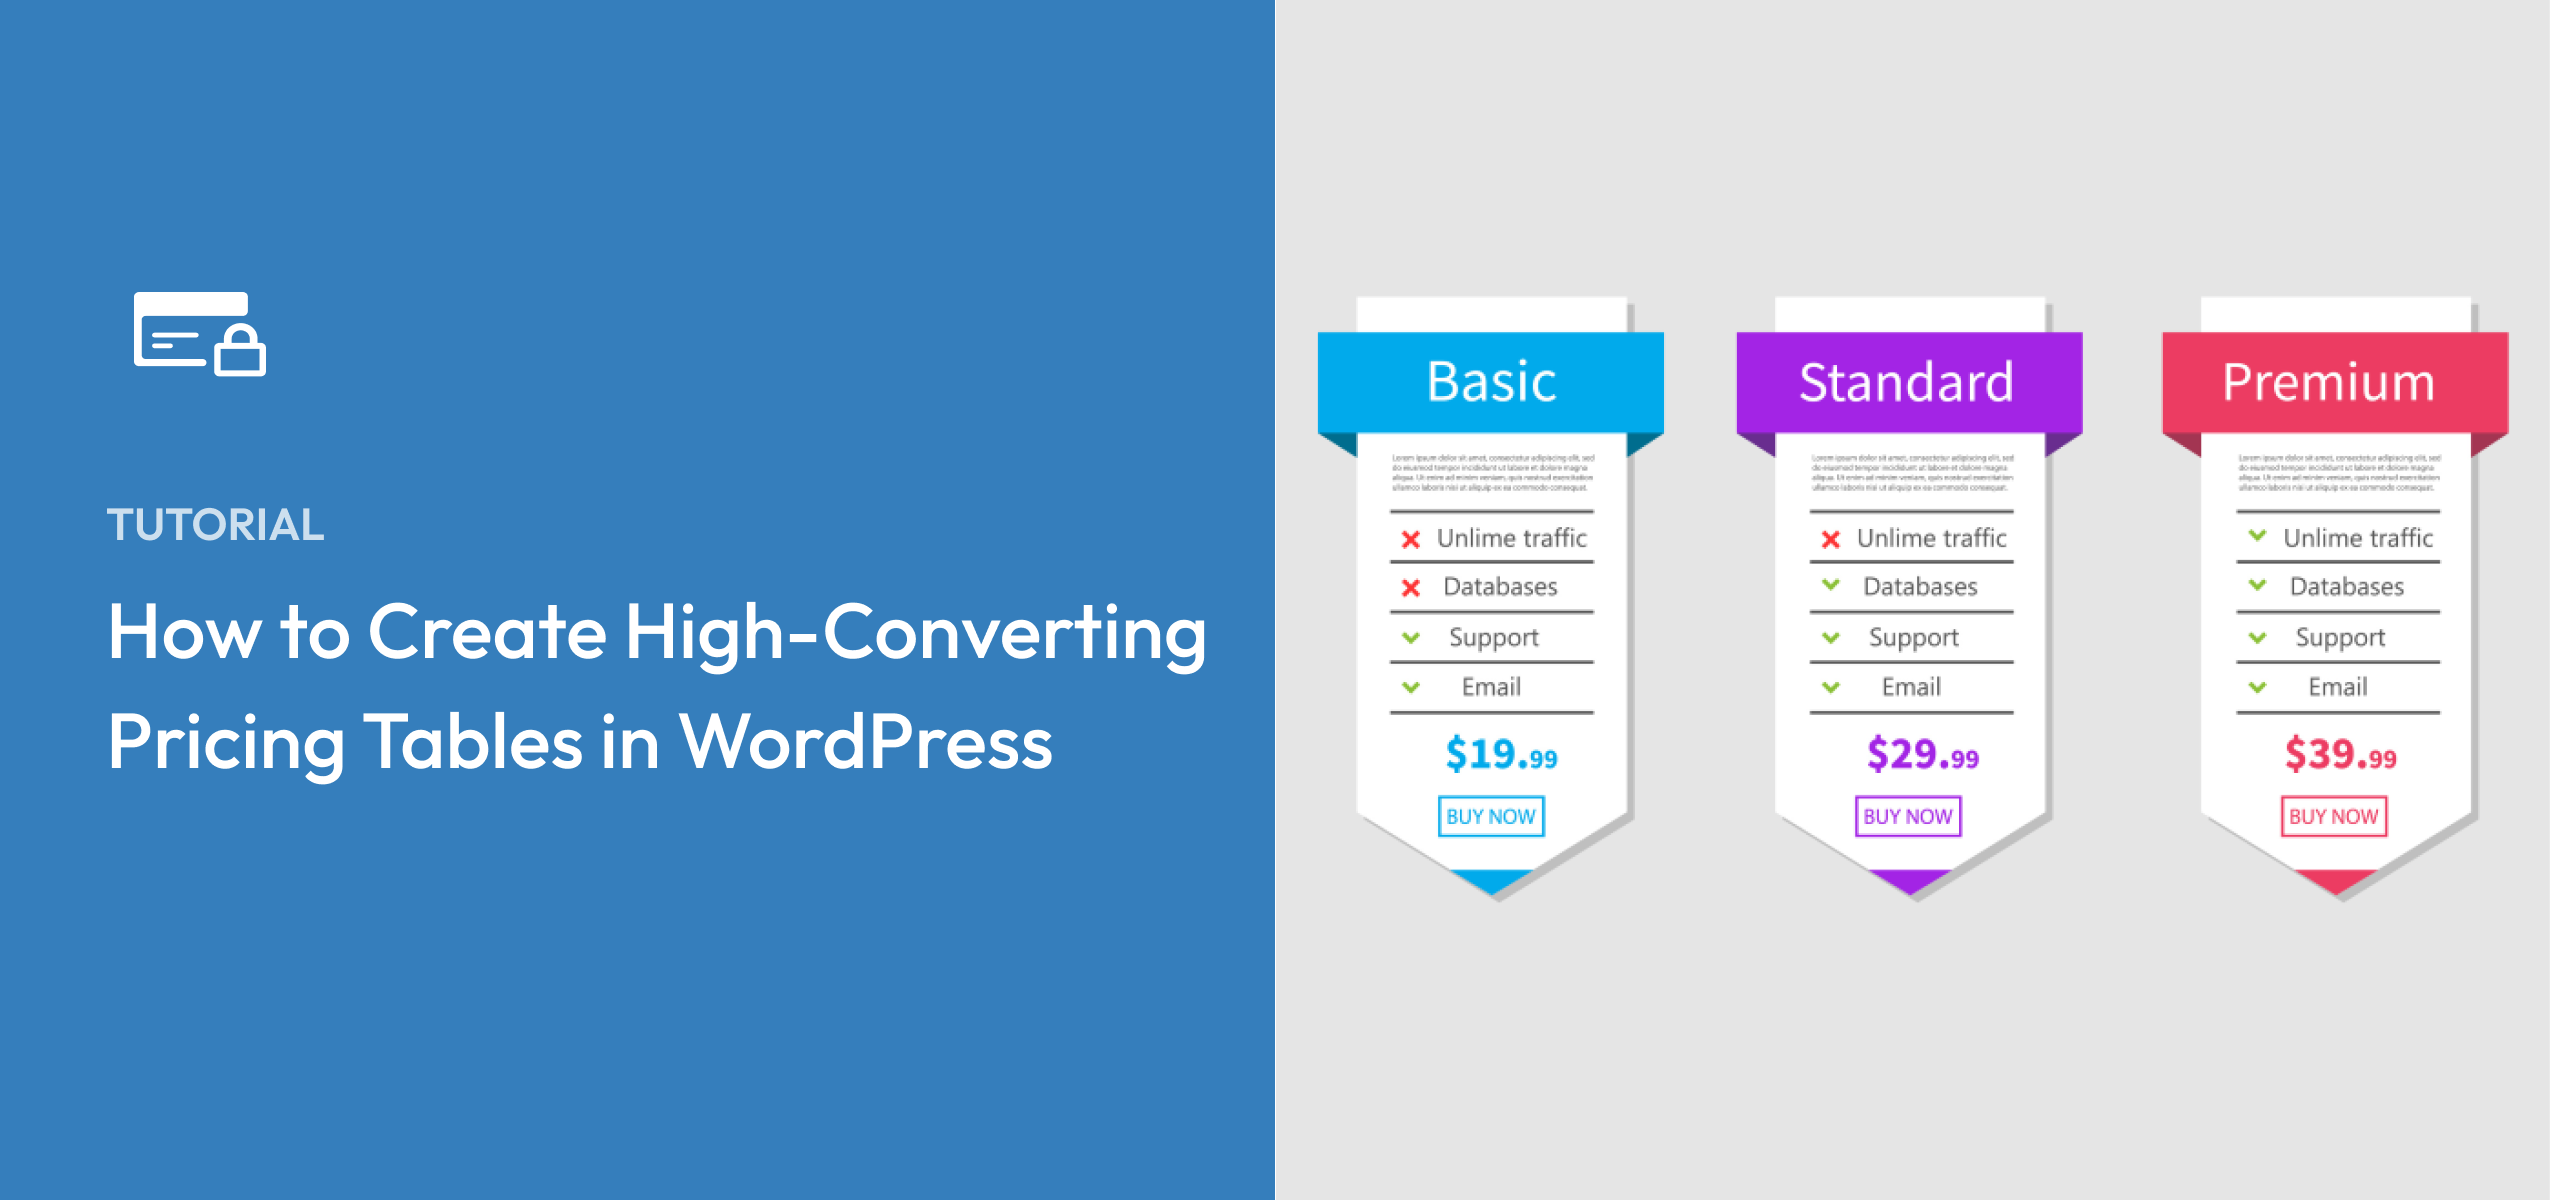
Add your pricing plans in each column or row. Name each plan clearly, like Basic or Premium. List the main features under each plan. Use short phrases for easy reading. Highlight important features to guide visitors. Show prices in bold for quick view.
Customize Design And Style
Customizing the design and style of your pricing table makes it stand out. A well-designed table attracts more visitors and helps them understand your offerings easily. You can change colors, fonts, and layouts to match your brand. Simple tweaks improve user experience and keep your site looking professional.
Color And Font Choices
Choose colors that match your website’s theme. Use contrasting colors for text and background. This makes the pricing details easy to read. Pick fonts that are clear and simple. Avoid fancy fonts that can confuse visitors. Stick to one or two fonts for a clean look. Consistent color and font choices build trust and improve readability.
Responsive Design Tips
Make sure your pricing table looks good on all devices. Tables should adjust automatically for phones and tablets. Use flexible widths and avoid fixed sizes. Test your table on different screen sizes. Keep buttons and text large enough to tap easily. A responsive design ensures visitors can see your prices clearly, no matter their device.
Add Pricing Table To Your Pages
Adding a pricing table to your WordPress pages helps visitors compare your plans quickly. It shows prices, features, and options in a clear way. This makes it easy for users to decide which plan fits their needs. You can add pricing tables using different methods. Two common ways are through shortcodes and the block editor.
Using Shortcodes
Many pricing table plugins provide shortcodes. These are small codes that you paste into your page or post. The shortcode then displays the pricing table exactly where you put it. Find the shortcode in your plugin’s settings or documentation. Copy it, then open the page where you want the table. Paste the shortcode in the editor. Update or publish the page. The pricing table will appear on your site without extra work.
Block Editor Integration
Some plugins add blocks to the WordPress block editor. This lets you insert pricing tables visually. Open the page with the block editor. Click the plus (+) button to add a new block. Search for the pricing table block from your plugin. Select it and customize your table’s content directly in the editor. You can change prices, features, and design. This method is quick and shows live previews. It suits users who prefer a visual approach.
Optimize For Conversions
Optimizing your pricing table helps turn visitors into customers. A well-designed table guides users to make a quick choice. Focus on clear actions and visible highlights.
Keep the design simple. Make it easy for visitors to understand plans and prices. Clear steps lead to more sales.
Clear Call-to-action Buttons
Call-to-action (CTA) buttons should stand out. Use contrasting colors that catch the eye. The text on the button must be direct and simple.
Examples include “Buy Now,” “Get Started,” or “Choose Plan.” Place buttons below each pricing option. This placement makes it easy for users to act.
Make sure buttons are large enough to tap on mobile devices. Avoid clutter around the button to keep focus. Clear CTAs increase clicks and sales.
Highlighting Popular Plans
Show which plan most customers choose. This builds trust and guides visitors. Use a different background color or border to highlight the plan.
Add a label such as “Most Popular” or “Best Value.” This draws attention and helps visitors decide faster. Highlighting popular plans reduces confusion and speeds up buying decisions.
Keep the highlight subtle but visible. It should not overpower other plans. The goal is to gently guide visitors to the best choice.
Test And Update Regularly
Testing and updating your pricing table is essential to keep it effective. Regular checks help improve user experience and boost conversions. Small changes can show big results over time. Stay active in reviewing your pricing and features.
A/b Testing Strategies
Test different layouts and price points to see what works best. Change button colors, text, or the order of plans. Compare two versions and track which one gets more clicks. Use simple tools like Google Optimize or built-in WordPress plugins. Test one change at a time for clear results.
Keeping Prices And Features Current
Update your prices and features often to stay competitive. Remove outdated plans and add new offers. Clearly show any discounts or promotions. Make sure your table matches your actual product or service. Accurate info builds trust and helps customers decide faster.
Credit: wpsimplepay.com
Credit: supsystic.com
Frequently Asked Questions
What Is The Easiest Way To Add A Pricing Table In WordPress?
Using a pricing table plugin like WP Table Builder is the easiest method. It offers drag-and-drop features and customizable templates. This requires no coding skills and integrates smoothly with most themes, making it ideal for beginners and professionals alike.
Can I Create A Responsive Pricing Table In WordPress?
Yes, most modern pricing table plugins offer responsive design. They automatically adjust to different screen sizes. This ensures your pricing table looks great on desktops, tablets, and smartphones without extra effort.
Do I Need Coding Skills To Add Pricing Tables In WordPress?
No coding skills are required. Plugins provide user-friendly interfaces with pre-built templates. You can customize tables visually, making it accessible for users of all technical levels.
Which WordPress Plugins Are Best For Pricing Tables?
Popular plugins include WP Table Builder, Pricing Table by Supsystic, and Easy Pricing Tables. These plugins offer customizable, SEO-friendly, and responsive pricing tables suitable for various business needs.
Conclusion
Adding a pricing table to your WordPress site is simple and helpful. Visitors can quickly compare your offers. Clear tables build trust and make decisions easier. Use plugins or themes that suit your needs. Keep the design clean and easy to read.
Update your prices regularly to stay accurate. Small changes can improve your website’s performance. Start adding a pricing table today to guide your customers well.


