

Are you looking to make your WordPress site more engaging? Adding photos is one of the easiest ways to do that.
But if you’re not sure how to add a photo to WordPress, it can feel confusing or overwhelming. Don’t worry—you’re in the right place. This guide will walk you through simple steps to upload and display images on your site.
By the end, you’ll know exactly how to make your content visually appealing and keep visitors hooked. Ready to get started? Let’s dive in!
Credit: solidwp.com
Choosing The Right Image
Choosing the right image is key to a great WordPress post. A good photo draws readers in and supports your message. It needs to be clear, relevant, and load fast. Picking the right type and size helps your site look professional and run smoothly. Quality matters for both user experience and SEO.
Image Formats And Sizes
Use common image formats like JPEG, PNG, or WebP. JPEG works well for photos with many colors. PNG is best for images with transparency or text. WebP offers good quality with smaller file size. Keep image size under 100 KB for faster loading. Resize images to fit your post layout. Avoid very large files that slow down your site.
Optimizing Images For Web
Compress images to reduce file size without losing quality. Use free tools or plugins to optimize images automatically. Add descriptive alt text for each image. Alt text helps search engines understand your content. It also improves accessibility for screen readers. Choose clear, simple filenames with keywords for SEO. Proper optimization boosts page speed and ranking.
Sourcing High-quality Photos
Use photos that match your blog’s topic and tone. Free stock image sites offer many quality photos. Check licenses to avoid copyright issues. Consider taking your own photos for originality. High-quality images look sharp and professional. Avoid blurry or pixelated pictures that harm your blog’s appeal.
Uploading Images To WordPress
Uploading images to WordPress is a simple process that helps make your website attractive. Pictures catch visitors’ eyes and make posts easier to read. WordPress offers several ways to add images quickly. Choose the method that fits your needs best.
Using The Media Library
The Media Library stores all your images in one place. Go to your WordPress dashboard and click on “Media.”
Click “Add New” and select the image from your computer. The image uploads and appears in the library. From here, you can insert images into posts or pages easily.
Drag And Drop Upload
Drag and drop upload saves time. Open the Media Library and drag your image file directly into the window.
The file uploads automatically. This method works well for quick image uploads without extra clicks. You can upload multiple images at once by dragging them together.
Uploading Via Url
Uploading via URL adds images from the web. Copy the image link you want to use.
In WordPress, use a plugin or the block editor’s “Image” block to paste the URL. WordPress fetches and displays the image without needing a file upload.
This method keeps your website light and saves storage space on your server.
Adding Images To Posts And Pages
Adding images to posts and pages makes your content more attractive. Pictures help explain your ideas and keep readers interested. WordPress offers easy ways to insert and manage images. You can choose from different editors based on your preference. Each editor gives you tools to place and adjust images quickly.
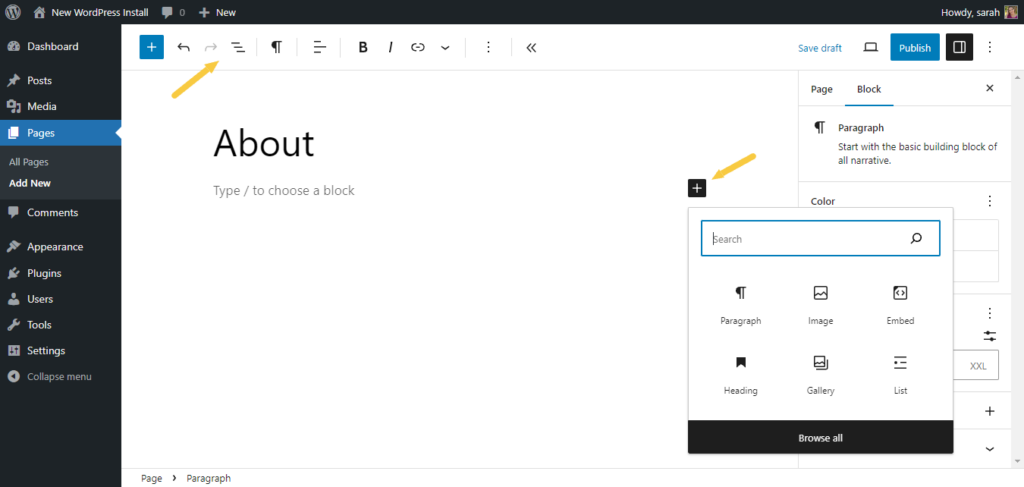
Inserting Images In The Block Editor
The Block Editor uses blocks to add content, including images. To insert a picture, click the plus (+) icon. Select the Image block from the menu. Upload a new image or select one from the Media Library. You can also drag and drop images directly into the editor. After adding, you can write captions or add alt text for SEO.
Using Classic Editor
The Classic Editor looks like a simple text editor with a toolbar. Click the “Add Media” button above the toolbar. Upload a new image or choose one from the Media Library. Insert the image into the post or page with one click. You can edit the image details before placing it. The Classic Editor is familiar for many WordPress users.
Aligning And Resizing Images
WordPress lets you align images to the left, right, or center. Choose the image and select alignment options from the toolbar or block settings. Resize images by dragging the corners or entering exact dimensions. Proper alignment and size improve the look and flow of your content. Keep image sizes balanced for fast loading and clear display.

Credit: wordpress.org
Enhancing Images With Captions And Alt Text
Adding captions and alt text to images in WordPress improves user experience and helps search engines understand your content. Captions give context to your photos, making them clearer for readers. Alt text describes images for those who use screen readers or have images turned off. Both elements make your blog more accessible and SEO-friendly.
Writing Effective Captions
Captions should be brief and clear. They explain what the image shows or why it matters. Use simple words that anyone can understand. Avoid repeating the image description already in the post. Instead, add useful information that supports your content. Well-written captions keep readers interested and encourage them to stay longer.
Improving Seo With Alt Text
Alt text helps search engines find your images. Write alt text that describes the picture accurately. Use keywords naturally without stuffing. Keep it short but specific. For example, instead of “flower,” write “red rose in garden.” Good alt text boosts your site’s visibility and improves ranking. It also helps visually impaired users understand the image.
Using Galleries And Sliders
Using galleries and sliders can make your WordPress site more attractive. They help display many images in a neat and organized way. Visitors can see your photos without scrolling too much. Galleries show images in a grid. Sliders let visitors scroll through pictures one by one. Both tools improve the look and feel of your website.
Creating Image Galleries
Creating an image gallery in WordPress is simple. First, go to the post or page editor. Click the “Add Media” button. Choose “Create Gallery” from the left menu. Select the images you want to include. Click “Create a new gallery.” Arrange images by dragging them. Click “Insert gallery” to add it to your content. You can change the number of columns and image size. Galleries make your photos easy to browse.
Adding Sliders And Carousels
Sliders and carousels display images one at a time. Visitors click arrows or dots to see more. To add a slider, you often need a plugin. After installing, create a new slider from the plugin menu. Upload images or select from the media library. Customize settings like speed, navigation, and size. Insert the slider shortcode into your post or page. Sliders save space and keep visitors engaged.
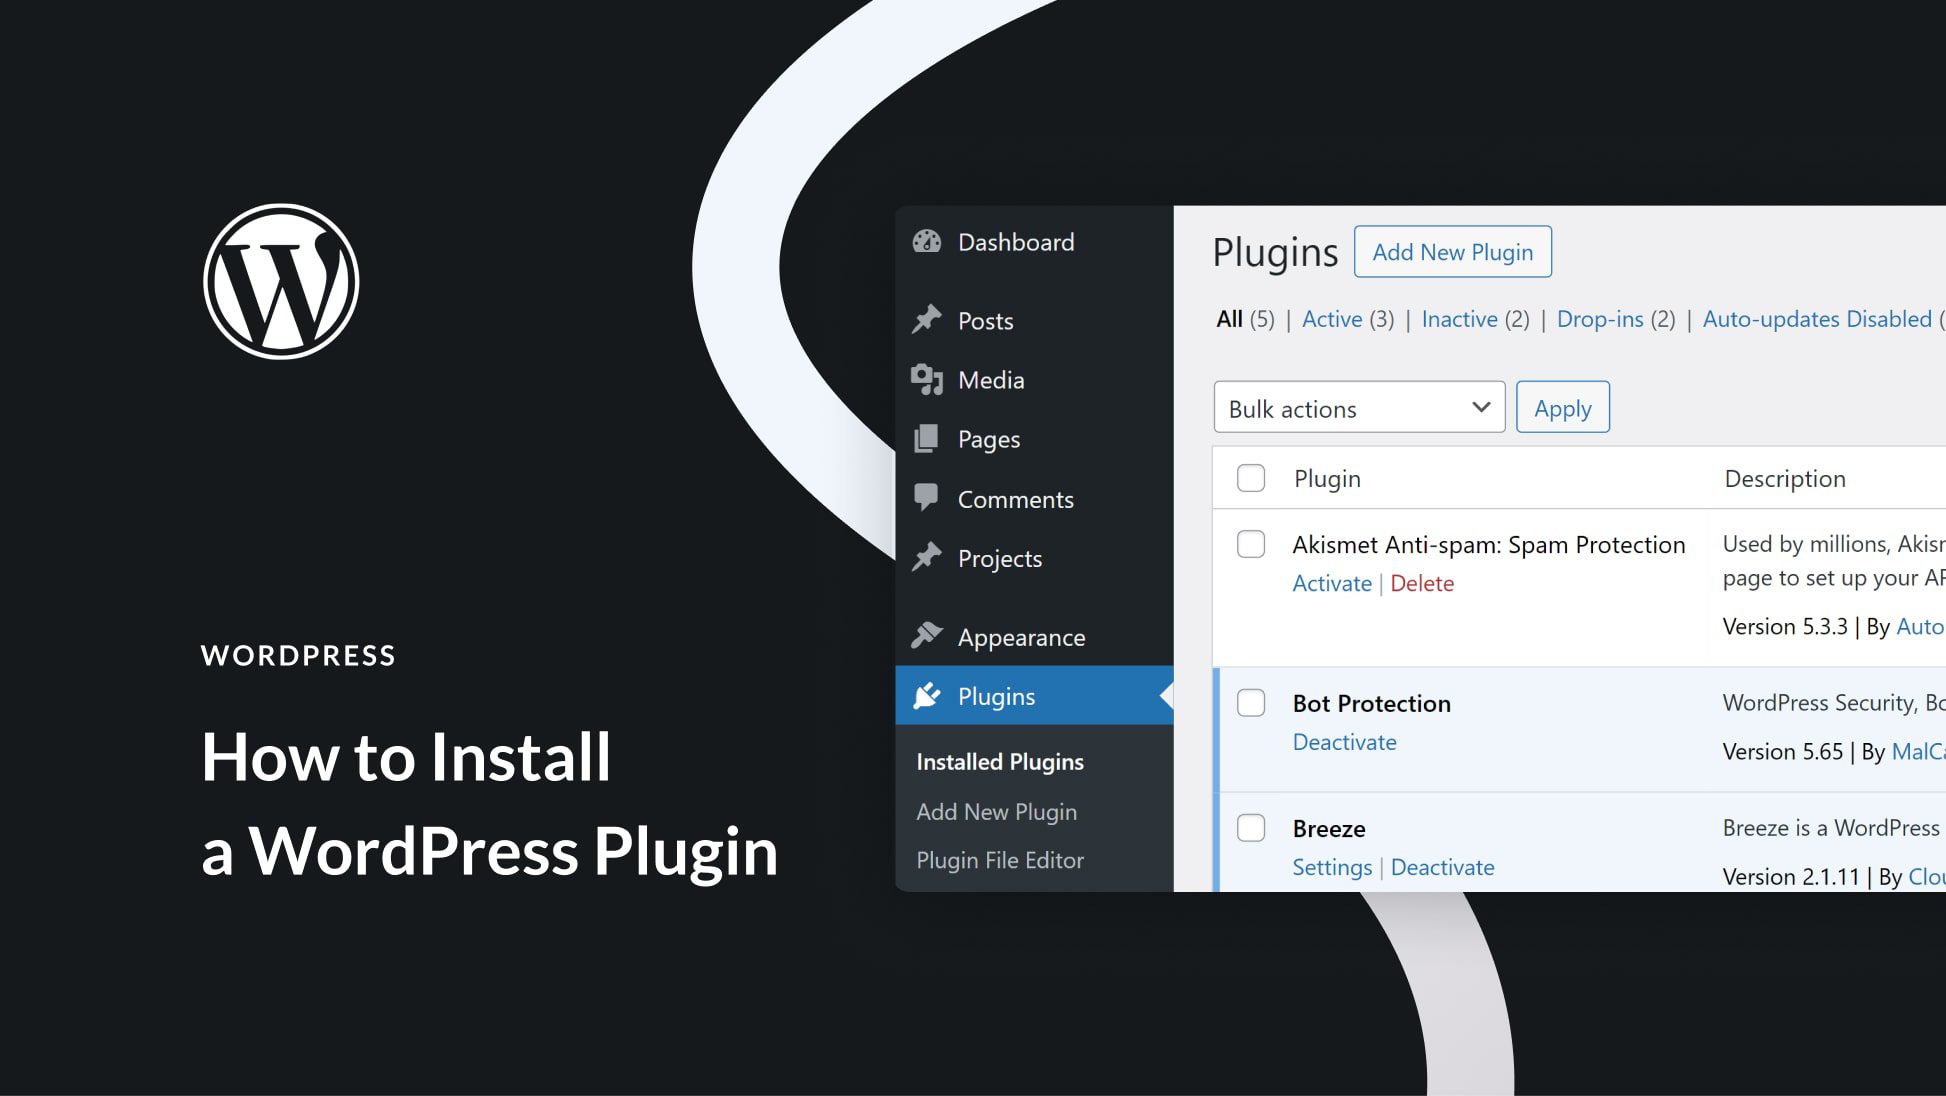
Popular Gallery Plugins
Several plugins help create galleries and sliders easily. “Envira Gallery” is fast and user-friendly. “NextGEN Gallery” offers many customization options. “MetaSlider” is great for simple sliders. Choose a plugin that fits your needs. Plugins improve gallery design and functionality. They offer templates, effects, and responsive layouts. Using plugins gives your site a professional look.
Troubleshooting Common Image Issues
Adding photos to WordPress can sometimes bring up issues. These problems can stop your images from uploading or showing correctly. Solving these issues quickly helps keep your website looking good and working well.
Fixing Image Upload Errors
Image upload errors often happen due to file size limits. Check your image size before uploading. Use smaller files if your image is too large. Another cause is incorrect file types. WordPress supports JPG, PNG, and GIF formats. Upload only these types to avoid errors.
Sometimes, server settings block uploads. Contact your web host to check this. Also, clear your browser cache to fix upload glitches. Try a different browser if problems continue. These steps solve most upload errors fast.
Resolving Display Problems
Images not showing on your site? Check the image URL first. Broken links cause display issues. Ensure the image file is in the right folder. Use the WordPress media library to manage images easily.
Wrong image sizes can also cause display problems. Resize images to fit your theme. Use WordPress tools or plugins to adjust image dimensions. This keeps your pages clean and professional.
Improving Page Load Speed
Large images slow down your website. Compress images to reduce file size without losing quality. Use tools like TinyPNG or JPEG-Optimizer. Fast-loading pages improve user experience and SEO.
Choose the right image format. JPEG is good for photos. PNG works well for graphics with few colors. WebP is a newer format that loads very fast. Using the right format speeds up your site noticeably.
Credit: www.elegantthemes.com
Frequently Asked Questions
How Do I Upload A Photo To WordPress?
To upload a photo, go to your WordPress dashboard, click Media > Add New, then drag and drop your image or select it from your computer. The photo will be added to your media library for use in posts or pages.
Can I Add Photos Directly Into WordPress Posts?
Yes, while editing a post or page, click the Add Media button. Choose your image from the media library or upload a new one. Insert it into your content where you want the photo to appear.
What Image Formats Are Supported By WordPress?
WordPress supports common image formats like JPEG, PNG, GIF, and WebP. Ensure your photo is saved in one of these formats for seamless uploading and optimal display on your site.
How Can I Optimize Photos For Faster WordPress Loading?
Optimize images by resizing them to appropriate dimensions before uploading. Use compressed formats like JPEG and tools or plugins that reduce file size without quality loss to improve site speed.
Conclusion
Adding photos to WordPress is simple and quick. Choose clear images that fit your content well. Upload them directly through the WordPress dashboard. Use captions and alt text to help readers and search engines. Organize your photos in galleries or posts for better flow.
Regularly update your images to keep your site fresh. Practice these steps to improve your website’s look and user experience. Keep exploring WordPress features to make your content stand out. Your website will look more attractive and professional with good photos.


