
Are you struggling to make your WordPress site look just right? Adding padding can be the simple fix you need to create clean, balanced spaces around your content.
But if you’re unsure how to do it, don’t worry—you’re in the right place. You’ll discover easy, step-by-step methods to add padding in WordPress, even if you’re not a tech expert. By the end, your site will look more polished and professional, keeping visitors engaged and coming back for more.
Let’s dive in and transform your website’s appearance together!
Why Padding Matters
Padding controls the space inside an element’s border in WordPress. It separates content from edges and makes text easier to read. Proper padding improves the look and feel of your site. It helps users focus on important parts without feeling crowded.
Good padding balances your design. It creates a clean, organized appearance. Without enough padding, your site looks cluttered. Too much padding wastes space and confuses visitors.
Enhances Readability
Padding adds white space around text and images. This space prevents elements from touching the edges. It makes reading easier and reduces eye strain. Visitors stay longer on pages that feel comfortable to read.
Improves Visual Hierarchy
Padding helps separate different sections clearly. It guides visitors through your content step by step. Important parts get more breathing room and stand out. This makes your message clear and easy to follow.
Boosts Mobile Experience
On small screens, padding stops content from feeling cramped. It helps users tap buttons and links without errors. Proper padding ensures your site works well on all devices. This keeps visitors happy and engaged.
Types Of Padding In WordPress
Padding controls the space inside an element’s border in WordPress. It helps create breathing room around text and images. Different methods exist to add padding, depending on your setup. Each method suits different skill levels and design needs.
Padding In Themes
Many WordPress themes include options to set padding. These options appear in the theme customizer or theme settings panel. You can change padding for headers, footers, and content areas. It does not require coding. Just adjust sliders or enter numbers to increase or decrease space.
The theme applies padding across your site for a consistent look. This method is simple and fast. You get good results without editing code or plugins.
Padding In Page Builders
Page builders like Elementor or Beaver Builder offer padding controls in their interface. You can add padding to sections, columns, or widgets. Drag a slider or type values for top, bottom, left, and right padding.
This method gives more precise control over specific page parts. You see changes live as you edit. It suits users who want custom layouts without coding knowledge.
Padding With Custom Css
Custom CSS lets you add padding with exact values. Use CSS code to target specific elements. For example, use padding: 20px; to add space inside a box.
This method requires basic CSS knowledge. It gives full control over padding on any part of your site. Ideal for users who want to fine-tune spacing beyond theme or builder limits.
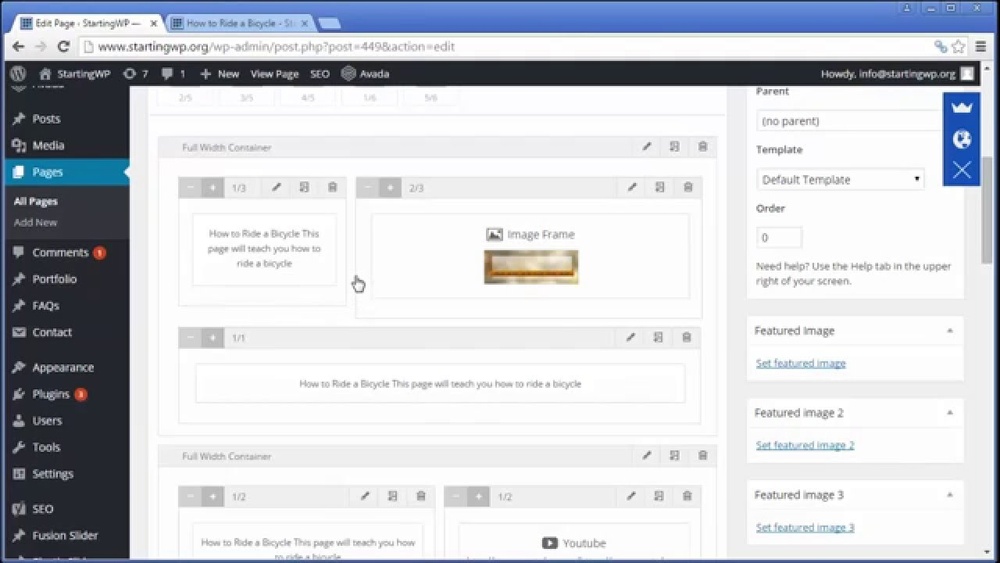
Adding Padding Using The WordPress Editor
Adding padding in WordPress helps create space around your content. It improves readability and makes your site look neat. The WordPress editor offers ways to add padding without coding. Below are methods for both the Block Editor and the Classic Editor.
Block Editor Padding Options
The Block Editor has built-in settings to adjust padding. Select the block you want to change. On the right sidebar, find the “Spacing” section. Here, you can set padding values for top, bottom, left, and right. Use numbers or sliders to increase or decrease space. This method works for most blocks like paragraphs, images, and buttons. It is simple and fast. You see changes immediately on your screen.
If your block does not have padding controls, use the “Advanced” section. Add custom CSS classes to the block. Then, add CSS rules in your theme’s customizer or stylesheet. This gives more control over padding sizes and styles.
Classic Editor Padding Workarounds
The Classic Editor does not have direct padding settings. Use the “Text” tab to add HTML styles manually. For example, add style="padding: 20px;" inside the element tags. This adds space inside the block.
Another option is using plugins that add padding options to the Classic Editor. These plugins offer easy controls without coding. You can also add padding through the theme customizer or extra CSS. This method applies site-wide or to specific elements.
Using tables or spacer images in the Classic Editor can create padding effects. These are older methods but still useful for simple layouts. They help separate content visually without CSS knowledge.
Credit: support.managed.com
Using Page Builders For Padding
Page builders make adding padding in WordPress simple. You do not need to touch any code. These tools offer visual controls for spacing. You can adjust padding for sections, columns, or widgets easily. Let’s explore how popular page builders handle padding settings.
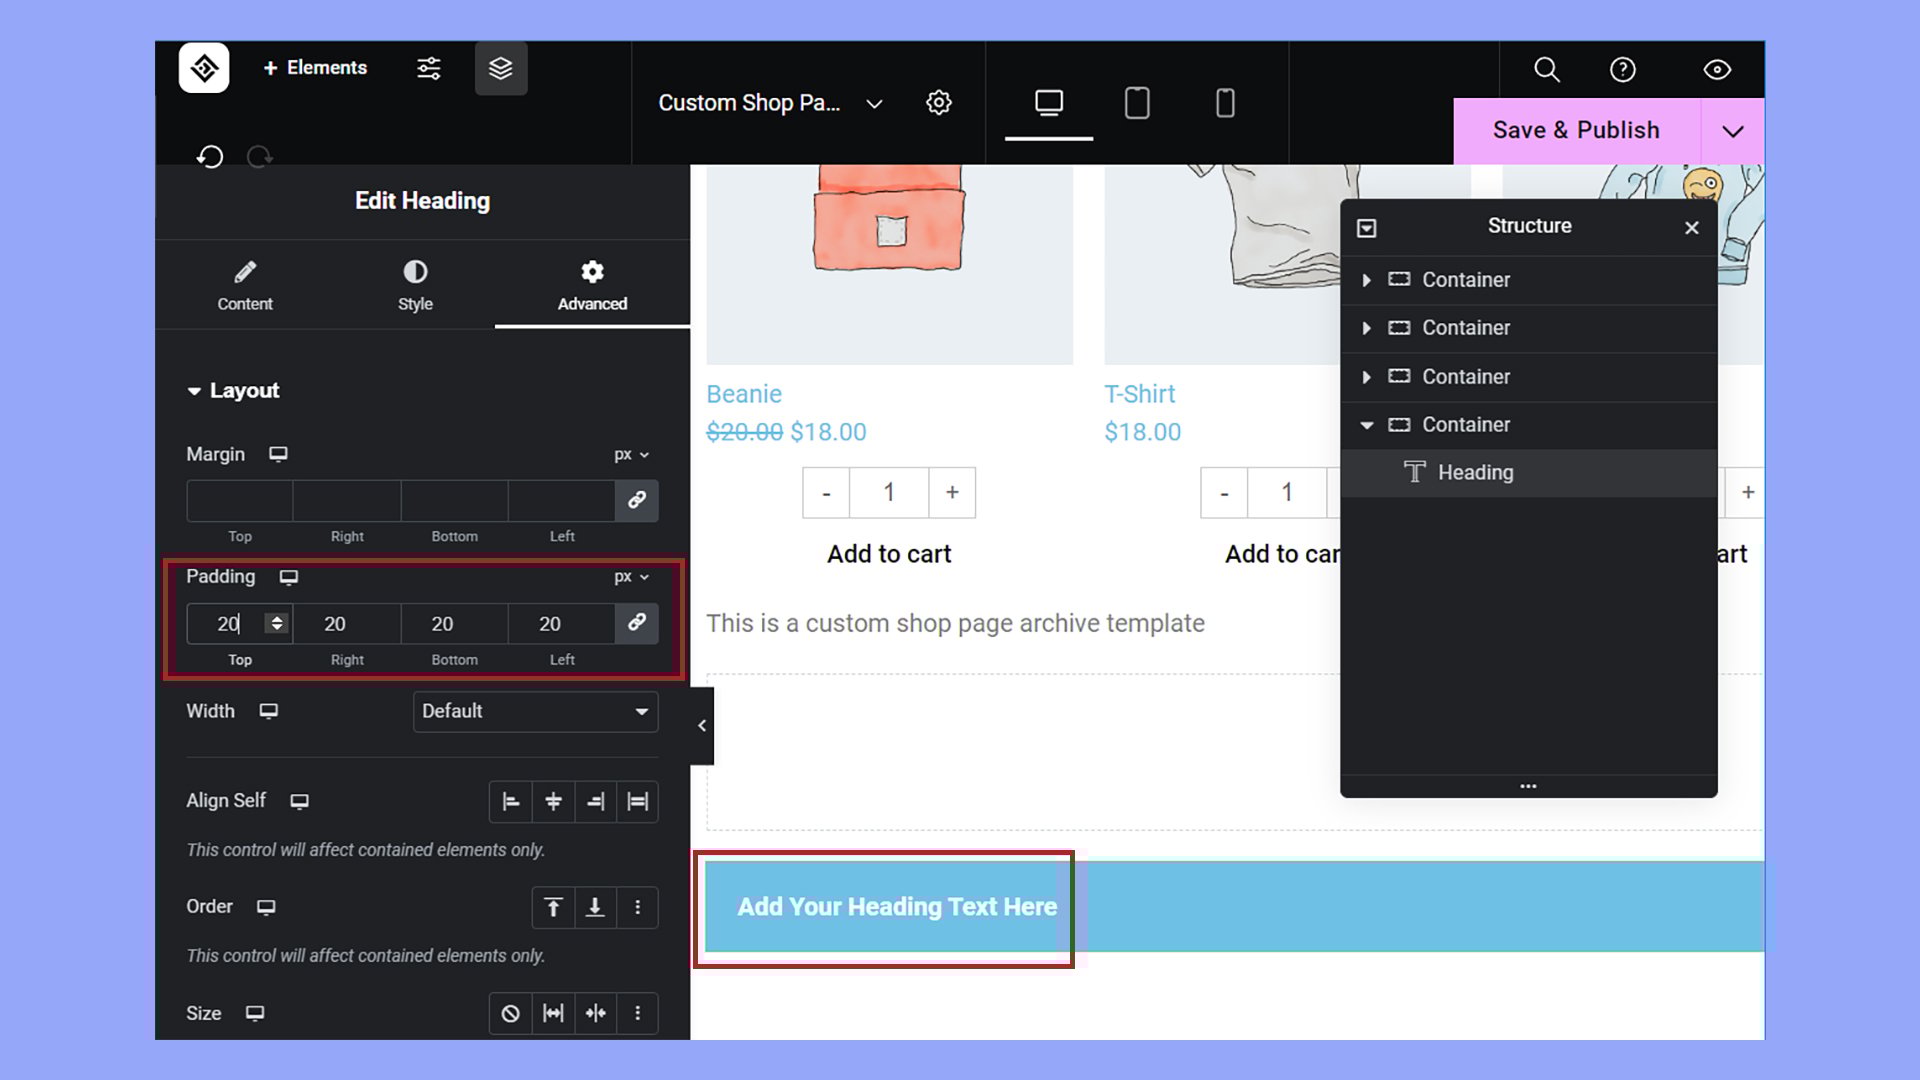
Elementor Padding Settings
Elementor lets you add padding through its user-friendly interface. Select the element you want to edit. Go to the “Advanced” tab. Here, you find padding controls for top, bottom, left, and right. You can unlink values to set each side separately. The changes update in real-time on your page.
Beaver Builder Padding Controls
Beaver Builder offers padding options inside the row or module settings. Click the wrench icon to open settings. Navigate to the “Advanced” tab. Padding fields appear where you enter values in pixels or percentages. You can apply padding to individual sides. This helps create balanced spacing around your content.
Divi Padding Adjustments
Divi provides padding controls within each module’s design settings. Open the module settings and select the “Spacing” section. You see padding inputs for each side. Divi also supports custom padding for desktop, tablet, and mobile views. This lets you optimize spacing for all devices easily.
Applying Padding With Custom Css
Applying padding with custom CSS gives you full control over your WordPress site’s layout. Padding creates space inside an element, making content look neat and readable. This method works well when built-in options do not meet your design needs.
Using custom CSS lets you adjust padding on specific parts of your site. You can increase or decrease space around text, images, or other elements. This simple change improves user experience and visual appeal.
Locating The Right Css Selector
Find the exact element to add padding. Use your browser’s inspect tool to see the HTML and CSS of your site. Look for classes or IDs that wrap the content you want to change. These selectors tell your CSS which part to style.
Write down the selector or copy it from the inspect tool. Common selectors include names like .entry-content or header. Choosing the right selector avoids unwanted changes on other parts of the site.
Writing Padding Css Code
Start with the selector and open curly braces. Use the padding property to set space inside the element. Example: padding: 20px; adds 20 pixels of padding on all sides.
You can also set padding for each side separately. Use padding-top, padding-right, padding-bottom, and padding-left. For instance, padding-top: 10px; adds space only at the top.
Adding Css In WordPress Customizer
Go to your WordPress dashboard. Navigate to Appearance > Customize > Additional CSS. Paste your padding code in the box. The preview will show your changes instantly.
Click Publish to save your new style. Your site now has custom padding applied exactly where you wanted it. This method is safe and does not require editing theme files.
Common Padding Mistakes To Avoid
Padding helps space content inside elements on your WordPress site. It makes pages look neat and easy to read. Many people make simple padding mistakes that affect the design. Avoid these to keep your site clean and user-friendly.
Using Padding Instead Of Margin
Padding adds space inside an element’s border. Margin adds space outside the border. Mixing these can cause layout problems. Use padding for inner space and margin for outer space.
Applying Padding To The Wrong Element
Adding padding to the wrong part can break your layout. Check which element needs padding. Use browser tools to inspect elements before changing padding.
Setting Padding Too Large
Big padding can push content out of view. It may cause horizontal scrolling on mobile devices. Keep padding sizes small and balanced for better look.
Forgetting Responsive Padding
Padding should change for different screen sizes. Fixed padding can look odd on phones and tablets. Use responsive settings or CSS media queries to adjust padding.
Using Padding On Inline Elements
Some inline elements don’t accept padding well. This can break text flow or cause overlap. Change display to block or inline-block if you need padding.
Tips For Balanced Layouts
Creating balanced layouts in WordPress improves site readability and user experience. Padding plays a key role in spacing content evenly. Proper padding prevents clutter and helps elements breathe. This section shares simple tips for balanced layouts using padding.
Use Consistent Padding Sizes
Keep padding sizes consistent across sections. This creates a uniform look and feel. Avoid random padding values that confuse users. Choose a few padding sizes and stick to them.
Adjust Padding For Different Devices
Ensure padding works well on phones and tablets. Smaller screens need less padding to save space. Use responsive design tools in WordPress to change padding by device. This keeps your site neat everywhere.
Balance Padding With Margins
Padding adds space inside elements; margins add space outside. Use both wisely to avoid crowded or empty spots. Check how padding and margins work together on your page. Balance creates a smooth visual flow.
Test Padding On Various Content Types
Text, images, and buttons need different padding. Test each type separately to find the best spacing. Adjust padding so content does not look cramped or too loose. This improves overall site harmony.
Use Padding To Highlight Important Sections
Extra padding draws attention to key parts of your page. Increase padding around calls to action or important messages. This guides visitors naturally to focus areas without overwhelming them.
Credit: 10web.io

Credit: www.youtube.com
Frequently Asked Questions
How Do I Add Padding To A WordPress Block?
To add padding to a WordPress block, select the block and open the block settings panel. Use the spacing controls or add custom CSS with padding properties to create the desired space inside the block.
Can I Add Padding Using Custom Css In WordPress?
Yes, you can add padding using custom CSS. Navigate to Appearance > Customize > Additional CSS. Add CSS rules targeting specific elements with padding values to adjust spacing precisely.
What Is The Difference Between Margin And Padding In WordPress?
Padding adds space inside an element’s border, while margin adds space outside it. Both control layout but serve different spacing purposes in WordPress design.
Does The WordPress Theme Affect Padding Options?
Yes, themes may limit or expand padding controls. Some themes offer built-in padding settings in the customizer, while others require custom CSS for precise adjustments.
Conclusion
Adding padding in WordPress improves your site’s look and feel. You can adjust spacing easily using built-in tools or simple code. Small changes make content clearer and more attractive. Try different padding sizes to see what fits best. Keep your site clean and user-friendly.
Padding helps guide visitors’ eyes and improves readability. Start applying these tips today to enhance your WordPress pages. Simple steps lead to better design and user experience.


