
Are you looking to make your WordPress site more visually appealing and user-friendly? Adding Font Awesome icons can do just that—giving your pages a professional, polished look with simple, stylish icons.
But how exactly do you add these icons to your site without hassle? In this guide, you’ll discover easy, step-by-step methods to insert Font Awesome icons into your WordPress site, even if you’re not a tech expert. By the end, you’ll have the tools to enhance your content and grab your visitors’ attention like never before.
Keep reading to unlock the secret to making your WordPress site stand out instantly.
Choose The Right Font Awesome Version
Choosing the correct Font Awesome version ensures icons work well with your WordPress site. Older and newer versions have different codes and features. Pick the version that matches your theme and plugin for smooth icon display.
Understanding Font Awesome Versions
Font Awesome offers different versions of its icon library. Each version has unique features and icon sets. Choosing the right version is key for your website’s look and performance. Newer versions have more icons and styles. Older versions might be simpler and lighter.
Free Vs Pro Versions
Font Awesome has free and pro versions. The free version includes many popular icons. Pro versions offer more icons and extra styles. Pro needs a license but gives more design options. Choose based on your needs and budget.
Compatibility With WordPress Themes And Plugins
Check if your WordPress theme supports a specific Font Awesome version. Some themes come with built-in support for certain versions. Plugins may also require a specific version to work well. Using the wrong version can cause icon display issues.
Performance Considerations
Newer versions may be larger in file size. Larger files can slow down your site. Older versions might load faster but have fewer icons. Balance between design needs and website speed. Use only the icons you need to keep loading quick.
Install Font Awesome Plugin
Installing the Font Awesome plugin in WordPress is the first step to use icons on your site. This plugin makes it easy to add icons without coding. Follow simple steps to install and activate the plugin. After that, you can use icons in posts, pages, and widgets.
Search And Install Plugin
Go to your WordPress dashboard. Click on “Plugins” in the menu. Then click “Add New.” In the search box, type “Font Awesome.” Find the official Font Awesome plugin in the results. Click the “Install Now” button next to it. Wait a few seconds for the installation to finish.
Activate The Plugin
After the plugin installs, click the “Activate” button. The plugin is now ready to use. You can check the settings under the new “Font Awesome” menu. The icons will load automatically on your site. No extra setup is needed to start adding icons.
Add Font Awesome Via Cdn
Adding Font Awesome icons to your WordPress site enhances its design and user experience. Using the CDN (Content Delivery Network) is the easiest way to include these icons. It loads the icons quickly without installing extra plugins or files. This method works well for most WordPress themes and keeps your site fast.
Get The Cdn Link
First, visit the official Font Awesome website. Find the section for CDN links. Copy the latest CSS link provided. This link connects your site to the Font Awesome library online. Make sure you copy the entire URL for proper loading.
Insert Cdn In Theme Header
Next, access your WordPress dashboard. Go to Appearance, then Theme Editor. Find the header.php file in your active theme. Paste the CDN link inside the
section. Save the changes to apply the update. Now, Font Awesome icons will load on every page of your site.Use Font Awesome With Gutenberg Editor
Using Font Awesome icons with the Gutenberg editor in WordPress is simple and effective. Icons can make your content clearer and more attractive. Gutenberg offers flexible ways to add these icons without complex coding.
This section explains two easy methods to use Font Awesome icons in Gutenberg. You can add icons using the HTML block or use plugins designed for icon blocks.
Add Icons Using Html Block
Start by adding an HTML block in your Gutenberg editor. This block lets you write custom HTML code directly. Paste the Font Awesome icon code inside this block.
For example, use the code to add a star icon. Make sure your site loads the Font Awesome library first. You can do this by adding the Font Awesome CDN link in your theme’s header.
This method works well for simple icon additions. It gives you control over icon placement and style. No extra plugins are needed, keeping your site light.
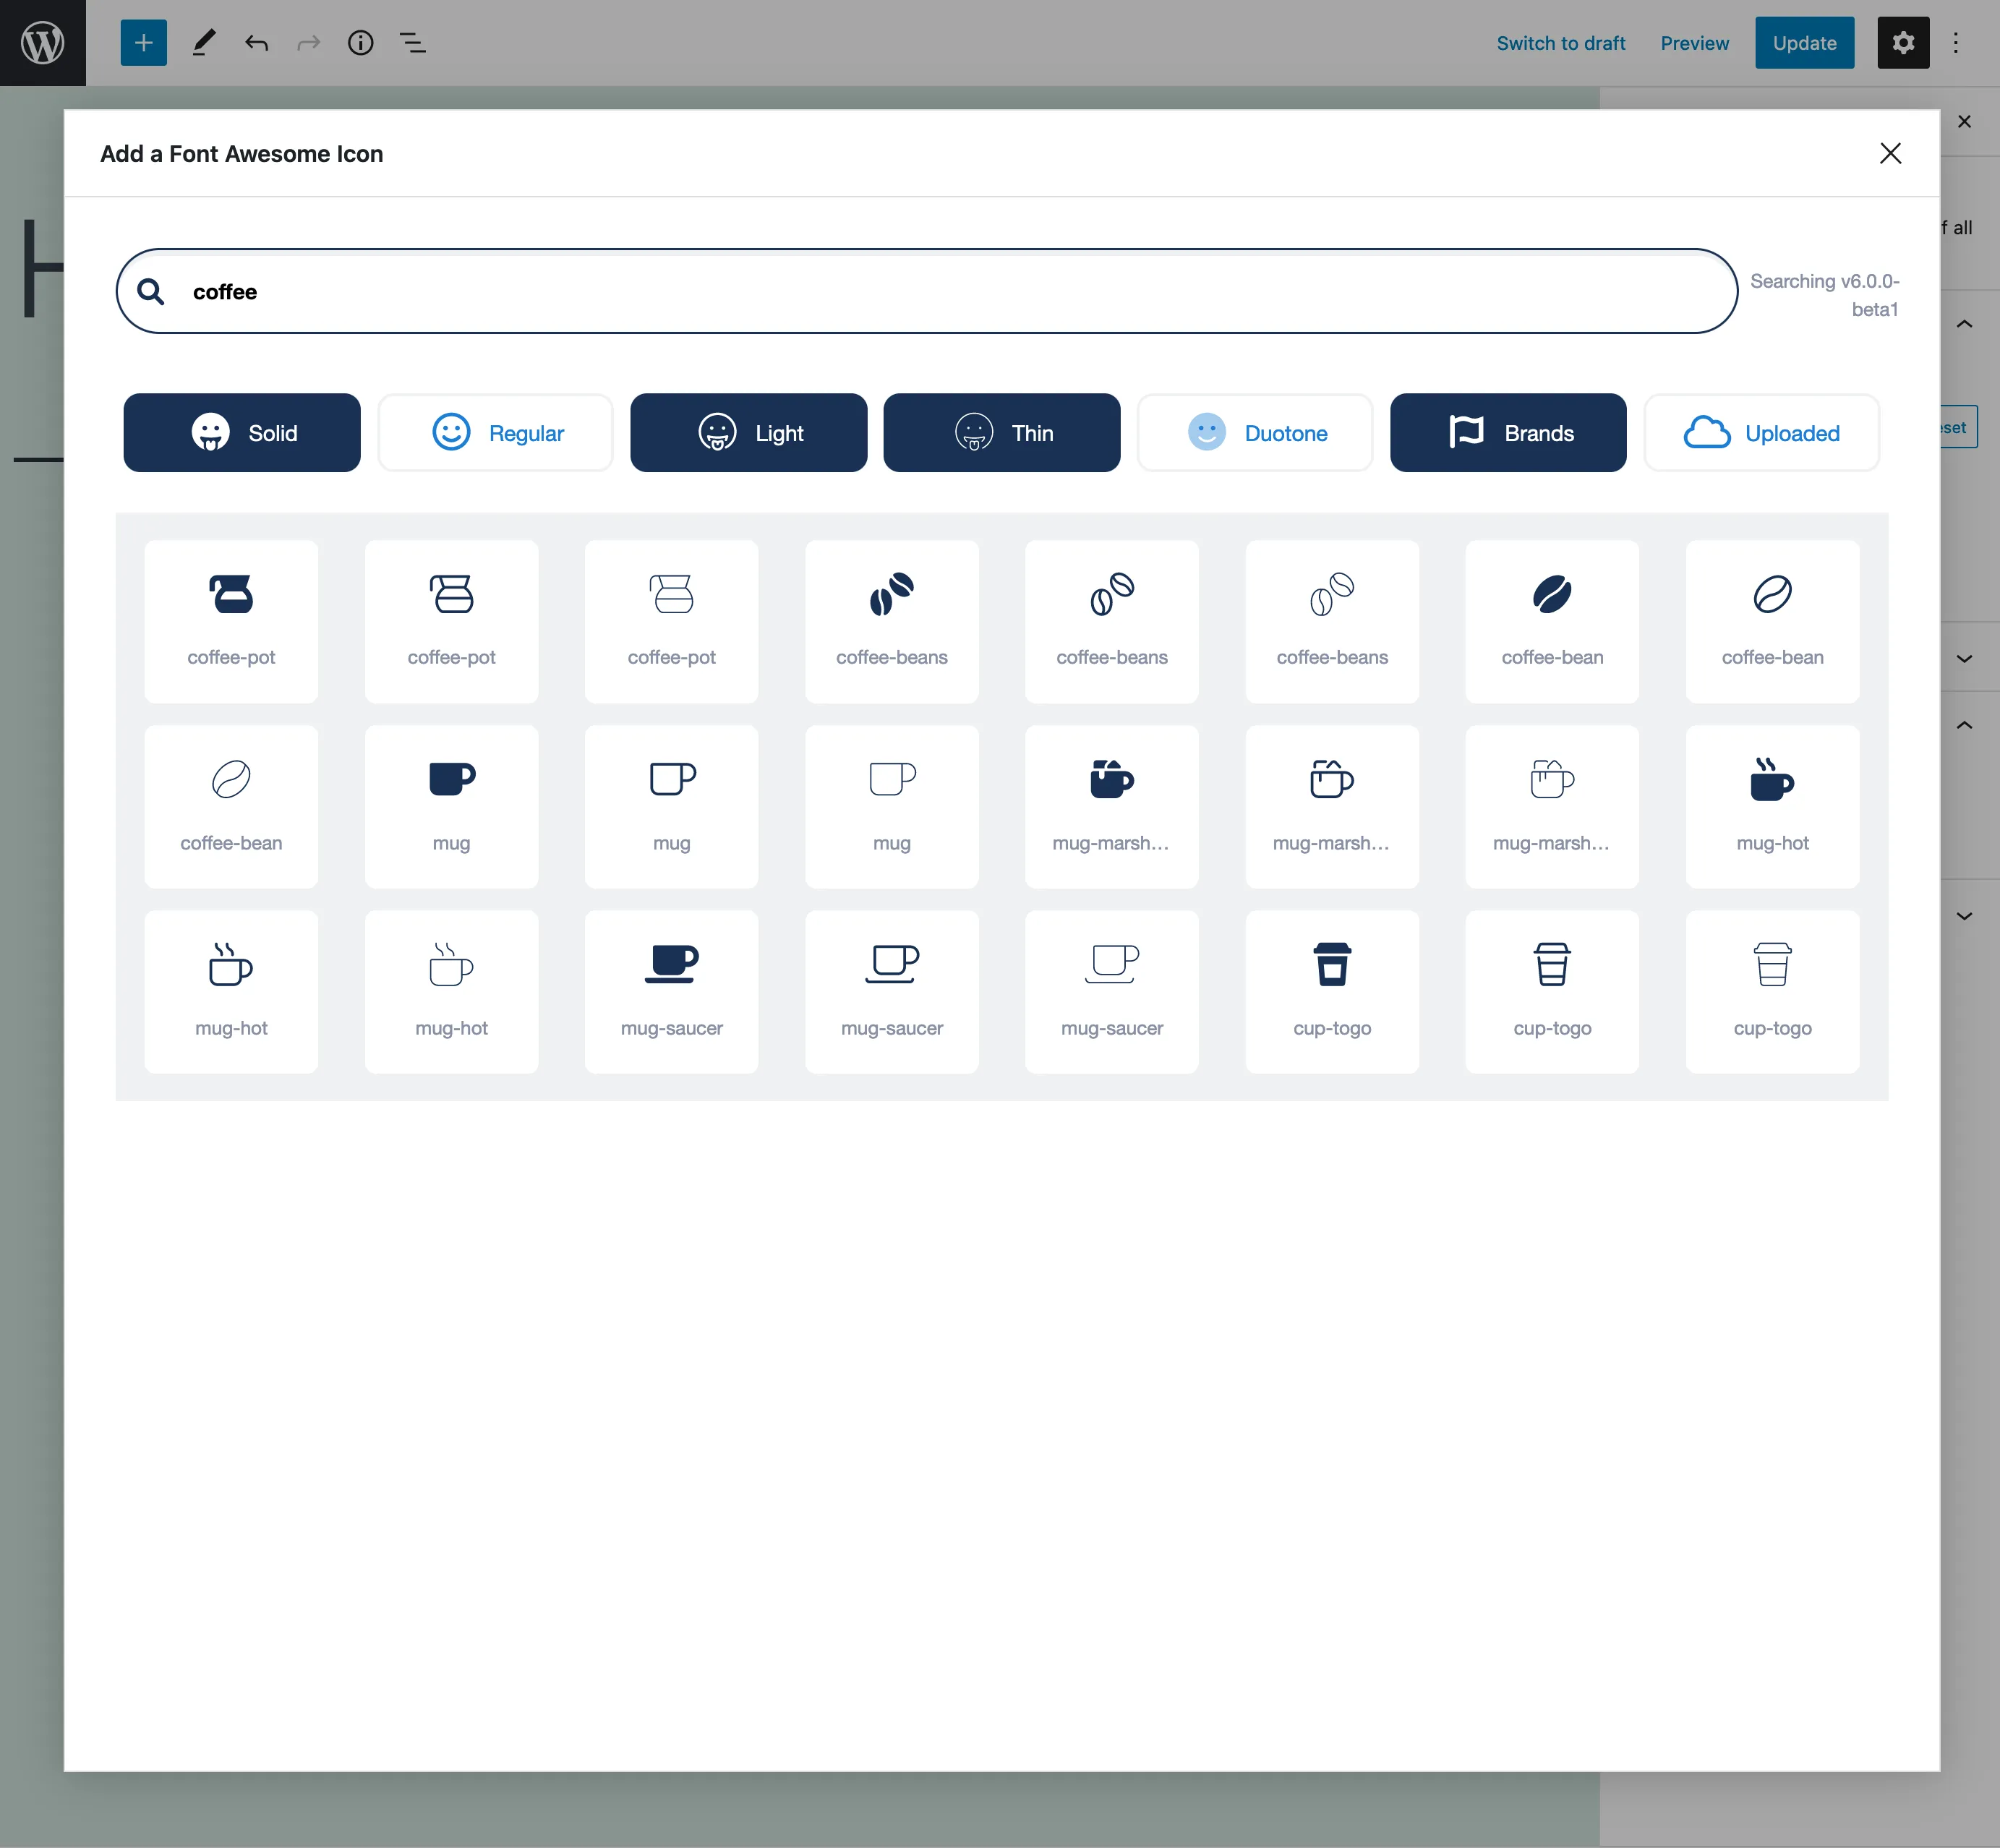
Use Plugins For Icon Blocks
Several WordPress plugins add Font Awesome icon blocks to Gutenberg. These plugins simplify icon insertion. You select the icon from a list, then place it where you want.
Plugins often include options to change icon size, color, and alignment. This makes design easier without coding. They keep your workflow smooth and fast.
Choose a plugin that supports the latest Font Awesome version. Always check plugin reviews and updates for security and compatibility.
Insert Icons In Classic Editor
The Classic Editor in WordPress lets you easily add Font Awesome icons to your posts and pages. This editor has two modes: Visual and Text. Each mode works differently for inserting icons. Knowing both ways helps you use icons with no trouble.
Add Icons In Visual Mode
In Visual Mode, you see your content as it will appear on the site. To add a Font Awesome icon, first make sure the Font Awesome plugin or code is active.
Then, click where you want the icon to appear. Use the icon shortcode or the toolbar button if your plugin adds one. For example, type [fa name="star"] to add a star icon.
This method shows the icon directly in the editor. It helps you see the design without switching views.
Add Icons In Text Mode
Text Mode shows the HTML behind your content. Use this mode to insert icon code manually. You can add the full HTML tag for Font Awesome icons here.
For example, write where you want the icon. This code calls the star icon from Font Awesome.
This method gives you more control over the icon’s placement and style. It is perfect for users who understand HTML basics.
Credit: docs.fontawesome.com
Customize Icon Appearance
Customizing the look of Font Awesome icons helps your website stand out. Simple changes can match your site’s style. You can make icons bigger, change their color, or add motion. These tweaks improve user experience and catch attention easily.
Change Icon Size
To change icon size, use Font Awesome’s size classes. Add classes like fa-lg, fa-2x, or fa-3x to the icon tag. Larger sizes make icons clear and bold. Smaller sizes keep icons subtle and neat. Adjust sizes to fit your page layout perfectly.
Adjust Icon Color
Change icon color with CSS styles. Use the color property to pick any shade. You can add this in your theme’s custom CSS or inline styles. Bright colors highlight important icons. Soft colors blend icons into the background. Choose colors that match your brand palette.
Add Animation Effects
Font Awesome offers simple animation classes. Use fa-spin to rotate icons continuously. Add fa-pulse for a slower, pulsing spin. Animations draw user focus to icons. Use animations sparingly to avoid distraction. They add a lively touch without overwhelming your design.
Troubleshoot Common Issues
Troubleshooting common issues helps keep Font Awesome icons working well. Problems can stop icons from showing or cause alignment errors. Fixing these issues improves your site’s look and user experience. Here are solutions for two frequent problems.
Font Awesome Not Showing
Icons may not appear if the Font Awesome library is not loaded. Check your theme or plugin settings to ensure the library is active. Clear your site cache and browser cache to see changes.
Verify the correct version of Font Awesome matches your code. Using outdated or mismatched versions can cause icons to fail. Also, confirm the icon class names are spelled correctly.
JavaScript conflicts with other plugins can block icon display. Deactivate plugins one by one to find the conflict. Update all plugins and WordPress to the latest versions.
Icon Misalignment Problems
Icons may look off-center or too large compared to text. This happens if CSS styles conflict or override Font Awesome styles.
Inspect icon elements using browser developer tools. Check if margins, padding, or font sizes affect the icons.
Add custom CSS to adjust icon positioning. For example, use vertical-align: middle or tweak margins to fix alignment.
Sometimes theme styles cause problems. Try switching to a default theme temporarily to test if the issue persists.

Credit: kinsta.com
Credit: www.youtube.com
Frequently Asked Questions
How Do I Add Font Awesome Icons In WordPress?
You can add Font Awesome icons by installing a plugin or manually adding the CDN code to your theme. Use icon classes within your posts, widgets, or menus to display icons easily.
Can I Use Font Awesome Without A Plugin In WordPress?
Yes, you can add Font Awesome by inserting the CDN link in your theme’s header. php file. This method avoids plugins and loads icons site-wide efficiently.
How To Customize Font Awesome Icons In WordPress?
Customize icons by adding size, color, or animation classes directly to the icon’s HTML. You can also style icons using custom CSS for unique designs.
Which Font Awesome Version Works Best With WordPress?
Font Awesome 5 and 6 are widely supported and work well with WordPress. Choose the latest version for new icons and better performance.
Conclusion
Adding Font Awesome icons to WordPress is simple and effective. You can make your site look better and easier to use. Just follow the steps carefully and choose the icons that fit your style. No need for complex coding or extra tools.
With these icons, your website feels more professional and clear. Try different icons to see what works best for your content. Start adding icons today to improve your WordPress site’s design and user experience.


