
Have you ever felt like your WordPress site needs a little extra flair to truly stand out? Imagine transforming your website with unique fonts that perfectly match your brand’s personality.
Custom fonts can elevate your site’s design, making it memorable and engaging for visitors. But how do you add these custom fonts to your WordPress theme without breaking a sweat? You’re about to discover a straightforward, step-by-step guide that will empower you to seamlessly integrate custom fonts into your site.
Picture the satisfaction of seeing your website reflect your vision with precision and style. Don’t let your site blend into the sea of sameness; learn how to easily add custom fonts and take your WordPress theme to the next level. Read on to unlock the secrets of font customization and watch your website’s appeal soar.
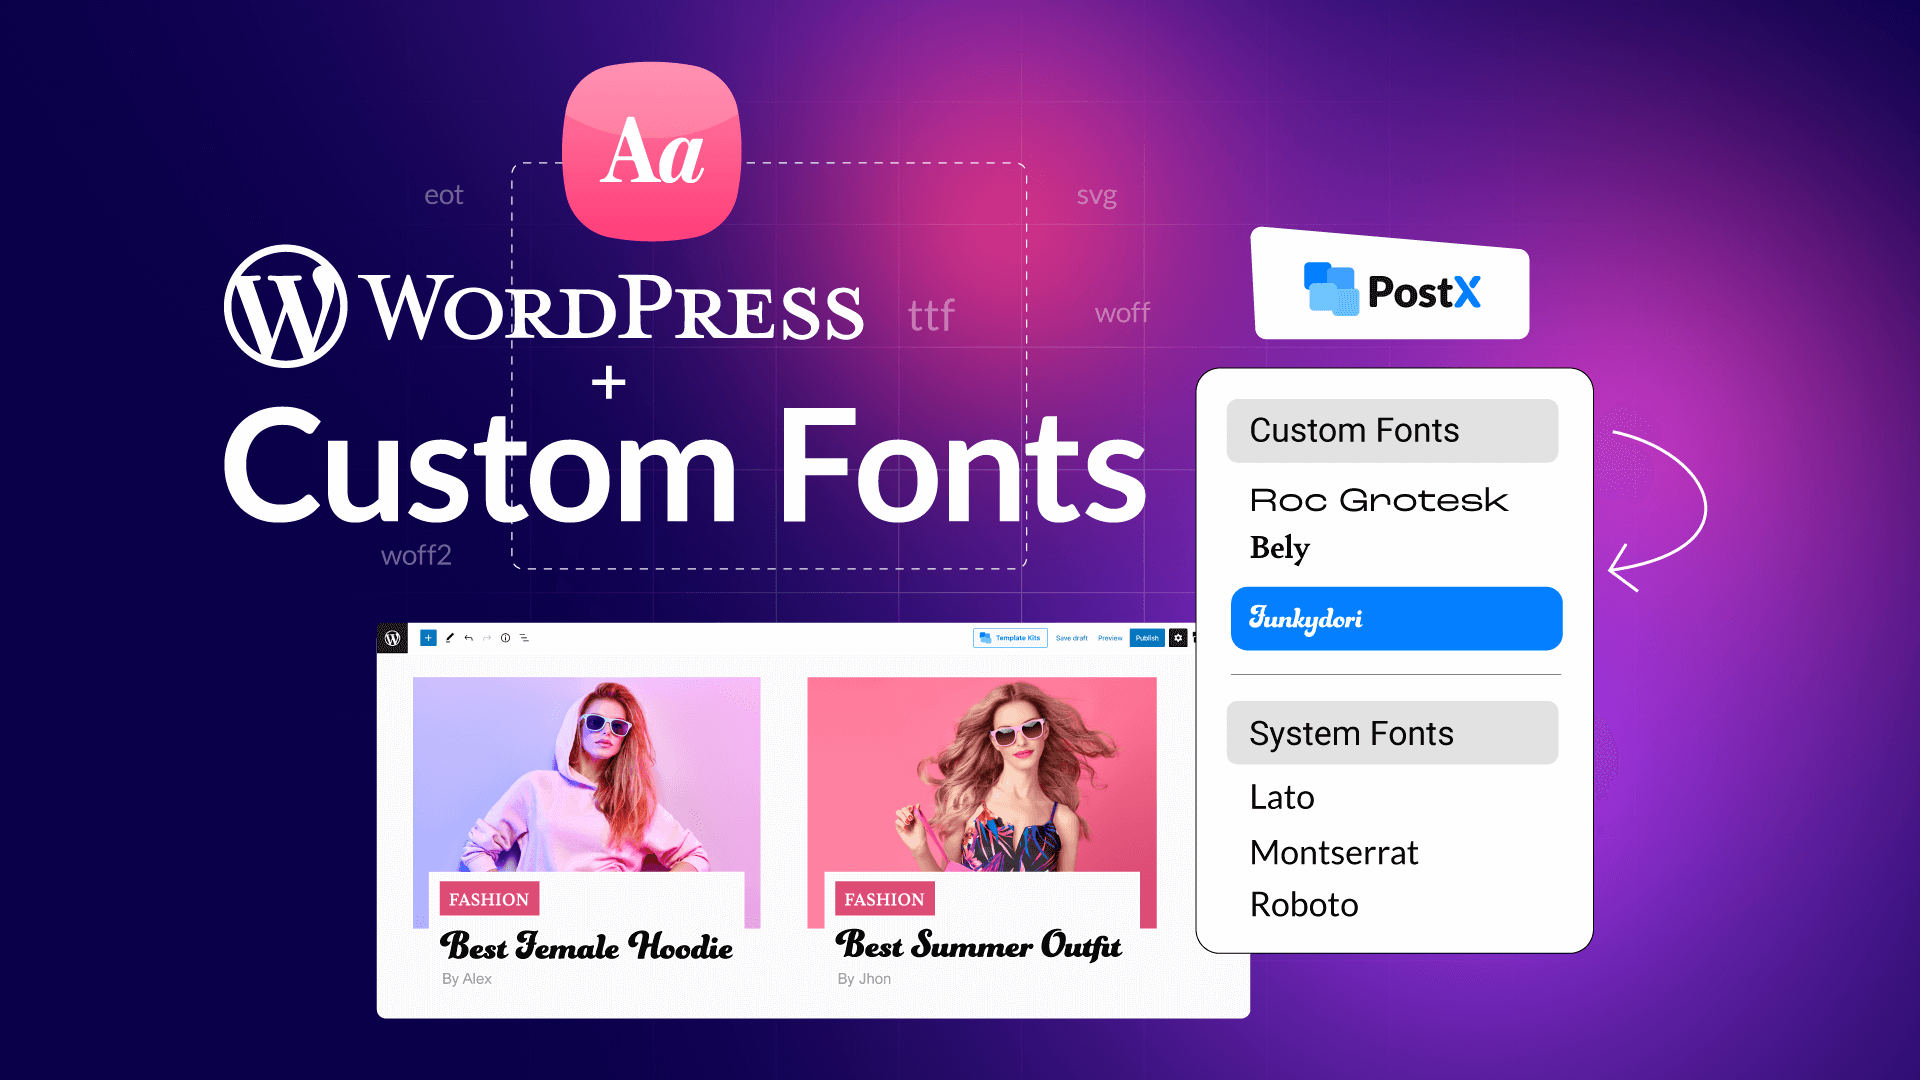
Credit: www.wpxpo.com
Choosing The Right Font
Adding custom fonts to your WordPress theme enhances your site’s appeal. Choose a font that matches your brand. Ensure it’s easy to read for all visitors.
Identifying Your Brand Style
Your brand tells a story. Fonts help tell that story. Choose fonts that match your brand’s voice. Bold fonts might show strength. Elegant fonts may show grace. Look at colors and shapes in your brand logo. They help guide font choices. Simple fonts can be easier to read. The right font will make your brand look unique.
Considering Readability
Readability is key. Fonts must be clear. Some fonts are hard to read. Test different fonts. See if they look good. Ask others to read them. Use fonts that are easy on the eyes. Big letters can help. Avoid using too many styles. Keep it simple. Simple is better for reading.
Exploring Font Libraries
Font libraries have many choices. Google Fonts is popular. It offers many free fonts. Adobe Fonts has more options. Each font is different. Explore different libraries. Try out different styles. See what fits your brand. Libraries help find new and exciting fonts. They are a great resource for creativity.
Preparing Font Files
Fonts come in different formats. TrueType (TTF) and OpenType (OTF) are common. Web Open Font Format (WOFF) is for web use. WOFF2 is newer and better. Each format has its own use. Knowing them helps in choosing the right one.
Fonts can be downloaded from many websites. Google Fonts is popular and free. Other sites like Adobe Fonts offer more choices. Make sure to download all necessary files. This ensures your font works on all browsers.
Organizing fonts is important. Create a folder for font files. Keep each font in its own folder. Name folders clearly to avoid confusion. This makes it easier to find and use fonts later. Proper organization saves time.
Uploading Fonts To WordPress
The Theme Editor is a simple tool. Find it in your dashboard. Access it from the Appearance menu. You can add your font files here. Look for the style.css file. Add your font’s code there. This makes your font work on your site. It’s easy and quick. But be careful not to break other codes.
A Child Theme helps keep changes safe. First, create a child theme folder. Add a style.css file inside it. Next, upload your font files. Use the style.css file to link your fonts. This keeps your fonts even after updates. It’s a smart way to manage fonts.
FTP is a tool to access your website files. Use it to upload fonts directly. Connect to your site with an FTP client. Find the wp-content folder. Upload your font files here. Next, open the theme’s style.css file. Add your font’s URL to this file. Your custom fonts are now ready to use.
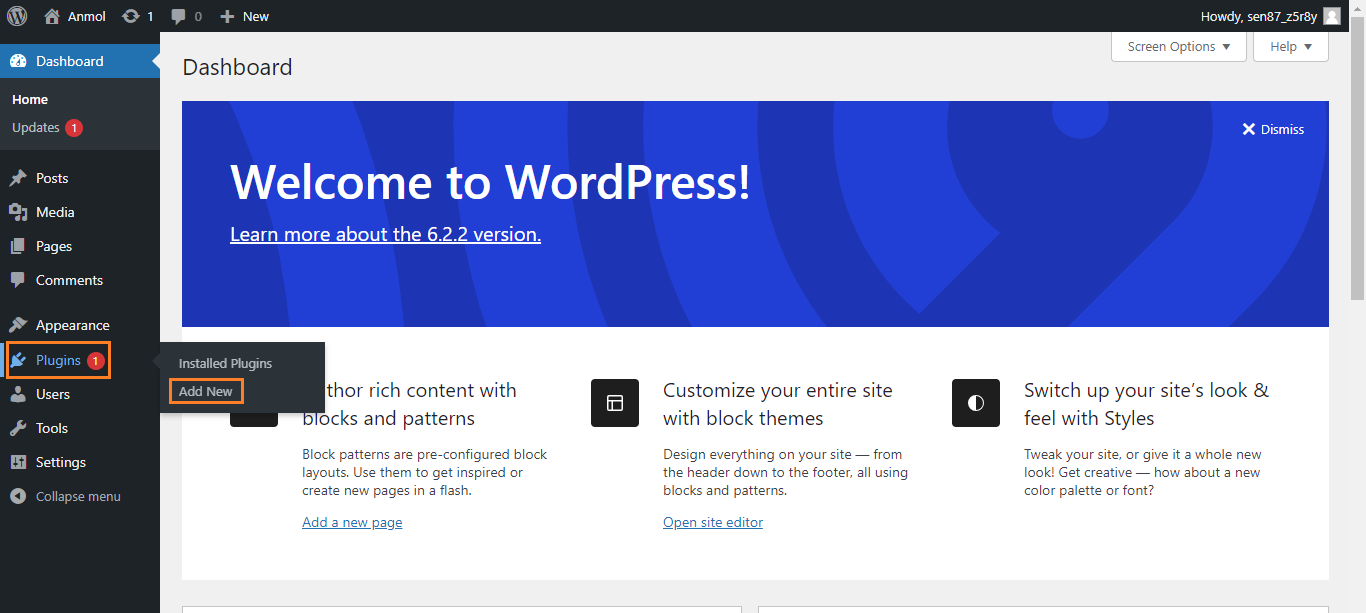
Credit: devrims.com
Integrating Fonts Into Css
Defining @font-face Rules is easy. First, find the font you like. Download it. Next, in your CSS file, add the @font-face rule. Specify font name and file path. Don’t forget to set the format. Popular formats are woff and ttf. Now, you can use this font in your styles.
Linking Fonts in Stylesheets involves adding the font-family property. Choose the elements to style. Use the font-family property with your custom font name. This makes the text use your chosen font. Always check for browser compatibility. Some fonts might not work in all browsers.
Testing Font Display is crucial. Open your website. View different pages. Check if the font appears correctly. Ensure it looks good on mobile devices too. If the font does not display, revisit your CSS settings. Confirm the file paths and formats are correct. This ensures your site looks perfect.
Using Plugins For Font Management
Plugins simplify adding custom fonts to your WordPress theme. They offer user-friendly interfaces for seamless font uploads. Enhance your site’s look with diverse typography options.
Exploring Popular Font Plugins
Many plugins help with font changes. Easy Google Fonts and Font Organizer are popular choices. They are easy to use. You can find them in the WordPress plugin store. These plugins are free. Some offer paid versions with more features. Choose the right one for your needs. Check user reviews for guidance.
Setting Up Plugins
Install the plugin from the WordPress store. Click on “Add New” in the plugin menu. Search for your chosen plugin. Click “Install” and then “Activate”. The plugin is ready to use. Follow the instructions given by the plugin. Some plugins offer tutorials. They help you set up fonts easily.
Customizing Font Settings
Access the plugin settings. Choose the fonts you like. You can change font size and style. Adjust colors if needed. Save your changes. Preview them on your site. Make sure they look good. Modify settings again if necessary. Use the plugin dashboard for easy changes.
Troubleshooting Font Issues
Custom fonts enhance your WordPress site’s design. Easily add them by accessing your theme’s stylesheet. Use the @font-face rule to define font properties and include the font files in your theme directory for seamless integration.
Resolving Compatibility Problems
Different browsers sometimes show fonts differently. This can be frustrating. Check the font format. Use formats like WOFF or TTF. They work well on most browsers. Some fonts need extra CSS settings. Add “font-display: swap;” to your CSS. This helps in showing text while fonts load. Test fonts on different browsers. Make sure they look the same. This ensures a smooth user experience.
Fixing Loading Errors
Fonts sometimes do not load. Check your theme’s functions.php file. Add font links properly. Use Google’s font service or host fonts yourself. Wrong URLs can cause issues. Ensure URLs are correct. Clear your browser cache. Try reloading the page. This often fixes loading errors. Always keep your theme updated. This helps avoid many issues.
Ensuring Mobile Responsiveness
Fonts should look good on phones. Use responsive design. It adjusts fonts for small screens. Set font sizes in “em” or “%”. This scales fonts better. Test your site on different devices. Ensure text is readable. Check font weight and line height. They affect readability. Users should easily read text on all devices.
Optimizing Font Performance
Use smaller font files to speed up your site. Choose web-friendly font formats like WOFF or WOFF2. They are smaller and load faster. Avoid using too many font weights or styles. This keeps your site light and quick.
Load fonts smartly to improve speed. Use font-display CSS property for better control. Try swap to load text with a fallback font first. Then swap with the custom font once loaded. This helps in showing text faster.
Check how fonts affect your site speed. Use tools like Google PageSpeed Insights. They show if fonts slow down your site. Regular checks can help you maintain a fast website. Keep optimizing for the best performance.
Credit: themeisle.com
Frequently Asked Questions
How Do I Add A Custom Font In A WordPress Theme?
To add a custom font in WordPress, use the @font-face rule in your theme’s CSS file. Upload the font files to your server. Modify the CSS to include the font path. Use the new font in your theme styles. Consider using the “Use Any Font” plugin for easier integration.
How To Add Custom Font In WordPress Without Plugins?
Upload the font files to your theme’s folder via FTP. Edit your theme’s style. css file. Add `@font-face` rule with font-family and src attributes pointing to the uploaded fonts. Use the font-family in your CSS to apply the custom font.
Clear cache to see changes.
How Do I Add A Font To A Theme?
To add a font to a theme, upload the font files to your theme’s directory. Update the CSS file to include the font using @font-face. Apply the font to your elements using CSS font-family property. Ensure compatibility across different browsers for best results.
How Do I Add A Custom Font To My Website?
Upload your font file to your server. Add a @font-face rule in your CSS file. Specify the font’s URL and desired styles. Use the font-family property to apply it to elements on your website. Ensure cross-browser compatibility by including multiple font formats (e.
g. , WOFF, TTF, EOT).
Conclusion
Adding custom fonts enhances your WordPress theme’s appearance. It reflects your brand identity better. You now know how to integrate unique fonts. Follow each step carefully. Ensure your website looks appealing. Don’t forget to test font compatibility across devices. It’s important for user experience.
Custom fonts can make your site stand out. They offer a more personalized touch. Explore different font styles and sizes. Experiment with colors too. Keep your audience engaged. Your website should be visually pleasing. Happy font customizing!


