
Are you looking to add a form to your WordPress site but don’t know where to start? Adding a form can seem tricky, but it’s easier than you think—and it can make a huge difference for your website.
Whether you want to gather feedback, collect emails, or let visitors contact you directly, having a form is a must. In this guide, you’ll learn simple, step-by-step ways to create and add a form that fits your needs perfectly. Keep reading, and by the end, you’ll have a powerful tool on your site that helps you connect with your audience like never before.
Choosing The Right Form Plugin
Choosing the right form plugin is key to creating a smooth user experience. The plugin you pick affects how easy your form is to build and use. It also impacts your website’s speed and security. Picking a plugin that fits your needs will save time and reduce frustration.
Popular Form Plugins
Several form plugins work well with WordPress. Contact Form 7 is simple and free. WPForms offers drag-and-drop tools that beginners like. Gravity Forms has advanced features but costs money. Ninja Forms balances ease and power with a free version. Each plugin serves different needs and skill levels.
Free Vs Premium Options
Free plugins let you create basic forms at no cost. They often have limited templates and features. Premium plugins include more templates, integrations, and support. They help with payments, surveys, and marketing tools. Choose free for simple contact forms. Pick premium for more complex or professional forms.
Plugin Compatibility
Check if the plugin works well with your WordPress version. It should also fit your theme and other plugins. A compatible plugin avoids site crashes or errors. Read reviews to see if others had issues. Regular updates signal good plugin support and security.
Credit: www.elegantthemes.com
Installing A Form Plugin
Installing a form plugin on WordPress is the first step to creating contact forms. It makes adding forms simple and fast. This section guides you through finding, installing, and activating the plugin.
Finding Plugins In WordPress
Go to your WordPress dashboard. Find the menu on the left side. Click on “Plugins” and then “Add New.”
Use the search bar at the top right. Type keywords like “form” or “contact form.” WordPress will list many plugins. Choose one with good ratings and many downloads.
Step-by-step Installation
After choosing a plugin, click the “Install Now” button. WordPress downloads the plugin files to your site. Wait a few seconds.
Once installed, the button will change to “Activate.” You can install multiple plugins but activate only the one you want to use.
Activating The Plugin
Click the “Activate” button next to the installed plugin. Activation makes the plugin work on your website. You can now access its settings and create forms.
Some plugins add a new menu item in the dashboard. Look for the plugin’s name or “Forms” to start building your form.
Creating Your First Form
Creating your first form on WordPress is simple and quick. Forms help collect information from visitors. You can use them for contact, surveys, or sign-ups. Follow clear steps to build a form that fits your needs. This guide covers the basics to get started right away.
Selecting A Form Template
Start by choosing a form template. Templates save time and effort. WordPress form plugins offer many options. Pick one that matches your form’s purpose. For example, choose a contact form for customer messages. Templates come with pre-set fields. You can change these fields later.
Adding Form Fields
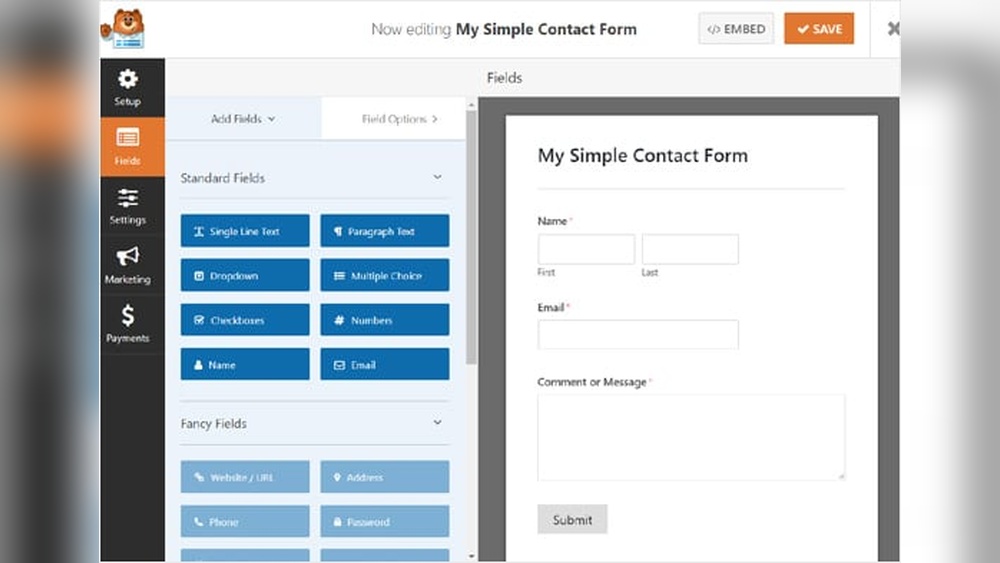
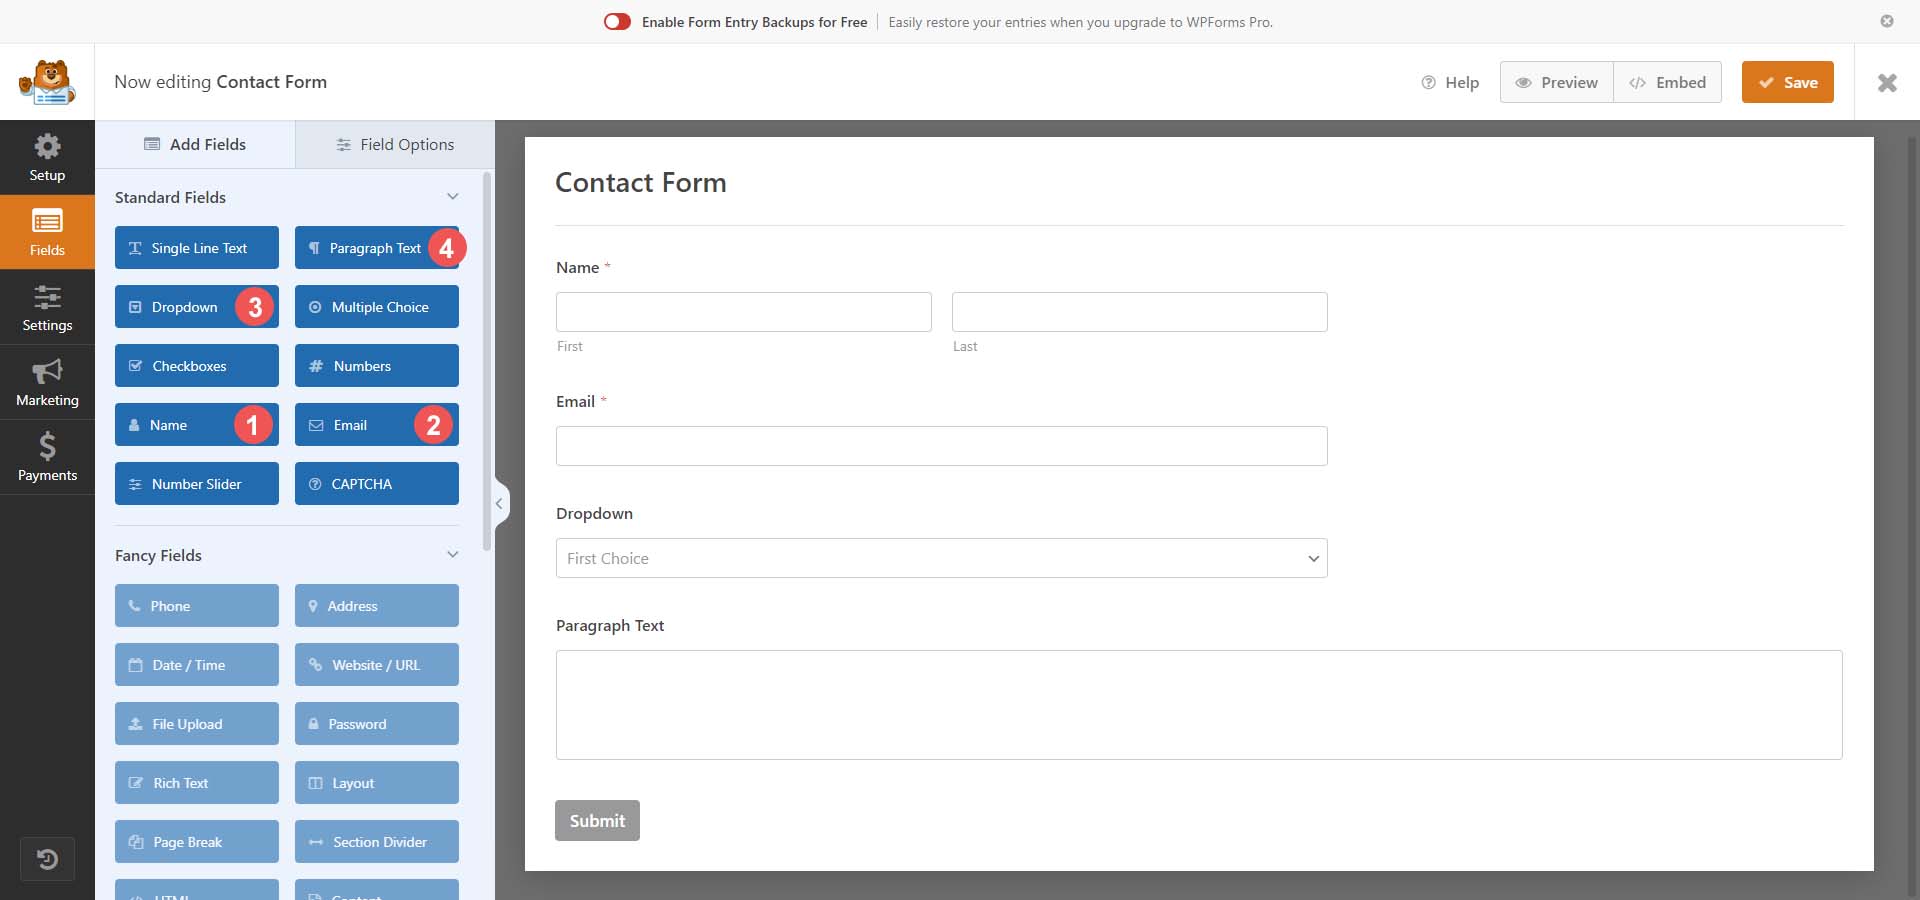
Next, add the fields you want in your form. Fields collect specific information like names and emails. Most plugins let you drag and drop fields easily. Add text boxes, checkboxes, or dropdown menus. Use only the fields you need. Keep the form simple and clear for users.
Customizing Field Settings
Adjust each field’s settings to fit your form. Change labels to explain what to enter. Set fields as required or optional. You can add placeholder text for guidance. Some plugins allow field size and style changes. Customize to make your form user-friendly and professional.
Configuring Form Settings
Configuring form settings is a key step after creating your form on WordPress. It helps control how your form behaves and how you receive submissions. Setting the right options improves user experience and makes managing responses easier.
Setting Notifications
Notifications alert you or your team when someone submits the form. You can set the email address that receives these alerts. Customize the subject line and message to include important details. This keeps you informed without checking the site constantly.
Enabling Spam Protection
Spam protection stops unwanted or fake form submissions. Use tools like Google reCAPTCHA or simple math questions. These methods block bots while keeping the form easy for real users. This keeps your inbox clean and your data reliable.
Adjusting Form Layout
Form layout controls how fields appear on the page. Adjust spacing, alignment, and column numbers to match your site style. A clean layout makes the form easier to read and fill out. Users are more likely to complete a well-organized form.
Embedding The Form On Your Site
Embedding your form on a WordPress site is simple and quick. It lets visitors send messages or information directly through your site. This step connects your form to your audience.
There are several ways to embed a form. You can use shortcodes, add forms to pages or posts, or place forms in widgets. Each method fits different needs and site areas.
Using Shortcodes
Shortcodes are small code snippets that WordPress uses to add content. Most form plugins generate a shortcode for your form. Copy this shortcode from the plugin settings.
Paste the shortcode into the editor where you want the form to appear. WordPress will show the form instead of the code. This method is fast and works in many places.
Adding Forms To Pages Or Posts
Open the page or post editor in WordPress. Choose the spot where you want the form. Paste the form’s shortcode or use the plugin’s block if available.
Update or publish the page to save your changes. Visitors can now see and use the form on that page or post. This method helps keep your content organized.
Placing Forms In Widgets
Widgets show content in sidebars or footers. Go to Appearance > Widgets in your WordPress dashboard. Add a text or custom HTML widget to your chosen widget area.
Paste your form’s shortcode inside the widget. Save the widget settings. Your form will appear in the sidebar or footer on every page. Widgets are great for consistent form visibility.
Credit: help.formstack.com
Testing And Troubleshooting
Testing and troubleshooting your WordPress form is important. It helps ensure the form works well and collects data correctly. Problems can stop users from sending their messages. Fixing these issues improves user trust and site performance.
Submitting Test Entries
Start by filling out the form yourself. Use different devices and browsers to check compatibility. Submit the form with valid and invalid data. Watch for error messages or missing fields. Confirm the form sends data to the right email or database. Repeat tests after any change to catch new problems early.
Common Issues And Fixes
Forms may not send emails due to wrong settings or spam filters. Check your email address and SMTP setup. Validation errors happen if fields require specific input. Adjust rules or add clear instructions. Slow loading or broken forms can result from plugin conflicts. Disable other plugins to find the cause. Use caching tools carefully, as they might block form scripts.
Improving User Experience
Make the form simple and clear. Use labels and placeholders for guidance. Show error messages close to the problem fields. Add a confirmation message after submission. Avoid asking too many questions. Test loading speed. Fast forms keep users engaged and reduce drop-offs.
Advanced Form Features
Advanced form features make your WordPress forms smarter and more useful. They help you collect better data and improve user experience. These features go beyond basic form fields and allow you to customize how forms behave.
With advanced options, you can create dynamic forms that change based on user input. You can also accept payments directly through your forms. Tracking form performance becomes easy with built-in analytics tools.
Conditional Logic
Conditional logic changes form fields depending on user choices. It shows or hides questions based on previous answers. This keeps forms short and relevant for each user. For example, you can ask more details only if someone selects a specific option. This reduces confusion and speeds up form completion.
Payment Integration
Payment integration lets users pay through your form. It supports popular payment methods like PayPal and Stripe. This is perfect for online orders, donations, or event registrations. You can set up payment fields easily and securely. No need for separate checkout pages.
Form Analytics
Form analytics tracks how users interact with your forms. It shows stats like views, submissions, and drop-off rates. You can see which questions cause users to leave. This helps improve your forms for better results. Analytics tools often include charts and reports for easy understanding.

Credit: formidableforms.com
Frequently Asked Questions
How Do I Add A Contact Form In WordPress?
You can add a contact form using plugins like WPForms or Contact Form 7. Install, activate, and customize the form, then embed it using a shortcode on any page or post.
What Is The Best Plugin For WordPress Forms?
WPForms is highly recommended for beginners. It offers drag-and-drop features, pre-built templates, and easy integration with email marketing services, making form creation simple and efficient.
Can I Customize WordPress Forms Without Coding?
Yes, many WordPress form plugins allow customization without coding. Use drag-and-drop builders and settings to change fields, styles, and notifications easily within the plugin interface.
How Do I Embed A Form On A WordPress Page?
After creating your form, copy its shortcode. Paste the shortcode into the WordPress editor where you want the form to appear, then publish or update the page.
Conclusion
Adding a form on WordPress is simple and quick. Choose the right plugin and follow the steps carefully. Test your form to make sure it works well. A good form helps visitors contact you easily. Keep your forms clear and easy to fill out.
This improves user experience and builds trust. Start adding forms today to connect better with your audience.


