
Are you looking to make your WordPress images more interactive and engaging? Adding a button directly on an image can grab your visitors’ attention and guide them exactly where you want.
Whether you want to boost clicks, highlight a special offer, or improve your site’s user experience, placing a clickable button on an image is a simple yet powerful trick. You’ll learn easy step-by-step methods to add buttons on images in WordPress—no complicated coding needed.
Keep reading, and you’ll have your images working harder for you in no time.
Choose The Right Image
Choosing the right image is key to adding an effective button in WordPress. The image should match your content and attract visitors. A clear, high-quality image works best. It must also have enough space for the button without hiding important parts. This makes the button easy to see and click.
Select Image From Media Library
WordPress stores all uploaded images in the Media Library. You can pick an image already in your collection. This saves time and keeps your site organized. Browse the library and choose an image that fits your post or page. Check its size and clarity before selecting.
Selecting an image from the library is simple. Click “Add Media,” then “Media Library.” Scroll through images and click the one you want. Confirm by clicking “Insert into post.” The image appears ready for adding a button.
Upload A New Image
Uploading a new image ensures fresh, relevant visuals. Click “Add Media” and then “Upload Files.” Drag your image or use the “Select Files” button. Choose an image from your computer that suits your content.
After upload, the image appears in your Media Library. Select it and click “Insert into post.” This method helps keep images updated and relevant. New images can improve engagement and support your message.
Credit: www.isitwp.com
Pick A Method To Add Button
Adding a button on an image in WordPress can improve interaction and guide visitors. Choose a method that fits your skills and website needs. WordPress offers several ways to place buttons on images. Each method has its own benefits and steps.
Using WordPress Block Editor
The WordPress Block Editor lets you add buttons without plugins. Insert an image block first. Then, add a button block right above or below the image. You can also group these blocks together to keep them aligned. Customize the button text, color, and link easily. This method is simple and works well for basic needs.
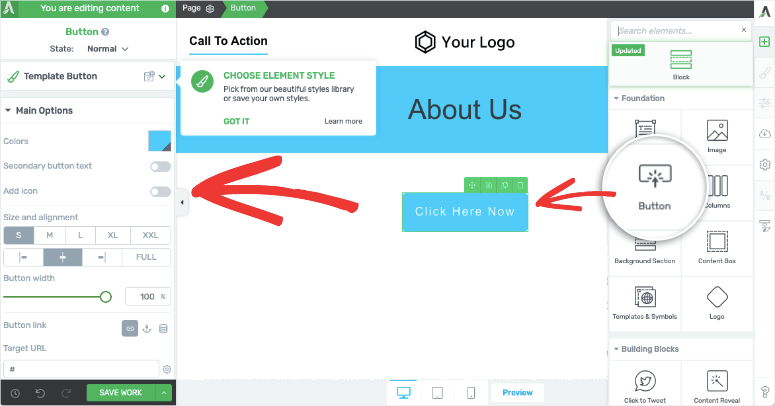
Using Page Builder Plugins
Page builder plugins like Elementor or Beaver Builder provide more control. They allow you to place buttons directly on top of images. Drag and drop elements to design your layout. You can adjust button size, style, and position with ease. This method suits users who want more design freedom without coding.
Using Custom Html And Css
Adding buttons with custom HTML and CSS offers full customization. Write the HTML code to place a button over the image. Use CSS to position the button exactly where you want. This method needs basic coding knowledge. It is perfect for those who want unique designs and full control over styles.
Add Button Via Block Editor
Adding a button on an image can make your WordPress site more interactive. The Block Editor allows you to do this easily. You can place a button right on top of an image to guide visitors.
This method does not require coding skills. It works well for calls to action, like “Buy Now” or “Learn More.” Follow the simple steps below to add a button using the Block Editor.
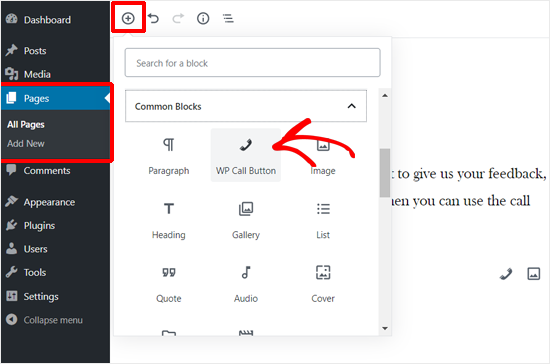
Insert Image Block
Start by opening the page or post in the Block Editor. Click the plus (+) icon to add a new block. Search for the “Image” block and select it.
Upload your image or choose one from the media library. The image will appear on your page ready for the next step.
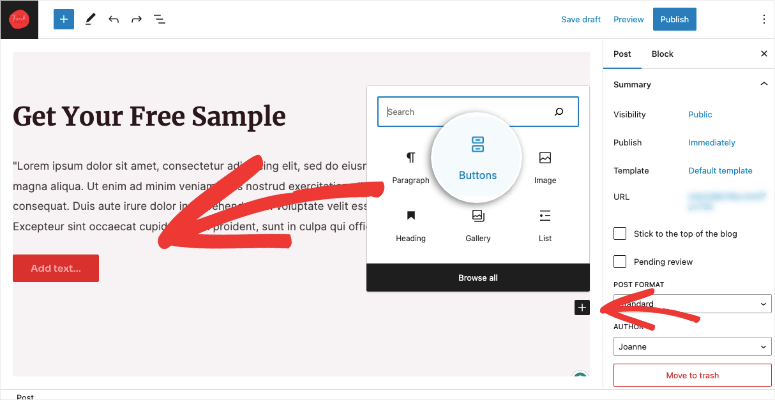
Add Button Block Over Image
Next, add a “Buttons” block. Click the plus (+) icon again and find the “Buttons” block. Insert it right after the image block.
Type the text for your button, like “Click Here.” The button will appear below the image by default.
To place the button over the image, you need to use a group or cover block. Select both the image and button blocks by holding Shift and clicking them.
Click the three-dot menu and choose “Group” or “Add to Cover.” This groups the blocks and allows you to layer the button on the image.
Adjust Button Position
Once the button is over the image, click the group or cover block. Use the alignment options to move the button.
Drag the button to the desired spot on the image. You can place it at the center, bottom, or any corner.
Fine-tune the button’s padding and margins from the block settings. This controls the space around the button for a clean look.
Preview your changes to see how the button appears on the image. Make sure it stands out and is easy to click.
Credit: www.isitwp.com
Add Button With Page Builder
Adding a button on an image in WordPress can boost user interaction. Page builders make this task simple. You don’t need coding skills to do it. Just follow a few steps to place a clickable button over your image. The button can link to another page or trigger an action.
Choose Compatible Plugin
Start by selecting a page builder plugin. Popular options include Elementor, Beaver Builder, and Divi. These plugins support drag and drop features. Make sure your chosen plugin works well with your WordPress theme. Check the plugin ratings and reviews for reliability. Install and activate the plugin from your WordPress dashboard.
Drag And Drop Image And Button
Open the page builder editor for your post or page. Find the image widget and drag it to your desired spot. Upload or select your image from the media library. Next, drag a button widget and place it over the image. Most builders allow you to layer elements easily. Adjust the button position until it looks right on the image.
Customize Button Appearance
Click the button to open customization options. Change the button text to match your goal. Set the button color to contrast well with the image. Adjust size, font, and padding for readability. Add a link URL for the button action. Preview your page to ensure the button appears and works correctly.
Add Button Using Custom Code
Placing a button on an image in WordPress can be done with custom code. This method lets you control the button’s style and position easily. It’s a simple way to make images interactive and clickable.
Write Html For Image And Button
Start by writing the HTML code to place the image and button together. Use a div to hold both elements. Inside the div, add an img tag for the picture. Then add a button or an a tag for the clickable button. Give the container a class to style it later.

Style Button With Css
Write CSS rules to make the button look good on the image. Use the container’s class to position the button. Add background color, padding, and border radius to the button. Change text color for readability. Use position: absolute; to place the button over the image. Set the container to position: relative; so the button aligns correctly.
.image-button-container { position: relative; display: inline-block; } .custom-button { position: absolute; bottom: 20px; left: 20px; background-color: 0073aa; color: white; padding: 10px 15px; border-radius: 5px; text-decoration: none; font-size: 16px; } Make Button Responsive
Ensure the button looks good on all screen sizes. Use CSS media queries to adjust the button size and position. Decrease padding and font size on smaller screens. Keep the button easy to tap on phones. This improves user experience and keeps the design clean.
@media (max-width: 600px) { .custom-button { bottom: 10px; left: 10px; padding: 8px 12px; font-size: 14px; } } Link Button To Desired Url
Linking a button on an image to a specific URL is key for directing visitors. It guides users to important pages, products, or services. This step helps improve site navigation and user experience. The process is simple and quick to do in WordPress.
Set Button Link
First, select the button on your image within the editor. Look for the link or URL field in the button settings. Enter the full web address you want the button to open. Make sure to include “http://” or “https://” at the start. This ensures the link works correctly. Save the changes before previewing your page.
Open Link In New Tab Option
Enabling the option to open the link in a new tab keeps users on your site. Find the setting labeled “Open link in new tab” or similar. Check this box to activate the feature. This setting allows visitors to view the linked page without leaving your site. It improves user engagement and session time.
Test Button Functionality
Testing the button on your image ensures it works well for all users. This step helps catch problems early. It also improves user experience on your site. Test the button both on desktop and mobile devices.
Check Button Clickability
Click the button several times to confirm it responds. The button should link to the correct page. Make sure the button looks clickable. It must change the cursor or highlight on hover. This signals users that the button is active.
Verify Mobile Responsiveness
Open your site on a smartphone or tablet. Tap the button to see if it works smoothly. The button should be easy to find and click on small screens. Check if the button size adjusts properly. Avoid buttons that are too small or too close to other links.
Credit: www.wpbeginner.com
Troubleshoot Common Issues
Adding a button on an image in WordPress is simple. Still, some common issues may arise. These problems can stop your button from working well or looking right. Fixing these issues improves user experience and keeps your site professional.
Fix Button Overlapping Problems
Buttons may overlap other parts of your page. This happens if the button’s position is not set correctly. Check the button’s CSS for position values like absolute or fixed. Change these to relative or static to keep the button in place.
Use padding or margin to give space around the button. This stops the button from covering text or images. Resize the button if it is too big. A smaller button fits better and looks cleaner.
Test your page on different screen sizes. Overlapping often shows on mobile devices. Use responsive design tools to adjust the button’s size and position for all devices.
Resolve Link Not Working
Buttons need correct links to work. Check the URL you added to the button. Make sure it starts with http:// or https://. A missing prefix can break the link.
Clear your browser cache. Sometimes old versions of the page load and block new changes. Refresh the page after clearing cache to test the link again.
Disable plugins one by one to find conflicts. Some plugins stop buttons from working. If a plugin causes the issue, try updating or replacing it.
Frequently Asked Questions
How Do I Add A Clickable Button On A WordPress Image?
To add a clickable button on a WordPress image, use a page builder or custom HTML. Insert the image, then overlay the button using block editor or CSS for precise positioning.
Can I Customize Button Style On Images In WordPress?
Yes, WordPress allows full button customization on images. Use built-in block editor options or plugins to change colors, size, font, and hover effects to match your site’s design.
Is It Possible To Link A Button On An Image In WordPress?
Absolutely. When adding a button on an image, you can set its link URL. This directs users to any page, post, or external site upon clicking the button.
Which WordPress Plugins Help Add Buttons On Images Easily?
Popular plugins like Elementor, WPBakery, and Ultimate Addons simplify adding buttons on images. They offer drag-and-drop interfaces and styling options without coding knowledge.
Conclusion
Adding a button on an image in WordPress is simple and useful. It helps visitors click easily and take action. Use the steps shared here to place buttons quickly. Choose clear words for your button to guide users well. Test your site on different devices to ensure it looks good.
Keep practicing to get better at it. Buttons on images make your site interactive and user-friendly. Try adding one today and see the difference.


