
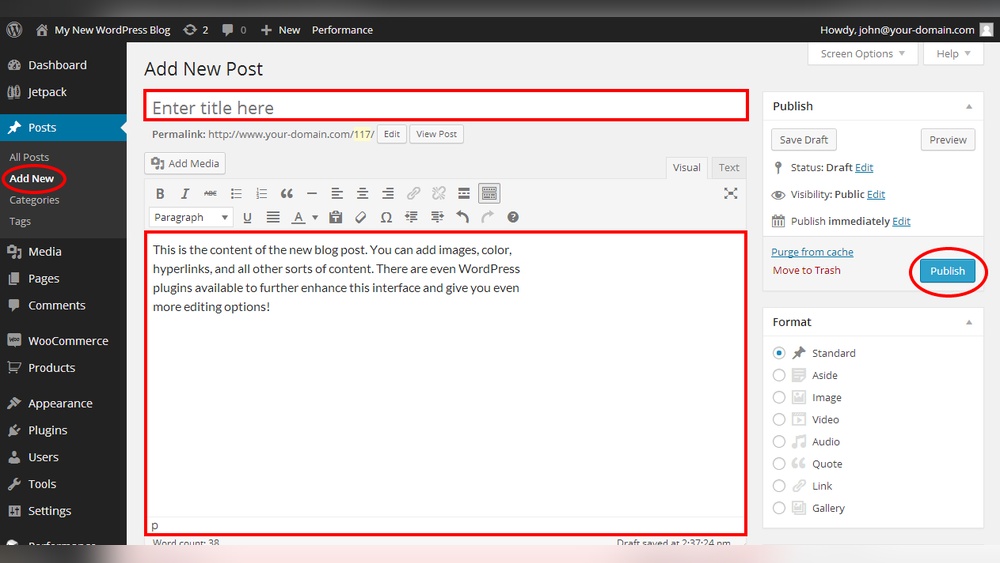
Are you ready to make your blog posts more engaging and visually appealing? Adding images to your WordPress blog can instantly grab your readers’ attention and make your content easier to understand.
But if you’re unsure how to do it or worried it might be complicated, don’t worry—you’re in the right place. In this guide, you’ll discover simple, step-by-step instructions to add images to your WordPress posts quickly and effortlessly. By the end, you’ll know exactly how to enhance your blog with pictures that keep your readers hooked and coming back for more.
Let’s get started!
Credit: shortiedesigns.com
Choosing The Right Image
Choosing the right image for your blog post is important. It helps explain your message better. A good image keeps readers interested. It also makes your post look professional. Choosing the right picture means thinking about quality, size, and relevance. This guide covers the basics you need to know.
Image Formats To Use
Choose the correct image format for your blog. JPEG is great for photos. It keeps good quality with small file size. PNG works well for graphics and logos. It supports transparent backgrounds. GIF is best for simple animations. Avoid BMP or TIFF; they are large and slow.
Finding Free And Paid Images
Use free image sites like Unsplash, Pexels, and Pixabay. These sites offer many quality photos you can use. Check the license to be sure. Paid sites like Shutterstock and Adobe Stock have more choices. They often offer higher quality and exclusive photos.
Optimizing Image Size
Large images slow down your blog. Slow sites lose readers and rank lower on Google. Resize your images before uploading. Keep them under 100 KB if possible. Use tools like TinyPNG or ImageOptim to compress images. Proper size keeps your blog fast and user-friendly.
Credit: blog.hubspot.com
Uploading Images To WordPress
Uploading images to WordPress is simple and quick. Images make your blog posts more interesting. They catch readers’ eyes and help explain your ideas better.
WordPress offers several ways to upload images. Choose the method that fits your needs and skills. Below are three easy ways to add images to your posts.
Using The Media Library
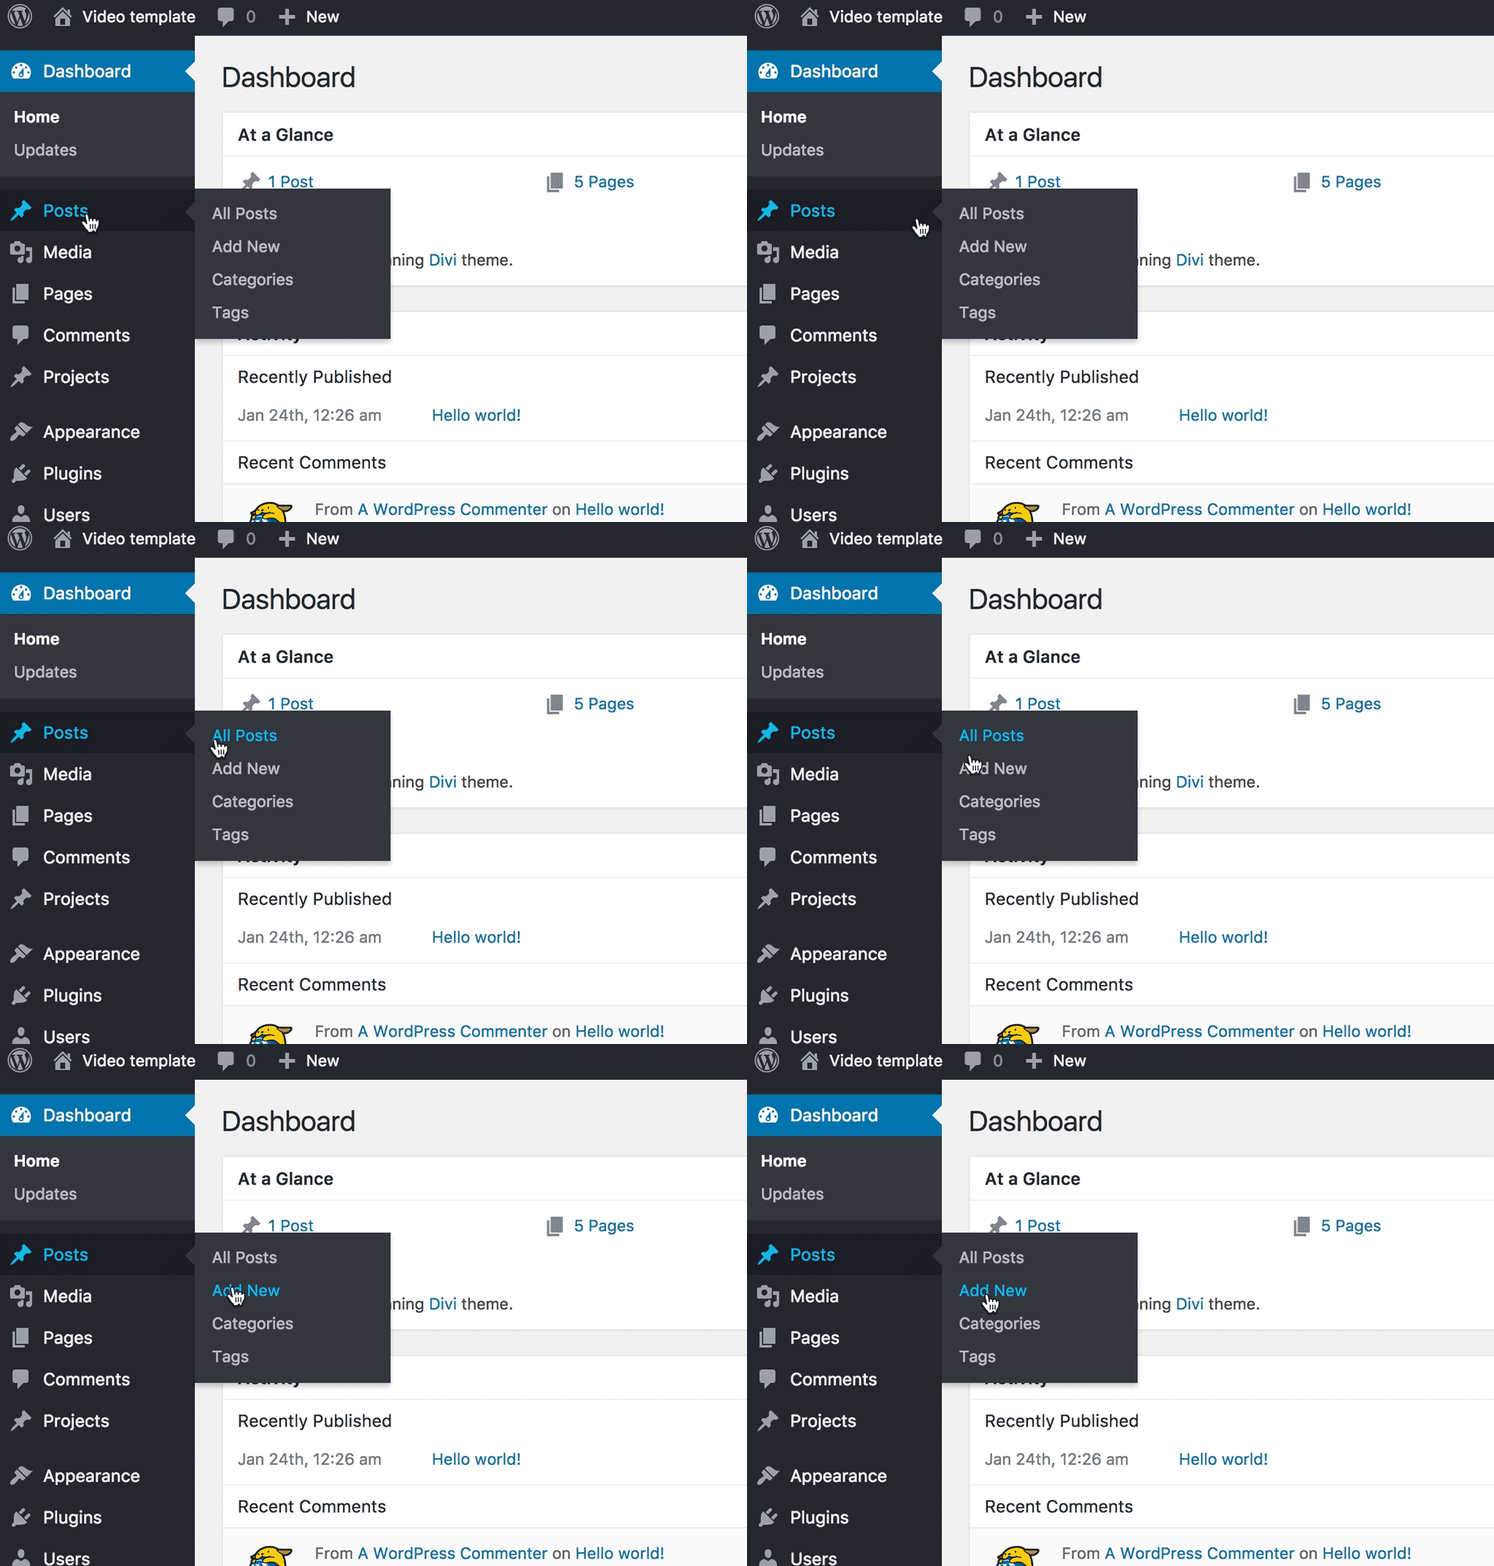
The Media Library is the main place to manage your images. Click on “Media” in the WordPress dashboard. Then select “Add New” to upload images from your computer.
After uploading, images appear in the library. You can reuse these images in any post or page. The library also lets you organize and delete images easily.
Drag And Drop Upload
Drag and drop is the fastest way to upload images. Open your blog post editor. Drag an image file from your computer and drop it into the editor area.
WordPress will upload the image automatically. You see the image right inside your post. This method saves time and effort.
Uploading Via Url
You can upload images using a web address (URL). Copy the image URL from another website. In the post editor, choose “Add Media” and select “Insert from URL.”
Paste the URL into the box. WordPress will load the image without saving it to your server. This method is useful for linking images without uploading files.
Inserting Images Into Blog Posts
Images make blog posts more interesting and easier to understand. They break up the text and catch the reader’s eye. Adding images in WordPress is simple and helps your content stand out. This section shows how to insert images into your blog posts using different editors and how to adjust their position and alignment.
Adding Images With Gutenberg Editor
The Gutenberg editor uses blocks to add content. To insert an image, click the plus (+) button. Select the Image block from the menu. You can upload a new image or choose one from the Media Library. After adding the image, you can add a caption below it. The block settings let you resize or crop the image. You can also add alt text for SEO and accessibility. The editor shows a live preview of your image in the post.
Using Classic Editor
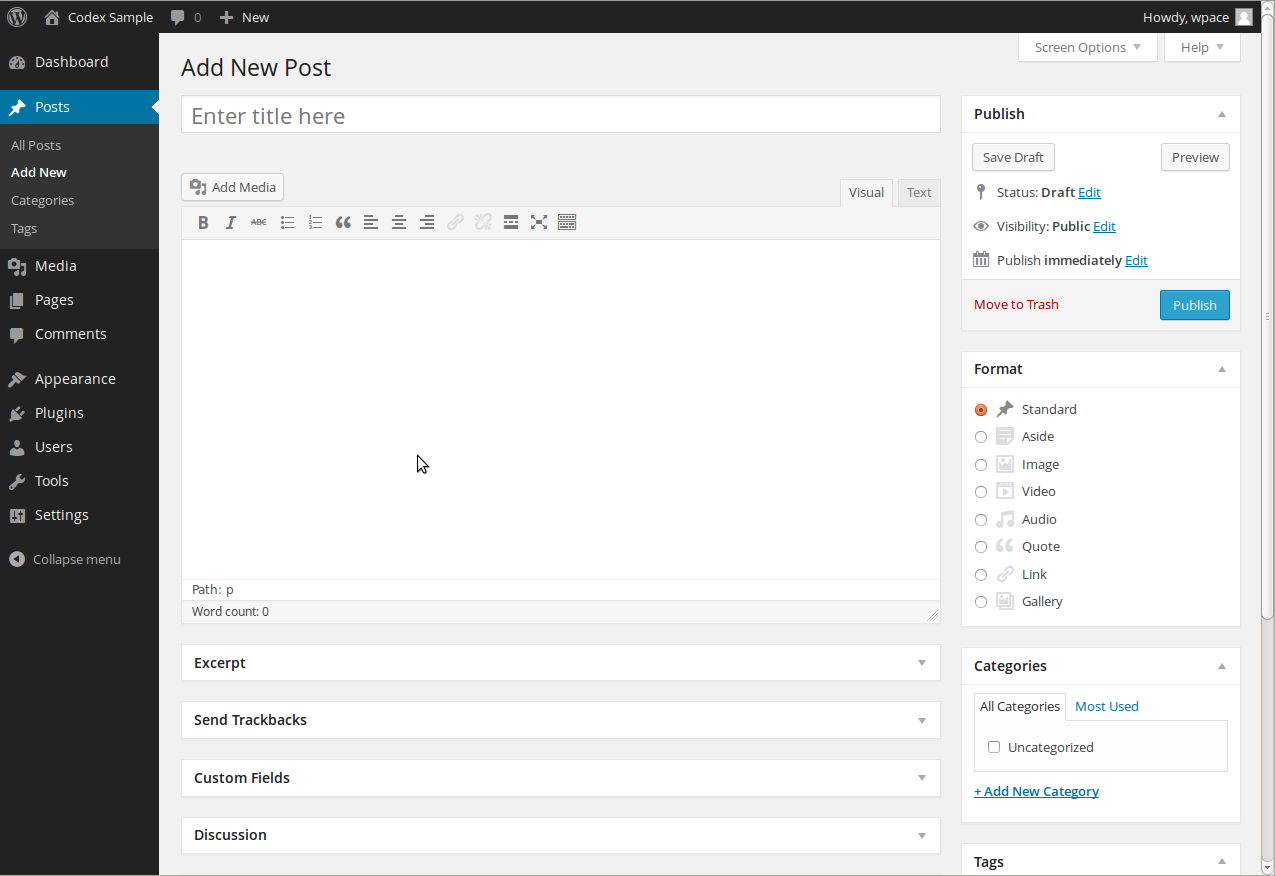
The Classic Editor looks like a simple text editor with a toolbar. To add an image, click the Add Media button above the text box. Upload a new file or select one from the Media Library. Once you choose an image, click Insert into post. The image appears in your content. You can click on the image to access basic editing tools. These tools let you resize the image or add a link. Alt text can be added in the image details before inserting it.
Positioning And Alignment Options
After inserting an image, controlling its position improves the look of your post. WordPress offers alignment options: left, center, right, or none. Aligning left or right wraps text around the image. Center alignment places the image on its own line. You can also set image size from thumbnail to full size. Try different alignments to see what fits best with your content. Proper alignment keeps your blog post neat and easy to read.
Customizing Image Appearance
Customizing the appearance of images in your WordPress blog post makes your content more attractive and clear. You can control how images look and behave to match your style. Small changes can improve user experience and SEO performance.
Adding Captions And Alt Text
Captions appear below images and help explain them. They give readers quick information about the picture. Adding captions also improves accessibility.
Alt text describes the image for search engines and screen readers. It should be short and descriptive. This text helps your site rank better and assists visually impaired users.
Resizing And Cropping Images
Resizing adjusts the image size to fit your post layout. Use WordPress tools to change width and height easily. Proper size keeps your page fast and neat.
Cropping removes unwanted parts of an image. It focuses on the main subject. You can crop images directly in the WordPress editor for a perfect fit.
Using Image Links
Image links turn pictures into clickable elements. They can lead to another page or a larger version of the image. This feature helps guide readers or showcase details.
Set links by selecting the image and choosing the link option. Use clear URLs or link to media files for better results.
Enhancing Images With Plugins
Enhancing images with plugins in WordPress makes your blog visually appealing and user-friendly. Plugins offer extra features that improve how images look and load. They help save time and make your blog faster. You can choose from many plugins based on your needs.
Popular Image Plugins
Several plugins help you manage images better. Some popular ones include Smush, EWWW Image Optimizer, and ShortPixel. These plugins reduce image size without losing quality. Smaller images load faster, improving your blog speed. They also help keep your site organized by managing image formats.
Lazy Loading For Speed
Lazy loading delays loading images until the user scrolls to them. This makes your page load faster at first. Many plugins add lazy loading automatically. Faster pages keep visitors longer and reduce bounce rates. This is important for a good user experience and SEO.
Creating Image Galleries
Image galleries show multiple pictures in a neat layout. Plugins like NextGEN Gallery or Envira Gallery help create beautiful galleries. You can add captions, lightbox effects, and slideshows. Galleries keep readers engaged and make your blog look professional. They are easy to set up with plugin tools.
Credit: wordpress.org
Troubleshooting Common Issues
Troubleshooting common image issues in WordPress can save you time and keep your blog looking professional. Problems with images often cause frustration but are usually easy to fix. Understanding typical issues helps you maintain a smooth reader experience.
Image Not Displaying
Images may fail to show if the file path is incorrect. Check the image URL in your post. Make sure the image is uploaded to your media library. Sometimes, file permissions block images from appearing. Set proper permissions for your uploads folder. Clear your browser cache to ensure you see the latest version.
Slow Loading Images
Large image files slow down page loading. Resize images before uploading them. Use JPEG for photos and PNG for graphics with few colors. Compress images to reduce file size without losing quality. Consider using lazy loading to load images only when needed. Fast-loading images improve user experience and SEO.
Fixing Broken Image Links
Broken links happen if you move or delete images. Update the image URL if you changed the file location. Avoid hotlinking images from other sites; they can be removed anytime. Use the WordPress media library to manage images safely. Regularly check your blog for broken images to fix them quickly.
Frequently Asked Questions
How Do I Insert An Image In A WordPress Blog Post?
To insert an image, click the “Add Block” button in the editor, select “Image,” then upload or choose from the media library. Adjust alignment and size as needed before publishing.
Can I Add Captions To Images In WordPress Posts?
Yes, after uploading an image, you can add a caption in the image block settings. Captions improve accessibility and provide context for readers.
What Image Formats Are Supported In WordPress Blog Posts?
WordPress supports JPEG, PNG, GIF, and WebP formats. Use JPEG for photos, PNG for graphics, and WebP for faster loading and better quality.
How Do I Optimize Images For Faster Loading In WordPress?
Optimize images by resizing before upload, compressing file size, and using plugins like Smush or ShortPixel to improve site speed and SEO.
Conclusion
Adding images to your WordPress blog makes posts more attractive. It helps readers understand your content better. Use clear and relevant pictures for best results. Remember to optimize image size for faster loading. Alt text is important for SEO and accessibility.
Practice these steps, and your blog will look great. Keep experimenting to find what works for your audience. Simple images can make a big difference. Start adding images today to improve your blog posts.


