
Are you struggling to find or access your WordPress email? You’re not alone.
Managing emails linked to your WordPress site can feel confusing, especially if you’re new to it. But don’t worry—this guide will show you exactly how to access your WordPress email quickly and easily. By the end, you’ll have full control over your messages and be able to stay connected with your site visitors without any hassle.
Keep reading to unlock simple steps that save you time and keep your site running smoothly.
Credit: logtivity.io
Accessing WordPress Email Settings
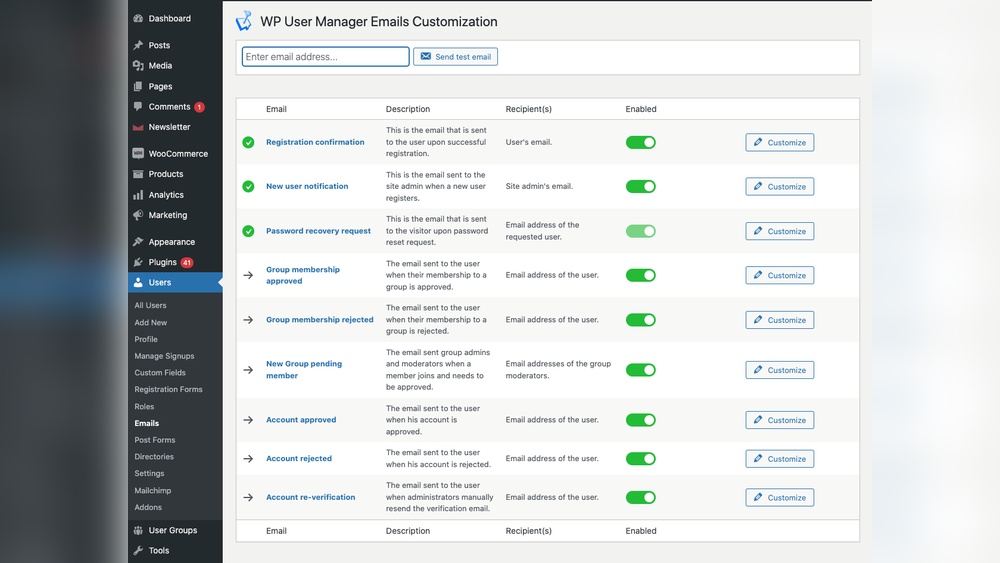
Accessing WordPress email settings is key to managing your site’s communication. These settings control how emails send from your website. You can change the sender’s address, control notifications, and manage email delivery. Understanding these settings helps improve email reliability and user experience.
Locating Email Configuration
Start by logging into your WordPress dashboard. Navigate to the “Settings” menu on the left side. Click on “General” to find basic email options. The “Email Address” field shows where WordPress sends admin emails.
For more advanced settings, check plugins like WP Mail SMTP. These plugins offer detailed email configuration options. They help fix issues with email delivery and let you use third-party mail servers.
Understanding Email Roles In WordPress
WordPress uses email for different roles. Admin emails notify about site updates, user registration, and errors. User emails handle password resets and account confirmations. Each role has a specific sender address and purpose.
Knowing these roles helps you control who receives what email. It also helps to keep your communication clear and professional. Adjust settings based on the role to improve your site’s email function.
Credit: www.wpzoom.com
Using Web Hosting Email Accounts
Using web hosting email accounts is a simple way to manage your WordPress emails. Most hosting providers include email services with your plan. These accounts let you send and receive emails using your website’s domain name. This looks professional and helps build trust with your visitors.
You can access your hosting email directly from the web hosting dashboard. No need for extra software or apps. Just log in and check your messages anytime. Setting up your email is quick and easy. It keeps all your website tools in one place.
Finding Your Hosting Email Dashboard
Start by logging into your web hosting account. Look for the section named “Email” or “Email Accounts.” This area controls all the email addresses linked to your domain. Hosting providers often use cPanel or a custom control panel. The email dashboard shows your inbox, settings, and options to create new addresses.
Check your hosting welcome email for login instructions. It usually includes the dashboard link and your username. You can also find tutorials on your hosting provider’s support site. The email dashboard is where you manage passwords, spam filters, and forwarding rules.
Logging Into Your Hosting Email
Once in the email dashboard, select the email account you want to use. Click on “Access Webmail” or a similar option. This opens the webmail interface where you read and send emails. Webmail works in any browser on desktop or mobile.
Enter your email address and password to log in. If you forget your password, reset it in the hosting control panel. Keep your credentials safe to avoid unauthorized access. Managing your hosting email through webmail is convenient and secure.
Checking Emails Through Cpanel
Checking emails through cPanel is simple and quick. This method helps you manage your WordPress email accounts without extra software. You can read, send, and organize emails from your hosting control panel.
Using cPanel gives direct access to your email accounts. It keeps everything in one place, making it easy for beginners to handle emails.
Navigating To Email Accounts
Log in to your hosting cPanel dashboard first. Look for the “Email” section on the main page. Click on “Email Accounts” to see all your email addresses linked to your domain.
Here, you can create new emails, manage passwords, or delete old accounts. This area shows storage usage and other details for each email.
Accessing Webmail Interface
From the “Email Accounts” page, find the email you want to check. Click the “Check Email” button next to it. This opens the webmail interface in a new tab or window.
The webmail allows you to read and send messages instantly. It works just like any email app but through your browser. Choose from different webmail clients like Horde, Roundcube, or SquirrelMail.

Credit: www.youtube.com
Setting Up Email Forwarding
Setting up email forwarding helps you receive emails sent to your WordPress domain directly in your personal inbox. This saves time and keeps your communication organized. It also ensures you do not miss important messages related to your website.
Email forwarding sends a copy of incoming emails from your hosting account to another email address. You can manage all your emails from one place without logging into different accounts.
Creating Forwarders In Hosting Panel
Log into your hosting control panel, such as cPanel or Plesk. Find the section labeled “Email” or “Email Forwarders.”
Click on the option to create a new forwarder. Enter the email address you want to forward from. Then, type the destination email address where you want to receive emails.
Save your changes. The forwarder will start working within minutes. Some hosts may take longer to activate the forwarding.
Testing Forwarded Emails
Send a test email to the forwarding address from a different email account. Check if the forwarded email appears in your destination inbox.
Look for any delays or missing emails. If the test fails, revisit the forwarding settings and correct any mistakes.
Testing ensures your forwarding setup works smoothly. It avoids missing important messages and keeps your communication reliable.
Using Smtp Plugins For WordPress Email
Using SMTP plugins is a reliable way to send emails from your WordPress site. SMTP stands for Simple Mail Transfer Protocol. It helps improve email delivery by using a proper mail server. This reduces the chance of your emails going to spam.
SMTP plugins connect your WordPress site to an email server. They make sure emails like notifications and newsletters reach the inbox. Most SMTP plugins are easy to install and configure. They work with popular email services like Gmail, Yahoo, and Outlook.
Installing Smtp Plugins
Go to your WordPress dashboard. Click on “Plugins” and then “Add New.” Type “SMTP” in the search bar. Choose a plugin with good reviews and many active installs. Click “Install Now” and then “Activate.”
Popular options include WP Mail SMTP and Easy WP SMTP. These plugins offer simple setup and clear instructions. After activation, you will see a new menu for SMTP settings.
Configuring Smtp Settings
Open the SMTP plugin settings page. Enter your email address and name. Choose your mailer type, like Gmail or SMTP server.
Next, add the SMTP server address. For example, smtp.gmail.com for Gmail. Enter the SMTP port number. Use 465 for SSL or 587 for TLS encryption.
Provide your email username and password. Save the settings and test the email function. The plugin will send a test email to check if all works well.
Troubleshooting Email Delivery Issues
Email delivery issues can disrupt communication and affect your WordPress site’s performance. Identifying and fixing these problems helps keep emails flowing smoothly. Troubleshooting email delivery requires understanding common issues and applying simple fixes.
Common Email Problems
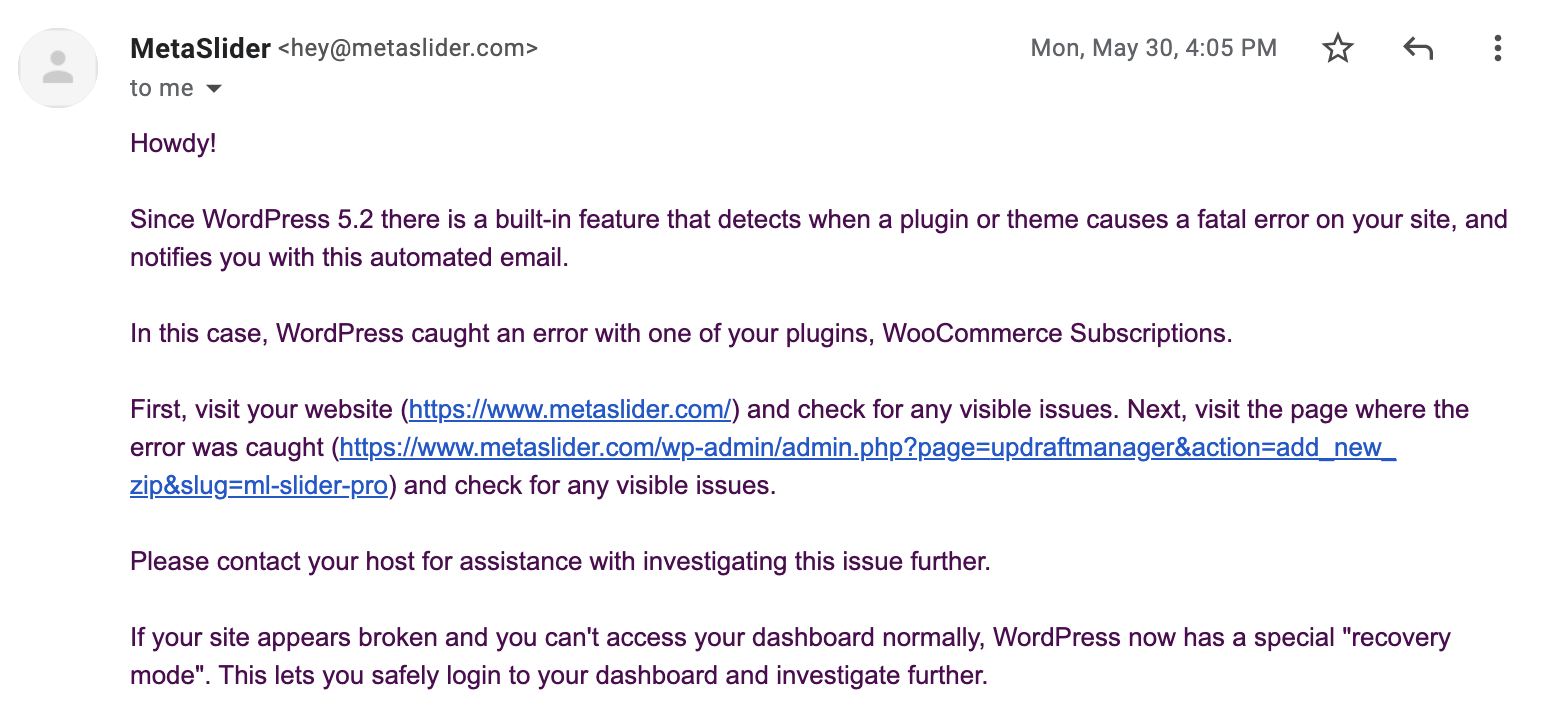
Emails may not send or arrive in the spam folder. Some users report delays or missing messages. Incorrect email settings cause many delivery problems. Server restrictions block outgoing emails. Poor hosting support also affects email reliability.
Steps To Fix Email Issues
Check your WordPress email settings for accuracy. Verify the sender email address matches your domain. Use SMTP plugins to improve email sending. Test emails regularly to catch issues early. Contact your hosting provider to check server limits. Consider using third-party email services for better delivery.
Frequently Asked Questions
How Do I Access WordPress Email Notifications?
To access WordPress email notifications, log in to your WordPress dashboard. Go to Settings > General or Email Settings. Ensure your email address is correct. Check your email inbox for messages sent by your WordPress site.
Where Can I Find WordPress Admin Email Settings?
WordPress admin email settings are in the dashboard under Settings > General. The admin email address handles site notifications and password resets. Update it if needed to receive all important WordPress emails.
How To Check WordPress Emails Not Received?
Check your spam or junk folder first. Verify your WordPress email settings and SMTP configuration. Use plugins like WP Mail SMTP to fix email sending issues and ensure reliable email delivery.
Can I Use Custom Email With WordPress?
Yes, you can use a custom email address with WordPress. Configure your domain’s email or use SMTP plugins to send emails from your preferred email address securely.
Conclusion
Accessing your WordPress email is simple with the right steps. Check your hosting or WordPress settings for email details. Use the correct login information to avoid errors. Keep your email secure by updating passwords regularly. This helps you stay connected with your website visitors.
Regularly check your email to respond quickly. Following these tips makes managing WordPress email easy. Stay organized and keep your website communication smooth.


