
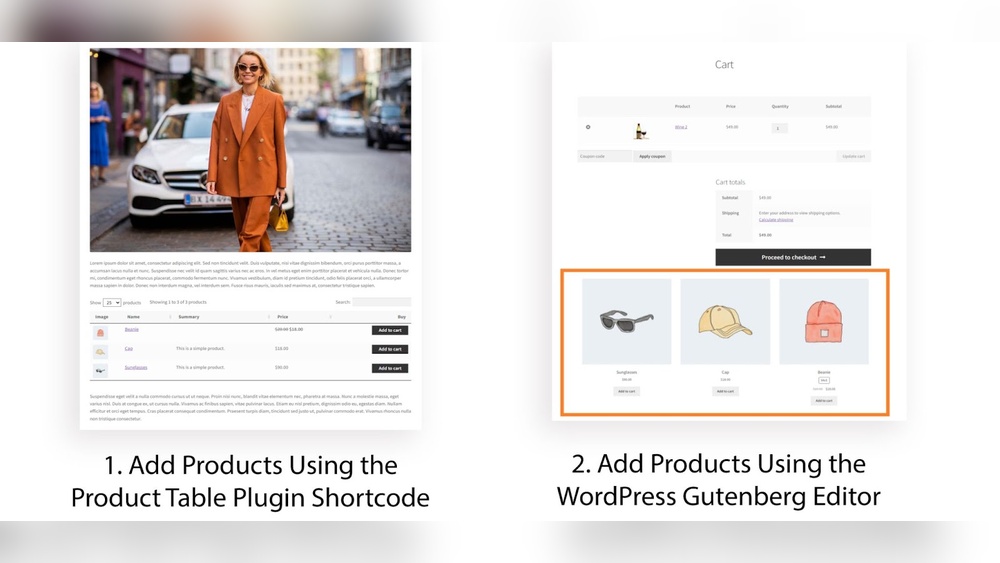
Are you ready to start selling your products online but don’t know where to begin? Adding products to your WordPress website might seem tricky at first, but it’s simpler than you think.
Imagine turning your site into a powerful store that works for you 24/7, helping you reach more customers and boost your sales. In this guide, you’ll discover step-by-step how to add products easily and effectively, even if you’re not a tech expert.
Stick with me, and by the end, you’ll have the confidence to showcase your products like a pro. Let’s get started!

Credit: www.youtube.com
Setting Up Woocommerce
Setting up WooCommerce is the first step to selling products on your WordPress site. It turns your website into a fully functional online store. The process is simple and fast. Follow the steps below to install and configure WooCommerce properly.
Installing The Plugin
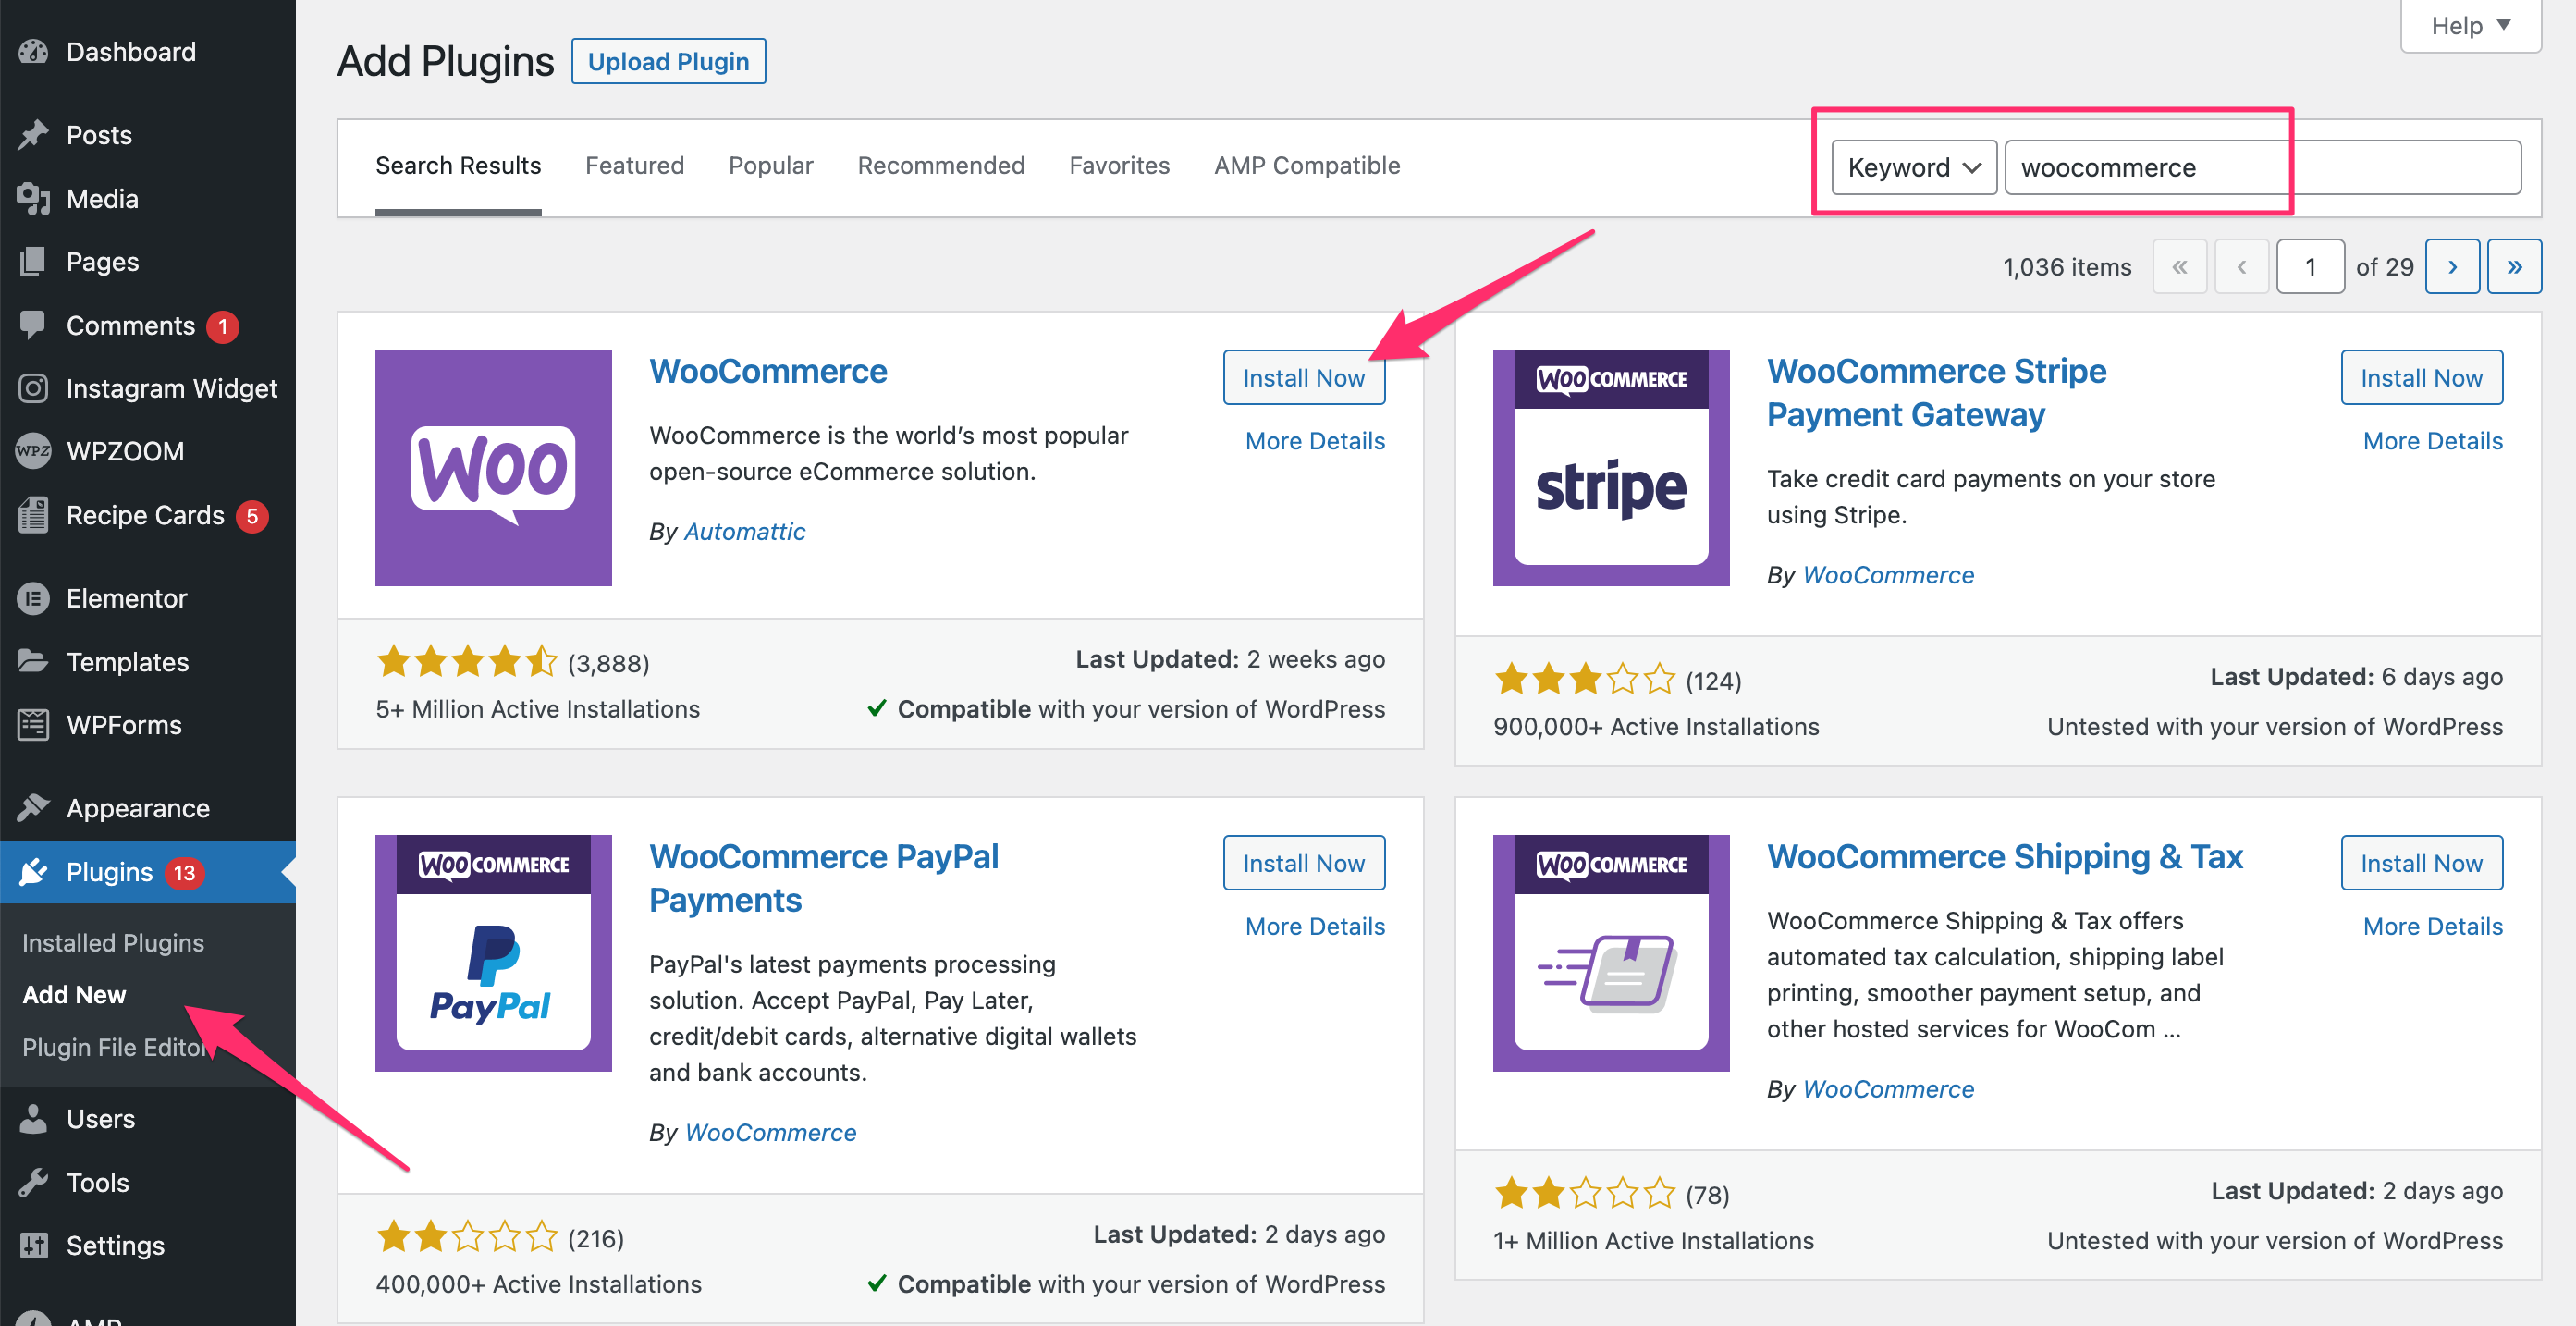
Go to your WordPress dashboard. Click on “Plugins” and then “Add New.” Type “WooCommerce” in the search bar. Find the WooCommerce plugin and click “Install Now.” Wait for the installation to finish. Click “Activate” to enable WooCommerce on your site.
Configuring Basic Settings
After activation, WooCommerce will open a setup wizard. Enter your store details like location and currency. Choose the payment methods you want to use. Set up shipping options based on your products. Save your settings to complete the setup. Your store is now ready for product addition.

Credit: www.youtube.com
Preparing Product Details
Preparing product details is a key step before adding products to your WordPress website. Clear and complete information helps customers understand what you offer. Well-prepared details improve your site’s professionalism and boost sales.
Gathering Images And Descriptions
Good images catch attention fast. Use clear, high-quality photos that show your product from different angles. Avoid blurry or dark pictures. Each image should focus on the product only.
Write simple descriptions that explain what the product is and how it helps. Use short sentences and easy words. Include the product size, color, and material if needed. Keep descriptions honest and direct.
Setting Prices And Inventory
Decide on a fair price that matches your product’s quality. Check competitor prices for guidance. Be clear if prices include taxes or shipping.
Track your inventory carefully. Enter the exact stock number to avoid selling products you don’t have. Update inventory regularly to keep your site accurate.
Adding Simple Products
Adding simple products to your WordPress website is easy and quick. Simple products are items without variations, like size or color. You can add them in just a few steps. This section guides you through the process.
Creating A New Product
Start by logging into your WordPress dashboard. Go to the “Products” menu on the left side. Click “Add New” to create a new product. You will see a blank page to enter your product details.
Filling In Product Information
Enter the product name at the top. Write a clear and short description in the main box. Scroll down to the “Product Data” section. Select “Simple product” from the dropdown menu. Set the price in the “Regular Price” field. Add sale price if you want to offer discounts. You can also add stock status and SKU for tracking.
Publishing The Product
On the right side, find the “Publish” box. Check your product details one more time. Click the blue “Publish” button to make the product live. Your product is now visible to customers on your site.
Credit: www.wpzoom.com
Adding Variable Products
Adding variable products on your WordPress website lets you offer many options for a single product. This is useful for products with different sizes, colors, or styles. Customers can choose their preferences before buying.
Setting up variable products requires a few key steps. First, you define the product attributes. Then, you create variations based on those attributes. This process gives your customers a better shopping experience.
Setting Attributes
Start by going to the product edit page in your WordPress dashboard. Scroll down to the ‘Product Data’ section and select ‘Variable product’ from the dropdown menu.
Next, click the ‘Attributes’ tab. Here, you add new attributes like color, size, or material. Type each attribute name and the values separated by a vertical bar (|), for example, red | blue | green.
Make sure to check the ‘Used for variations’ box. This tells WordPress these attributes will create different product versions. Save the attributes before moving on.
Creating Variations
After setting attributes, click the ‘Variations’ tab under the ‘Product Data’ section. Use the dropdown to add variations. You can create variations for each attribute combination.
Click ‘Go’ to generate all possible variations. Edit each variation to set price, stock status, image, and SKU. These details help manage your inventory better.
Save changes once all variations are configured. Preview the product to see how the options appear for customers. This step ensures everything works smoothly.
Organizing Products
Organizing products on your WordPress website helps visitors find items quickly. Good organization improves user experience and boosts sales. It also makes your site look neat and professional.
Using Categories And Tags
Categories group products into broad sections. For example, “Clothing” or “Electronics.” Tags describe specific features like “red,” “cotton,” or “wireless.” Categories and tags help customers filter and search products easily.
Assign each product to one or more categories. Add relevant tags for detailed filtering. Use clear and simple names. Avoid too many categories or tags to keep things tidy.
Managing Product Visibility
Control which products appear on your site. Set visibility to public for all products you want visitors to see. Use private or password-protected options for limited access.
Hide products that are out of stock or discontinued. Schedule product visibility for sales or events. Proper visibility management keeps your store current and attractive.
Optimizing Product Pages
Optimizing product pages is key for your WordPress store. It helps your products rank higher in search engines. Good optimization also makes customers stay longer and buy more. Focus on clear details and easy navigation. This creates a better shopping experience.
Adding Seo Elements
Start by using clear, keyword-rich product titles. Write unique descriptions for each product. Include important keywords naturally in these descriptions. Use alt text for images with relevant keywords. This helps search engines understand your images. Add meta descriptions that summarize your product well. These appear in search results and attract clicks.
Improving User Experience
Use high-quality images that show the product clearly. Add multiple images from different angles. Make sure your pages load fast to keep visitors engaged. Organize information with bullet points for easy reading. Include customer reviews to build trust. Add clear call-to-action buttons like “Buy Now” or “Add to Cart.”
Troubleshooting Common Issues
Adding products to a WordPress website can sometimes cause issues. These problems may slow down your work or stop products from showing correctly. Knowing how to fix common errors saves time and keeps your site running smoothly.
This section covers easy solutions for two frequent problems: image upload errors and price display problems. Follow these steps to fix these issues fast and get back to managing your products.
Fixing Image Upload Errors
Image upload errors happen when WordPress cannot add pictures to your product page. This stops your product from looking its best. Check the file size first. Large files can cause upload failures.
Use smaller images, preferably under 2MB. Also, confirm the file format is correct. WordPress supports JPG, PNG, and GIF formats.
Permissions on your server can block image uploads. Make sure the “uploads” folder has write permission. You can ask your hosting provider to fix this.
Lastly, clear your browser cache and try again. This can solve temporary glitches during upload.
Resolving Price Display Problems
Sometimes product prices do not show or appear wrong. Start by checking the product’s price settings in WordPress. Make sure you entered the correct price in the product data section.
Currency settings also affect price display. Confirm your store currency matches your target market. Incorrect currency settings can confuse buyers.
Check for plugin conflicts. Some plugins may block price display. Disable all plugins except WooCommerce, then check prices. Enable plugins one by one to find the culprit.
Update WordPress and WooCommerce to the latest version. Outdated software can cause display errors. Keeping your site updated improves performance and security.
Frequently Asked Questions
How Do I Add A Product In WordPress?
To add a product, install WooCommerce first. Then, go to Products > Add New. Enter product details, images, price, and publish.
Can I Add Digital Products On WordPress?
Yes, WordPress with WooCommerce supports digital products. Choose “Downloadable” in product settings and upload your files.
How To Categorize Products On WordPress?
Use the “Product Categories” option in WooCommerce. Create relevant categories and assign products to improve site navigation and SEO.
What Product Details Are Essential To Add?
Include product name, description, price, images, SKU, and stock status. These details help customers make informed buying decisions.
Conclusion
Adding products to your WordPress site is simple and fast. Follow clear steps to upload images, set prices, and write descriptions. Keep product details accurate to help buyers decide. Regular updates keep your store fresh and inviting. Use plugins wisely to improve your site’s function.
Stay consistent with your product listings for better results. Now, you have the basics to start selling online with confidence. Your WordPress store can grow step by step. Just keep adding new products and improving your site. Success comes with patience and steady work.


