
Are you looking to enhance your web hosted email experience? Installing Roundcube plugins might be the perfect solution for you.
These plugins can transform your email interface, offering improved functionality and customization options tailored to your needs. Imagine having the tools to streamline your communication, organize your inbox more efficiently, or even add a touch of personalization. We’ll guide you through the straightforward process of installing these plugins, ensuring you get the most out of your email platform.
Dive in to discover how you can upgrade your email experience effortlessly!

Credit: gozenhost.com
Prerequisites For Installation
Ensure your web host supports Roundcube. Check for PHP version compatibility. Verify the database type and version. Roundcube needs specific server settings. Confirm these settings with your host. This helps avoid installation problems. Contact support for help if unsure. Check if IMAP and SMTP are supported. These are essential for email functions.
Always back up your data before changes. Data loss can happen anytime. Use reliable backup tools. Store backups in a safe place. Regular backups prevent data loss. Backup can be a lifesaver. Keep backups updated. Backups make recovery easy and quick. Never skip this step.
Locating Roundcube Plugins
The official plugin repository has many plugins. These plugins are safe and easy to use. Browse the list to find what you need. Each plugin has a description. This helps you know what it does. Look for ratings and reviews. They show if others like the plugin. Choose plugins with high ratings.
Third-party plugins are made by other developers. They add more features to Roundcube. Be careful when choosing these plugins. Some might not be safe. Check if the developer is trusted. Read any feedback from users. This helps you avoid bad plugins. Always use plugins from known sources. This keeps your email safe.
Uploading Plugins To Web Host
Start by finding the web hosting control panel. This is often called cPanel. Use your credentials to log in. Look for an icon or link labeled File Manager. This tool helps you manage website files. It is important to access this area first. Without it, uploads are not possible.
Once in the File Manager, find the Roundcube directory. This is where plugins should go. Click the upload button. Choose the plugin files from your computer. Make sure they are in the correct format. Usually, it’s a .zip file. Wait for the upload to finish. After uploading, extract the files. This step is crucial for the plugins to work. Check if the files appeared in the directory.
Credit: www.bluehost.com
Configuring Plugins In Roundcube
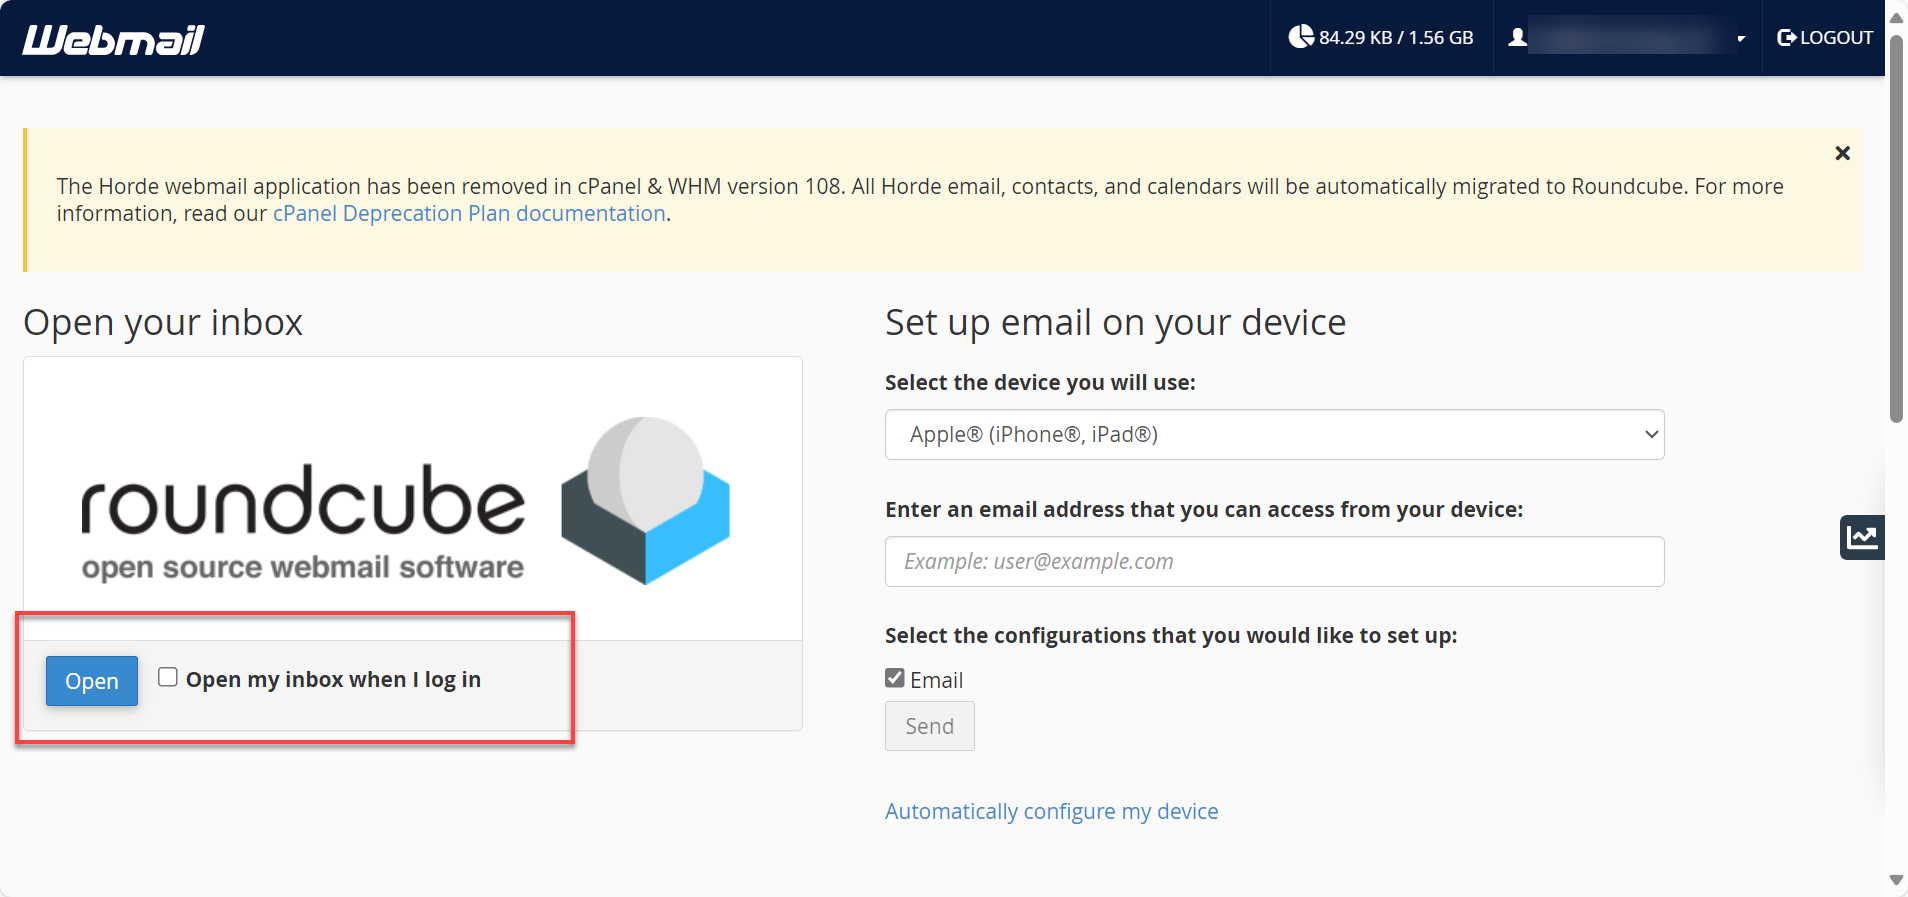
Installing Roundcube plugins enhances email functionality. Start by accessing your web-hosted email interface. Navigate to the plugins section, then select and install desired plugins to customize your experience.
Editing Configuration Files
To add plugins, edit the configuration files in Roundcube. First, locate the
config.inc.php file in the Roundcube directory. Open this file with a text editor.
Look for the line that starts with $config['plugins']. Add your plugin names to the
array. Separate each plugin with a comma. Save the file after editing. This makes the plugins
ready for use. Be careful with typing. Mistakes can cause errors.
Enabling Plugins In Roundcube
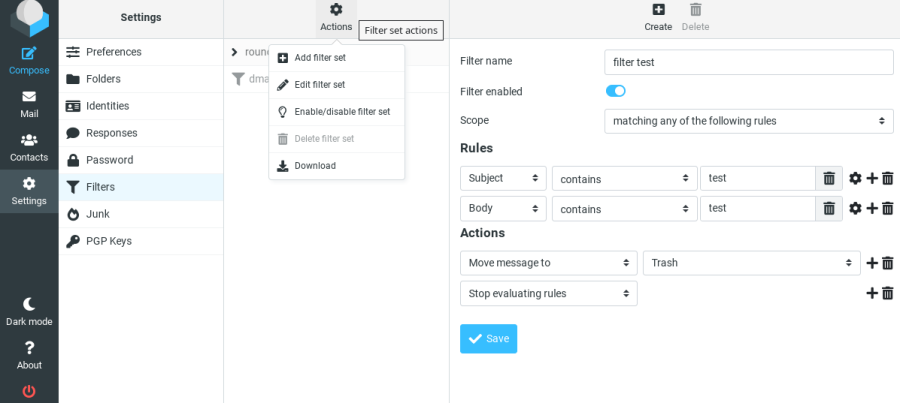
After editing, you need to enable the plugins. Go to your Roundcube interface. Log in with your email credentials. Navigate to the settings section. Find the plugins option. Select the plugins you want to use. Click on “Enable” to activate them. Now, the plugins should appear in your Roundcube. They will help enhance your email experience.
Testing Plugin Functionality
Verifying plugin activation is important. Check the plugin list. Is your plugin active? This list shows all installed plugins. A simple tick means the plugin is active. Open the Roundcube interface. Look for new features. These features come from your plugin. Sometimes, plugins add buttons or tools. They can change how things look. If you see changes, the plugin works.
Troubleshooting common issues can be easy. Some plugins might not work. Check compatibility first. Does your plugin match the Roundcube version? Old plugins might not work with new versions. Update plugins if needed. Some plugins need special settings. Review the plugin documentation. It may have helpful tips. If problems persist, seek help. Support forums are good places. Other users might have the same issue.
Maintaining Installed Plugins
Keep plugins up to date for smooth performance. Regular updates help fix bugs and improve features. Always check for new versions from developers. Compatibility checks are crucial. Make sure plugins work with your Roundcube version. Conflicts can cause errors. Check documentation for compatibility notes.
Observe how plugins affect your email system. Monitor performance regularly. Look for any slowdowns or issues. Use tools to track performance metrics. Good performance keeps users happy. If a plugin causes trouble, consider disabling it. Evaluate if the plugin is necessary. Sometimes, less is more.
Credit: notes.sagredo.eu
Frequently Asked Questions
How To Install Roundcube Plugins?
To install Roundcube plugins, download the plugin files. Upload them to the Roundcube “plugins” directory. Edit the “config. inc. php” file to enable them. Clear the Roundcube cache. Refresh your Roundcube interface to activate. Always ensure compatibility with your Roundcube version.
How To Install And Configure Roundcube?
To install Roundcube, download its latest version from the official website. Extract the files to your web server. Create a database and configure ‘db. inc. php’ and ‘main. inc. php’ files. Run the installer script via a web browser to finish installation.
Test Roundcube to ensure proper configuration.
How To Install Roundcube On Vps?
Install Roundcube by updating the server, installing a web server and database, downloading Roundcube, and configuring the database. Secure the installation and complete the setup through the web installer.
How To Enable Roundcube Webmail Password Change Plugin?
To enable the Roundcube webmail password change plugin, edit the config file. Add `$config[‘plugins’] = array(‘password’);`. Ensure the password plugin settings align with your server’s configuration. Save the changes and refresh Roundcube to apply.
Conclusion
Installing Roundcube plugins enhances email features. The process is straightforward. Start by accessing your web-hosted email. Choose the plugins you need. Follow the installation steps carefully. Benefits include improved functionality and better user experience. Remember to check compatibility. Regular updates keep your plugins running smoothly.
Experiment with different plugins for optimal results. Enjoy a more personalized email experience. Troubleshoot any issues promptly. Explore more plugins over time. Your email system becomes more adaptable. With practice, managing plugins gets easier. Embrace the change and enhance your email management today.


