
Are you ready to take control of your online presence? Self-hosting a website offers you the freedom to customize and manage every aspect of your site.
It’s a powerful way to express yourself, build your brand, or even launch a business. Imagine having the ability to tweak every detail to suit your needs, without relying on third-party platforms. This guide will walk you through the steps to self-host your website, making it an achievable goal for anyone.
By the end, you’ll gain the confidence to handle your site like a pro, unlocking opportunities you might have never considered. Dive in and discover how self-hosting can transform your digital experience.
Choosing The Right Hardware
Hosting a website needs good hardware. A desktop is a simple choice. It is easy to use and costs less. Desktops are good for small sites. They are not strong like servers.
A server is better for big sites. It handles more traffic. Servers run without breaks. They need more care and money. Think about your site size. Decide what is best for you.
A strong internet connection is key. It helps your site load fast. Slow internet makes users unhappy. Check your connection speed. It must be reliable.
You need a good router. It directs data to your site. Make sure it is secure. Protect your site from hacks. A firewall is useful. It adds extra safety.

Credit: www.andreagrandi.it
Selecting An Operating System
Choosing between Windows and Linux is important for hosting. Windows is user-friendly and has many software options. It is great for beginners. Linux is open-source and free. It offers more control and flexibility for users. Linux is ideal for those who like to tinker.
There are many Linux distributions. Ubuntu is popular. It is easy to use and has good support. CentOS is stable and secure. It is great for servers. Debian is also reliable and versatile. Each has its own strengths.
Installing Web Server Software
Apache and Nginx are popular web server software. Each has its own strengths. Apache is known for its flexibility. It supports many modules. These help extend its features. Nginx is famous for its speed. It handles many connections at once.
Choosing between them depends on needs. Apache is great for complex setups. Nginx excels with static content. Both can work together too. This combination is called a reverse proxy. It uses Nginx to handle requests. Then, passes some to Apache.
Configuring web servers is crucial. Both Apache and Nginx use config files. Apache’s main config file is httpd.conf. For Nginx, it is nginx.conf. These files control how servers behave.
Syntax in these files is different. Apache uses a directive-based syntax. Nginx uses a block-based syntax. Knowing these differences helps in setup. Always check for errors after editing. This ensures servers run smoothly.
Domain Name Registration
Pick a short and simple name. This makes it easy to remember. Try using keywords that fit your website. It helps people find you. Avoid using numbers or hyphens. They can be confusing. Check if the name is available. Use a domain name checker online. Pick a .com if you can. It is more popular and trusted.
DNS is like a phonebook for the internet. It helps people find your site. You need to set up DNS records. It tells the internet where your site lives. You get DNS settings from your domain registrar. Enter them in your hosting account. Test the DNS settings. Make sure they are correct. It can take some time to update.
Setting Up Security Measures
Establishing security measures is vital when self-hosting a website. Secure your server with firewalls and strong passwords. Regular software updates help protect your site from threats.
Firewall Configuration
Firewall is like a guard for your website. It stops bad traffic from entering. Set rules for your firewall. These rules decide what traffic is safe. Always update your firewall settings. Updates keep your website secure. Check logs often. Logs show who tries to access your site. Only allow trusted IP addresses. Block suspicious ones. This keeps your site safe.
Ssl Certificates
SSL makes sure data is safe when transferred. Install an SSL certificate for your website. It encrypts data between the server and users. Look for trusted certificate providers. Renew SSL certificates before they expire. Expired certificates can be risky. Check if your SSL is working. Users should see a padlock icon. This icon means your site is secure. Secure websites build trust.
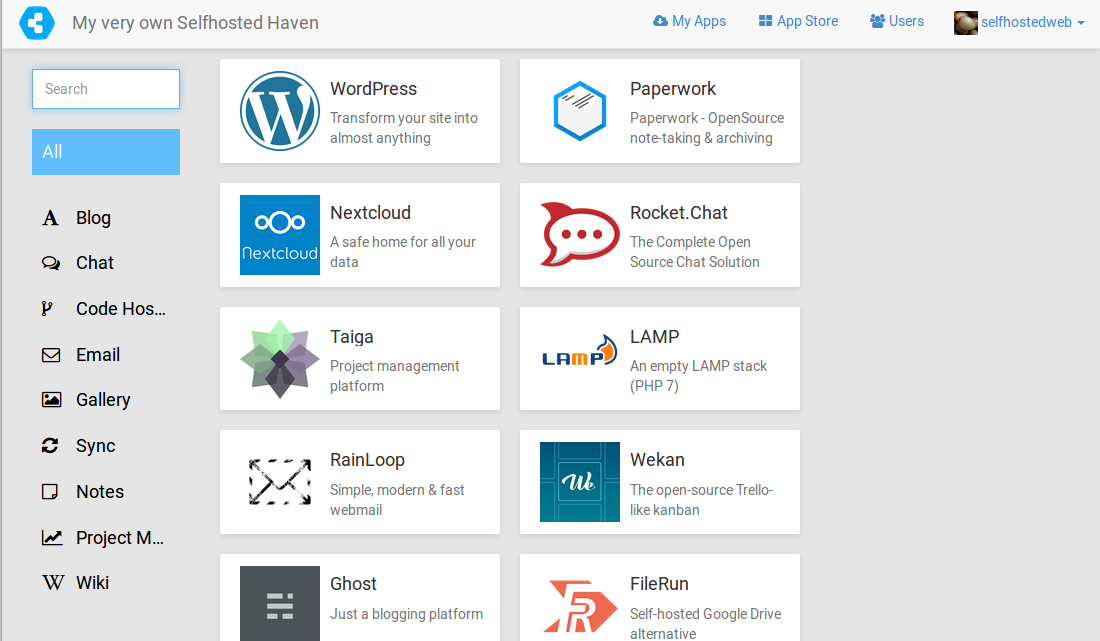
Credit: selfhostedweb.org
Database Setup
Setting up a database is key in self-hosting a website. It stores data securely and efficiently, ensuring smooth operation. Choose a reliable database management system to manage and retrieve information effortlessly.
Choosing A Database
Different databases serve different needs. Popular choices include MySQL, PostgreSQL, and SQLite. MySQL is well-loved for its speed and reliability. PostgreSQL is known for its advanced features. SQLite is lightweight and easy to use. Consider your project’s requirements and resources. Small projects might prefer SQLite. Larger projects often need MySQL or PostgreSQL. Compatibility with your hosting environment is crucial. Check database support before starting. Read documentation to understand features and limitations. Choose wisely to avoid future headaches.
Installation And Configuration
Installing a database is often straightforward. Follow the steps provided by your chosen database. Installation guides are usually available online. Configuration involves setting up user permissions and security. Ensure your database is secure from unauthorized access. Use strong passwords and encryption. Regular updates keep your database safe. Test your setup to ensure proper functioning. Proper configuration leads to smooth operation. Backup your database regularly. This prevents data loss in case of failure. Keep your database organized for easy management.
Deploying Your Website
Self-hosting a website involves setting up your own server. It gives you complete control over your site. Learn how to configure your server, install necessary software, and manage your domain. This method offers flexibility and customization for tech-savvy individuals seeking independence.
Uploading Files
Start by choosing a hosting service. Many options exist online. After choosing, access the control panel. It’s usually called cPanel. Use the File Manager in cPanel to upload files. Click ‘Upload’ and select your website files. You can also use FTP clients like FileZilla. They help move files from your computer to the server. Ensure all files are in the correct folders. This way, your website will work properly. Double-check the file paths. These paths should match your site’s structure.
Testing And Debugging
Check your website by visiting its URL. Look for any errors or missing images. If something is wrong, fix it promptly. Use tools like Google Chrome DevTools to find problems. They show errors in your code. Debugging is the process of fixing these errors. Sometimes, the site may not display correctly. This could be a CSS issue. Adjust the code until the site looks right. Always test on different browsers. Each browser might show the site differently.
Monitoring And Maintenance
Effective monitoring ensures your self-hosted website runs smoothly, catching issues early. Regular maintenance boosts performance and security, keeping your site reliable. Stay proactive to avoid downtime and enhance user experience.
Performance Monitoring Tools
Performance tools help check your site speed and uptime. These tools can spot issues early. Look for tools that give clear reports. Google Analytics is a great option. It shows how users interact with your site. Another tool is Pingdom. It checks your site every minute. Both tools are easy to use. They help keep your site running smoothly.
Regular Updates And Backups
Updating your site keeps it safe. Always use the latest version. This stops hackers from attacking. Make sure to backup your site often. Backups save your data. Use tools like UpdraftPlus or BackupBuddy. They make backups simple. Store backups in the cloud. This way, your data is safe. Regular updates and backups protect your site.
Credit: freename.io
Frequently Asked Questions
Can You Host A Website By Yourself?
Yes, you can host a website by yourself using a personal server. Ensure you have a reliable internet connection, the necessary hardware, and software. Managing security updates and backups is essential for maintaining your site’s performance and safety.
Can You Self Host Your Own Website?
Yes, you can self-host a website using your own server. Ensure you have the necessary technical skills and hardware. Choose a domain, install server software, and manage security updates. Self-hosting offers control but requires maintenance and expertise. Consider costs and reliability before deciding.
Is It A Good Idea To Host Your Own Website?
Hosting your own website offers control and customization. It requires technical skills and time investment. Costs can be higher compared to third-party hosting. Ensure reliable internet and server maintenance. Consider your needs and resources before deciding.
How Do I Host My Website On My Own Computer?
Install a web server software like XAMPP or WAMP on your computer. Configure your router to allow external access. Use a static IP or a dynamic DNS service. Ensure your computer is always on for the website to remain accessible.
Check security settings to protect your site.
Conclusion
Self-hosting a website can empower you. You gain control over your online presence. It’s a rewarding experience. You learn valuable skills. Start small. Grow with time. Enjoy the flexibility self-hosting offers. Make sure to secure your site. Keep it updated.
Use reliable resources. Seek help when needed. Hosting your website isn’t easy. But it’s achievable. Take the leap. Explore the world of self-hosting. Your website awaits. Dive in. Discover the possibilities. Embrace the challenge. Make your mark online.


