
Are you ready to bring your Unity creations to the web? Hosting a Unity web app might seem like a daunting task, but it’s simpler than you think.
Imagine showcasing your game or interactive experience to millions of users with just a click. This guide will walk you through the process, step-by-step, ensuring you have everything you need to succeed. You’ll learn how to make your app accessible to everyone, everywhere.
By the end of this article, you’ll be equipped with the knowledge to host your Unity web app seamlessly and effectively. Don’t miss out on the opportunity to expand your reach and engage your audience like never before. Let’s dive in and get your Unity masterpiece online!
Credit: x.com
Choosing A Hosting Platform
Free options are great for beginners. They help save money. But they might have limits. Limited space and speed can be issues. Free hosting might slow your app. Paid options give more benefits. You get faster speeds. More space is available. Paid plans often have better support. They help fix problems quickly.
Unity needs certain things. Hosting platforms must support these needs. Check if the platform supports Unity builds. Some platforms have special tools. These tools make Unity apps run better. Choose a platform that has these tools. It makes hosting easy.
Credit: learn.unity.com
Preparing Your Unity Web App
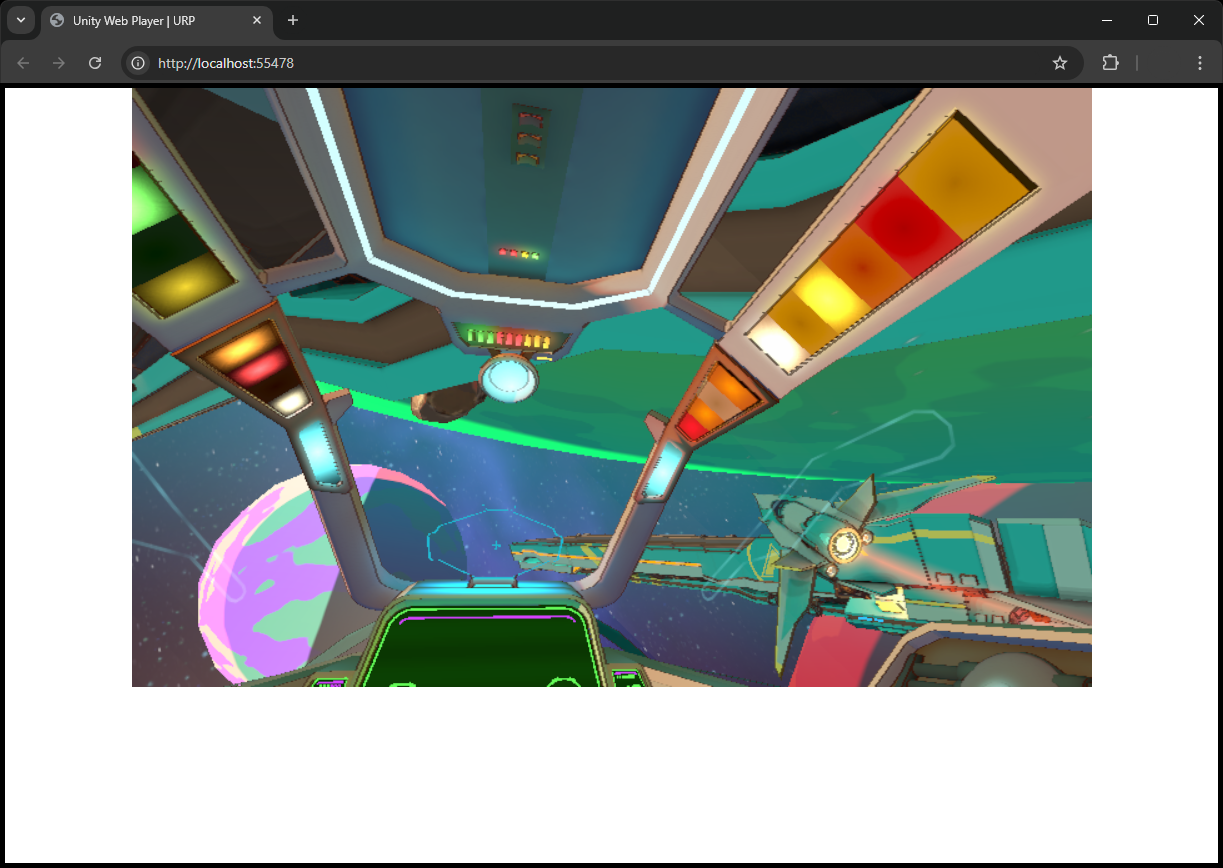
Build your Unity app using WebGL. This allows it to run in web browsers. Select WebGL in the Build Settings menu. Click the “Switch Platform” button. Ensure everything looks correct. Always test your build. Check if it runs well. Fix any issues before moving on. This step ensures smooth user experience.
Keep your app lightweight. Use compressed textures and lower polygon counts. This helps with faster load times. Remove unnecessary assets. Keep only what you need. Optimize your code. Make it run faster and smoother. Use the Profiler tool to identify slow parts. Fix them quickly. Your users will appreciate the speed.
Setting Up The Hosting Environment
First, get a domain name. A domain is like a website’s address. It helps people find your site. Buy a domain from a domain registrar. Next, set up the DNS settings. This connects your domain to your web host. The DNS is like a map. It shows where your website lives.
Follow these steps to configure the DNS:
- Log into your domain registrar.
- Find the DNS settings or DNS management.
- Enter the IP address of your web host.
- Save the changes.
Uploading files is the next step. Use an FTP client or your host’s file manager. It helps to move files from your computer to the server. Upload all your Unity web files to the server. Check if the files are in the right folder. The main file should be named index.html. This file is important. It is the first file the browser loads.

Credit: medium.com
Configuring Server Settings
Setting up server settings is crucial for hosting a Unity web app successfully. Ensure all configurations are optimized for performance and security. This helps deliver a seamless user experience while keeping data protected.
Adjusting Mime Types
Servers need correct MIME types for Unity apps. MIME types help browsers understand files. Unity web apps often use .unityweb files. It’s important to set MIME type for these. Go to server settings. Find MIME types section. Add or edit Unity MIME types. Use application/octet-stream for .unityweb files. This ensures proper loading. Without this, apps may not work. Always double-check MIME settings. Correct settings prevent errors. This keeps apps smooth and fast.
Handling Cors Policies
CORS policies affect Unity app access. CORS stands for Cross-Origin Resource Sharing. It controls which sites can access your app. Set CORS rules in server settings. Allow specific domains to access. This is safe for your app. Avoid allowing all domains. It’s risky and unsafe. Use server headers to manage CORS. Headers include Access-Control-Allow-Origin. This header lists trusted domains. Proper CORS settings protect your app. They prevent unwanted access. Keep your app secure with correct CORS rules.
Testing And Debugging
Learn effective testing and debugging for hosting a Unity web app. Test thoroughly to catch bugs early. Debugging is crucial for smooth performance.
Checking Compatibility
Ensure your Unity web app runs on different browsers. Chrome, Firefox, and Safari are popular choices. Test the app on various devices. Tablets, phones, and computers. Check if the app loads quickly. Slow apps can annoy users. Use tools to check performance. Speed and smoothness matter. Make sure all features work as planned. Users expect reliable apps.
Troubleshooting Common Issues
Sometimes apps crash or freeze. Check for errors in the code. Debugging tools can help find them. If images or sounds don’t load, check file paths. They need to be correct. Fix any broken links to other pages. Missing links confuse users. If the app is slow, optimize code. Fast apps keep users happy. Test again after fixing issues. Make sure everything works well.
Launching Your Web App
Ensure your web app is safe for users. Use a secure server. This protects data from bad people. Use SSL certificates to keep information private. They stop hackers from seeing secret data.
Update your app often. This fixes problems quickly. Make sure to use strong passwords. They help keep accounts safe. Remind users to change passwords often.
Share your app with friends first. They can help test it. Ask them to look for bugs or problems. Fix these before more people use the app.
Write clear instructions for users. Help them understand how to use your app safely. This builds trust and keeps users happy.
Tell people about your app. Use social media to share. Join online groups that like your app topic. Share your app link there.
Talk to bloggers. Ask them to write about your app. Offer them to try it first. This helps spread the word faster. More people will learn about your app this way.
Maintaining And Updating
Hosting a Unity web app involves regular updates and maintenance. Keep software and plugins current to ensure security and compatibility. Regularly check for glitches and optimize performance to provide users with a smooth experience.
Monitoring Performance
Keeping an eye on your Unity web app’s performance is crucial. Use tools to check how it runs. Pay attention to load times and response rates. These factors affect user experience. Slow apps can frustrate users. Make sure everything works smoothly. Checking often helps catch problems early. Fixing small issues is easier. It can also prevent bigger problems. A well-maintained app keeps users happy.
Implementing Updates
Regular updates are important for your web app. They can fix bugs and improve features. Always test updates before going live. This ensures they work well. Backup data before making changes. If something goes wrong, you can restore it. Let users know about new updates. They should be aware of changes. Keeping users informed builds trust. A well-updated app stays relevant and secure.
Frequently Asked Questions
How To Publish A Unity Game To The Web?
To publish a Unity game to the web, build it using WebGL platform. Open Unity, select File > Build Settings, choose WebGL, then click Build. Upload the generated files to a web server or hosting service. Ensure settings support WebGL for smooth gameplay experience.
Can Unity Deploy To The Web?
Yes, Unity can deploy to the web using WebGL. This allows games to run in browsers without plugins. WebGL supports most modern browsers, offering a seamless gaming experience online. Developers can easily build and publish web-based games with Unity’s tools.
How To Run Unity In Web?
Use Unity WebGL to run Unity in a browser. Build your project in Unity, select WebGL platform, and click Build.
How Do I Share My Unity App?
Export your Unity app as an APK or iOS build. Share the file via email, cloud storage, or app stores. Use social media or your website for promotion. Ensure your app is optimized for different devices and platforms. Consider collecting user feedback for improvements.
Conclusion
Creating a Unity web app is simple and rewarding. Follow the steps outlined to host it successfully. Choose a reliable hosting provider that supports WebGL. Upload your files efficiently using an FTP client. Check for errors to ensure everything works smoothly.
Update your app regularly for security and performance improvements. Hosting your Unity web app offers a great way to showcase your projects online. Explore different features and keep learning to enhance your skills. By doing so, you’ll deliver engaging experiences to your users.
Enjoy the process and happy hosting!


