
Are you ready to take control of your web hosting with a powerful, reliable solution? If you’re exploring how to host an Apache Web Server on Digital Ocean, you’re in the right place.
You might have heard about the flexibility and cost-effectiveness of using Digital Ocean’s cloud infrastructure. Imagine having the power to host your own website, manage your data, and tailor your server just the way you like it. Sounds exciting, right?
This guide will walk you through every step, making the process as simple and straightforward as possible. By the end, you’ll have the confidence and knowledge to set up your very own Apache Web Server on Digital Ocean. Let’s dive in and unlock the potential of your online presence!
Setting Up Digital Ocean Account
First, visit the Digital Ocean website. Click on the Sign Up button. Enter your email address and choose a password. Make sure your password is strong. Verify your email by checking your inbox. Click on the link sent by Digital Ocean. Once verified, you’ll have access to your account. Now, you can start using Digital Ocean services. Creating an account is quick and easy.
Droplets are virtual machines on Digital Ocean. Choose a droplet based on your needs. For a small website, a basic droplet is enough. Look for options with 1 GB RAM and 25 GB SSD. This is good for beginners. Select a data center near your audience. This ensures faster loading times. Digital Ocean offers many droplet plans. Pick one that fits your budget.

Credit: medium.com
Configuring The Droplet
Connect to your Droplet using SSH. Use a terminal or SSH client. Enter your server’s IP address. Type the username ‘root’. Provide your password. You might need to accept a security warning. This connects you to your server.
First, update all system packages. This keeps your server secure. Type ‘sudo apt update’. Then type ‘sudo apt upgrade’. This installs the latest updates. Always keep your system updated. It prevents bugs and errors.
Installing Apache Web Server
Open the terminal on your server. Type sudo apt update. This command updates your package list. Then, install Apache using sudo apt install apache2. Wait for the process to finish. It’s quick and easy. Check for any errors. Fix them if needed. Apache should now be installed on your server.
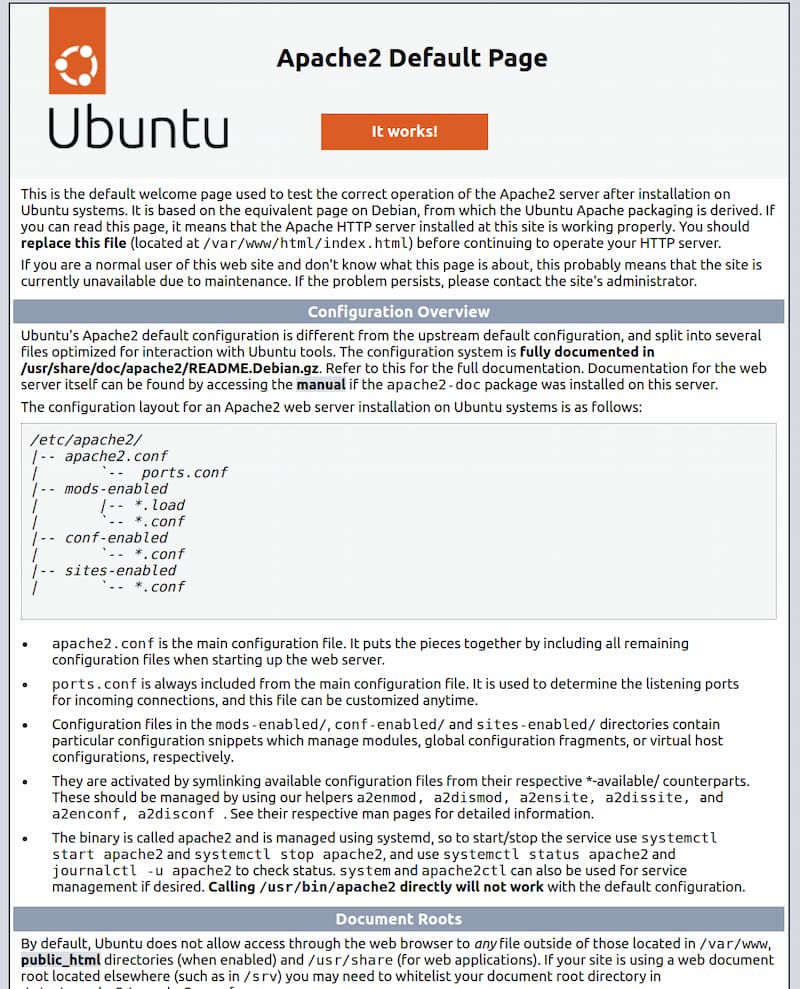
After installation, check if Apache is running. Type sudo systemctl status apache2 in the terminal. You should see a green active status. Open your web browser. Type your server’s IP address. You should see the Apache default page. This means Apache is working fine. If not, check your installation steps again.
Configuring Apache Server
Apache server uses configuration files to manage settings. These files are in the /etc/apache2/ directory. Use a text editor to open these files. Look for httpd.conf or apache2.conf. These files hold important settings for your server. Edit carefully. A mistake can cause problems.
Virtual hosts let you run many sites on one server. Open the sites-available directory. Create a new file for each site. Use a text editor. Name the file after your domain. Write the settings inside. Include the ServerName and DocumentRoot. Save the file. Activate the site with a2ensite command. This makes your site live.
Managing Firewall Settings
Setting up an Apache web server on Digital Ocean involves configuring firewall settings to secure your server. Allow necessary traffic by enabling ports 80 and 443. This ensures your web server communicates safely with the internet.
Allowing Apache Through Firewall
Apache needs permission to work through the firewall. First, find the current firewall rules. Use the command: sudo ufw status. This shows active rules. To allow Apache, type: sudo ufw allow 'Apache'. This command opens the path for Apache traffic. Check again with sudo ufw status. You should see Apache allowed. This means Apache can now receive and send data.
Testing Firewall Configurations
Testing ensures the firewall works well. Use curl to test. Type: curl http://your-server-ip. You should see Apache’s default page. This means the firewall rules are correct. No page? Check settings again. Look for errors in commands. Correct them and test again. Every test confirms your server’s safety. Regular checks prevent problems.
Deploying Website Content
Set up an Apache web server on Digital Ocean by creating a droplet and installing Apache. Access your server securely through SSH and configure your website to be visible online. This simple process makes your website available to users around the world.
Uploading Files To Server
First, connect to your server using an FTP client. It’s like a bridge between your computer and the server. Drag and drop your website files into the server folder. Make sure to place them in the public_html directory. This is where the magic happens. Your files need to be here to show up online. Check file names for mistakes. Simple errors can cause big problems. Keep file names short and clear.
Testing Website Accessibility
Open a web browser. Type your domain name into the address bar. Hit enter. Your website should appear. If it doesn’t, go back and check everything. Look for errors in file names or paths. Ensure the server is on. Sometimes, settings need a tweak. Remember, patience is key. Troubleshooting can take time.
Monitoring And Maintenance
Logs are important for tracking server activity. Use Apache’s logging features to keep an eye on the server. Set up alerts to get notified of issues quickly. Alerts help fix problems before they get big. Tools like Nagios or Zabbix can send alerts. Always check your logs for errors or warnings. This keeps the server healthy and running.
Keep your server updated to stay secure. Updates fix bugs and improve performance. Check for updates regularly. Use a package manager to make updates easy. Security checks are important too. They help find and fix vulnerabilities. Tools like Fail2ban can protect your server from attacks. Regular checks keep your server safe and fast.
Credit: www.digitalocean.com

Credit: www.digitalocean.com
Frequently Asked Questions
How Do I Host A Website On Digital Ocean?
Sign up for Digital Ocean, create a Droplet, and install a web server like Apache. Upload your website files via SSH or FTP. Point your domain to the Droplet’s IP using DNS settings. Ensure server security with updates and firewalls.
Optimize performance for faster loading.
How To Host Apache Web Server?
Install Apache using package manager or source code. Configure files in `/etc/httpd/conf`. Start Apache with `sudo systemctl start httpd`. Ensure proper firewall settings. Verify installation by visiting server’s IP address in a browser. Use `sudo systemctl enable httpd` for automatic startup.
Secure server with SSL certificates.
Is Digital Ocean A Web Server?
DigitalOcean is a cloud infrastructure provider offering scalable virtual private servers, often used to host web servers. It provides developers with cloud services that help to deploy and scale applications. While not a web server itself, it supports hosting and managing web servers efficiently.
How To Create A Virtual Host In Apache Web Server?
To create a virtual host in Apache, edit the httpd.conf file. Add a “ directive with server details. Specify the domain, document root, and other configurations. Save the file and restart Apache for changes to take effect. This allows hosting multiple domains on a single server.
Conclusion
Setting up an Apache web server on Digital Ocean is straightforward. Follow the steps carefully. Double-check configurations to ensure smooth operation. Remember to secure your server from threats. Regular updates and backups are vital. They keep your server safe and efficient.
Practice makes perfect. Experiment with settings to optimize performance. Don’t hesitate to seek help if stuck. Online communities are great resources. Hosting your own server can be rewarding. You’ll gain valuable skills and knowledge. Enjoy the journey of web hosting.


