
Are you looking to share your files with the world? Hosting a file on a web server is a straightforward way to make your content accessible to anyone, anywhere.
You might think it’s complicated, but with the right guidance, it can be simple and rewarding. Imagine the ease of clicking a link and instantly accessing your files, or sharing your creations with friends, colleagues, or customers without a hitch.
This article will walk you through the steps to host a file on a web server, demystifying the process and empowering you to get your files online in no time. Whether you’re a beginner or have some experience, you’ll find valuable insights to make hosting files a breeze. Let’s dive in and discover how you can share your files effortlessly and securely.
Choosing The Right Web Server
Selecting the right web server is key to hosting files effectively. Consider server compatibility with your files for smooth operations. Ensure it supports necessary protocols and offers reliable security features.
Types Of Web Servers
Web servers are computers that store and share files. These files are shown on web pages. There are different types of web servers. Common types include Apache, NGINX, and IIS. Apache is open-source and easy to use. NGINX can handle lots of traffic well. IIS is made by Microsoft and works with Windows. Each server has its own strengths.
Factors To Consider
Picking the best web server needs care. Think about traffic, security, and cost. High traffic means you need a strong server. Security keeps your files safe from hackers. Some servers are free, others cost money. Choose a server that fits your needs. Make sure it’s easy to manage and support. A good choice can make hosting easier.
Credit: www.webii.net
Setting Up The Web Server
To host a file, first install a web server. Popular choices are Apache and Nginx. Begin by downloading the server software. Follow the instructions given by the provider. Run the installer and complete the setup. Ensure your computer meets the basic requirements. Check if the server is running after installation. Use a web browser to test it. Type “localhost” in the address bar. You should see a welcome page. This means the server is installed successfully.
Open the server’s configuration file. This file is usually named httpd.conf for Apache. Find the section for document root. Change the path to your desired folder. This folder will hold your files. Save the changes to the file. Restart the web server to apply settings. Use the command line or control panel. Check the server status to ensure it’s running. Now, you can place your files in the document root. They are now ready to be accessed online.
Preparing Your File
Choose the right file format for your needs. Common formats are PDF, JPEG, and PNG. These are popular for images and documents. Use compression to make files smaller. Smaller files load faster and use less space. Tools like WinRAR or 7-Zip help in compressing files. Always check your files after compressing. Ensure they open correctly.
Give your files clear and simple names. Use words that describe the file content. Avoid using spaces in file names. Use underscores (_) instead. Store files in folders based on their type or purpose. This makes files easier to find. Keeping files organized saves time. It also helps others find files when they need them.
Uploading Files To The Server
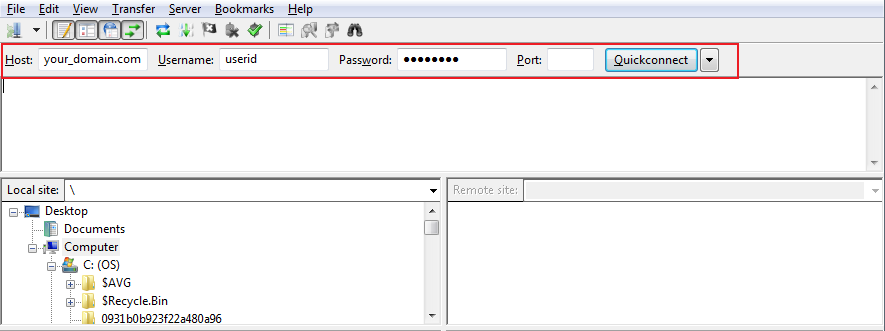
FTP clients help you upload files to your server. First, install an FTP client like FileZilla. It is free and easy to use. Open the client and fill in your server details. You need the host address, username, and password. These are usually given by your web host. Connect to your server by clicking Connect. Now, you can see your server files. Drag your files from your computer to the server panel. Wait for the upload to finish. Your files are now on the web server.
Many servers offer a web interface to upload files. Log in to your web hosting account. Look for a section like File Manager. Click to open it. You will see an upload button. Click it and select your files. Wait while the files upload. This method is simple and does not need extra software. Your files will be on the server soon.
Ensuring File Accessibility
Hosting files on a web server ensures they are accessible to users online. Upload the file via FTP or the server’s control panel. Check permissions to allow public access, ensuring users can easily download or view the content.
Setting Permissions
Permissions help control who can see or edit a file. It’s important to set the right permissions. Read permissions let others see the file. Write permissions let them change it. For most files, only give read permissions to others. This keeps your file safe. Use your server’s settings to manage permissions. Every server has different tools. Learn how yours works. This helps keep your files secure.
Testing Access
Test access to make sure your file is visible. Check if you can open the file from another computer. This ensures others can see it too. Use a web browser for testing. If you can’t see the file, check the URL and permissions. Make sure the link is correct. Fix any errors you find. Testing helps avoid problems later. It’s an important step for file sharing.
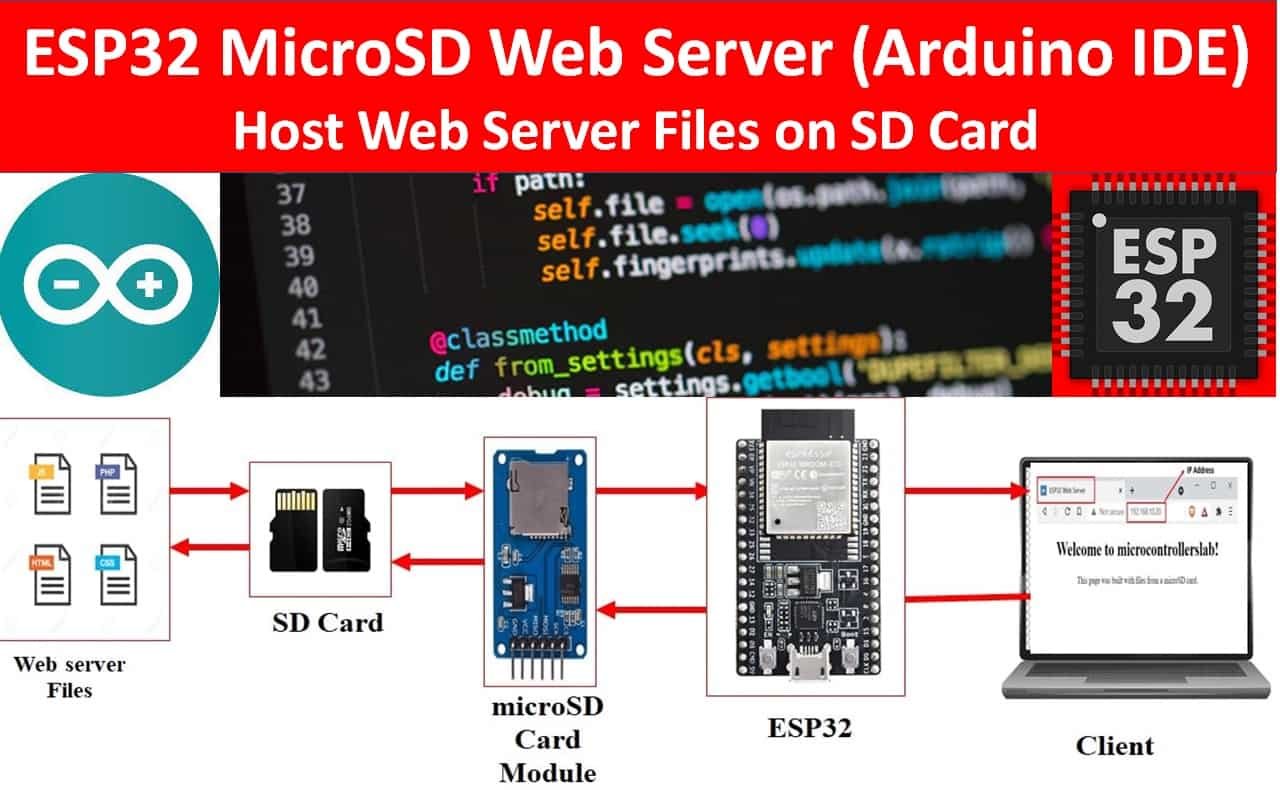
Credit: microcontrollerslab.com
Managing And Monitoring Files
Hosting a file on a web server involves uploading it to the server using tools like FTP. Ensure the server has enough space and bandwidth. Organize files in clear directories for easy access and management.
Regular Updates
Keeping files up-to-date is very important. New versions help users. Old files may confuse them. Regular updates fix bugs. They also improve security. Updates should be scheduled. This saves time and effort. Automated tools can help. They make updating easier. Users appreciate fresh content. It builds trust. Consistent updates attract more visitors. They boost site engagement. Check files often. Ensure they are current. Users expect reliable information. Meeting expectations is key.
Monitoring Traffic
Traffic shows how popular your files are. High traffic means success. Low traffic needs action. Tools can help track visits. They show user behavior. Analyze data regularly. Identify trends and patterns. Adjust strategies based on findings. More traffic leads to more visibility. It increases chances for interaction. Use alerts for sudden changes. Quick responses are necessary. Protect files from overload. Balance server load carefully. Healthy traffic keeps the site running smoothly.
Securing Your Files
Learn to host files securely on a web server with easy steps. Choose a reliable server, upload files, and set permissions for safety. Protect your data while sharing with the world.
Implementing Https
Using HTTPS is vital for file security. It encrypts data during transfer. This prevents unauthorized access. It keeps your files safe and private. Setting up HTTPS requires an SSL certificate. Many hosting providers offer it. Some are even free. Regular updates are essential. They fix security flaws. Always check your SSL certificate’s expiry date. Renew it on time. This ensures continuous protection. Secure your server settings. Use strong passwords. Limit access to trusted users.
Access Control Measures
Access control is key for file protection. Set file permissions carefully. Only allow access to necessary users. Use strong, unique passwords. Change them regularly. Consider two-factor authentication. It adds an extra layer of security. Limit IP addresses that can access your server. Regularly review access logs. Look for suspicious activity. This helps catch potential threats early. Always update software and plugins. They often contain security patches.

Credit: hstechdocs.helpsystems.com
Troubleshooting Common Issues
Error messages can seem scary but help you fix problems. Look for the exact words in the error. This helps find a solution. Sometimes, the file path is wrong. Check if the file is in the right folder. Another common error is permissions. Make sure the server allows file access. Restarting the server can also solve many issues. Always read the error message carefully. It tells you what went wrong.
Connectivity problems stop the server from working. Check the internet connection first. Make sure it is stable and strong. If the server is offline, it cannot host files. Check the server settings. Sometimes, firewall settings block connections. Make sure the firewall allows server traffic. Restarting the modem can fix many network issues. Keep an eye on network cables. Loose cables cause connection loss. Always test the connection after fixing.
Frequently Asked Questions
How To Host A File On A Webserver?
To host a file on a webserver, first choose a reliable hosting provider. Upload your file using FTP software or the hosting control panel. Ensure the correct file path and permissions are set. Share the file’s URL for access. Regularly monitor server performance and security.
What Is The Process Of Putting Files On A Web Server?
Upload files using FTP or a web hosting control panel. Configure server settings as needed. Ensure files are correctly named and placed in the appropriate directory. Verify file permissions and test website functionality. Keep a backup of important files for recovery.
How Do I Put A File On The Server?
To upload a file to the server, use an FTP client. Connect using server credentials, locate your file, and drag it into the desired directory. Ensure the file is correctly named and positioned. This process allows smooth and secure file transfer, optimizing server performance and accessibility.
How To Host A Downloadable File On Your Website?
To host a downloadable file, upload it via your website’s file manager or FTP client. Create a direct download link on your webpage by using the file’s URL. Ensure file permissions allow public access. Optimize the page for SEO with relevant keywords and a clear call-to-action for users to download.
Conclusion
Hosting files on a web server is simpler than it seems. Start by choosing the right server for your needs. Upload your files using FTP software. Always check file permissions for security. Keep your server updated. Regularly back up your files to avoid loss.
Troubleshoot common issues quickly to maintain uptime. Practice makes perfect. With these steps, you can host files confidently. Feel empowered to manage your own web server. Explore more and become proficient. Hosting files opens up new possibilities. Enjoy the journey of learning and growing your skills.


