
Are you ready to take control of your online presence and host your own website? Setting up a web hosting server on Windows might sound intimidating, but with the right guidance, you can do it with ease.
Imagine having the power to manage your website exactly the way you want, without relying on third-party hosting services. Not only will you gain more flexibility, but you’ll also potentially save on hosting fees in the long run. In this guide, we’ll walk you through each step, from choosing the right software to configuring your server settings.
You’ll learn how to create a reliable, secure environment for your website, allowing you to focus on what really matters—growing your online presence. Let’s delve into the world of web hosting and unlock the potential of your Windows system. Keep reading to discover how straightforward it can be to host your own website!

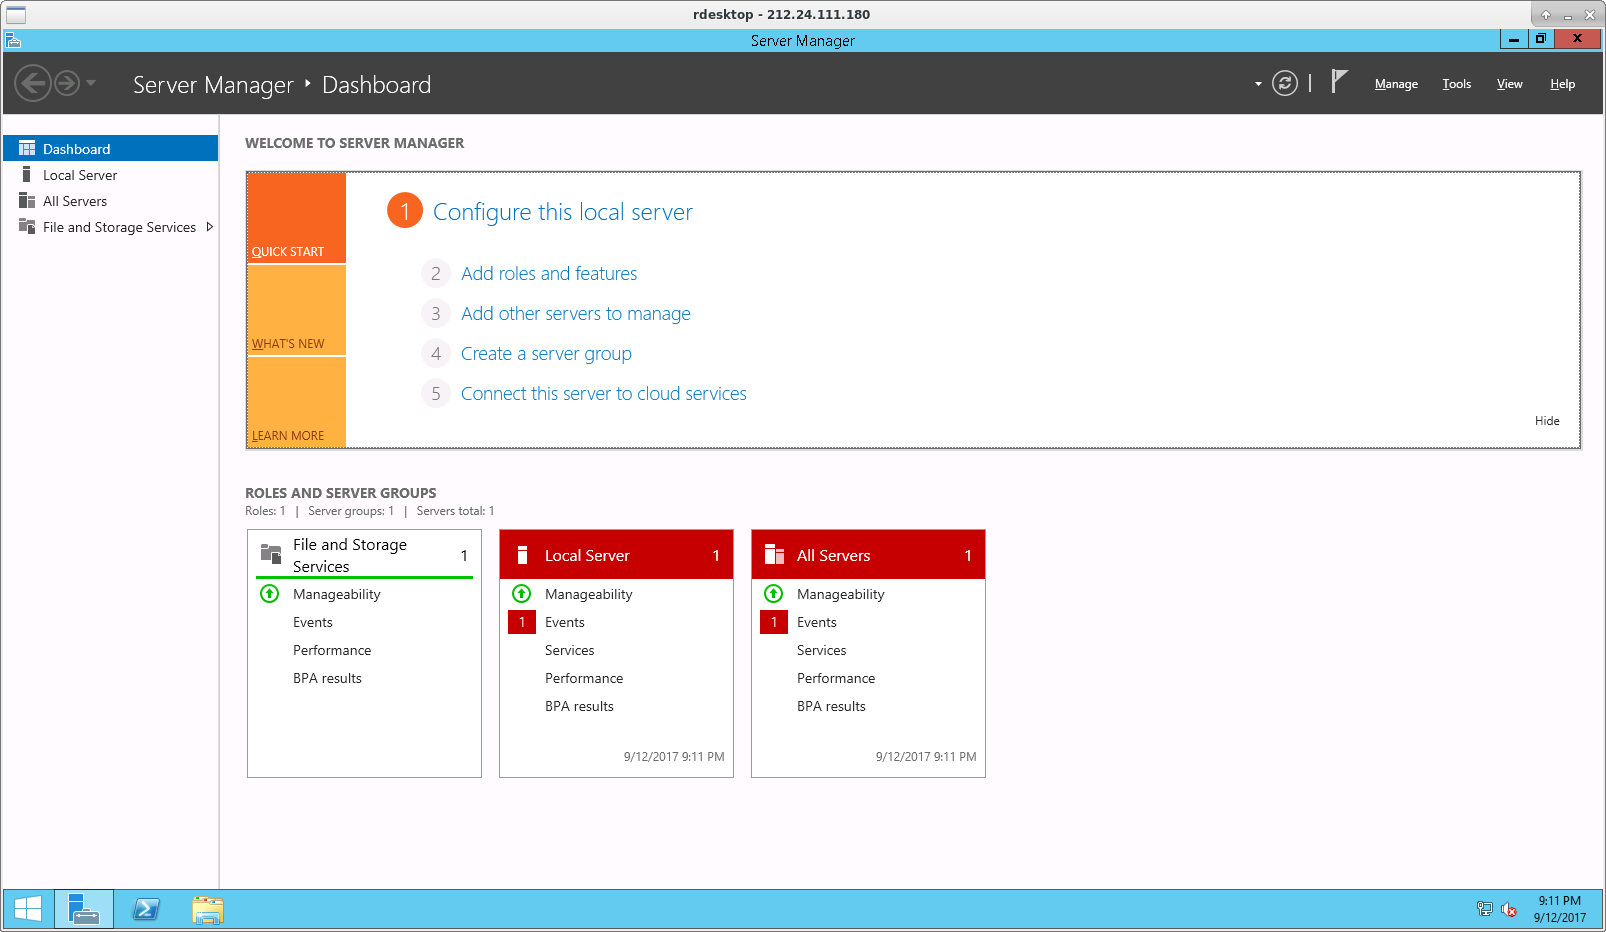
Credit: learn.microsoft.com
Choosing The Right Hosting Software
IIS and Apache are both popular hosting software. IIS is made by Microsoft. Apache is open-source and free. Each has its own strengths and weaknesses. IIS works well with Windows. It is easy to set up and use. Apache is known for being flexible. It can run on many operating systems.
Both offer good security features. Apache supports a wide range of modules. This makes it versatile. IIS is often seen as easier for beginners. Apache has more community support. It is important to know your needs. Choose the software that fits your requirements best.
Key Features To Consider
Look for software with good support and documentation. Check if it supports your programming languages. Consider performance and scalability. Make sure it has strong security features. Choose software that matches your budget and skills.
Preparing Your Windows Environment
Windows OS is needed. At least version 7 or newer. RAM should be 4 GB or more. Processor must be dual-core. Disk space needs 50 GB free. Internet connection should be stable and fast. This helps in server performance.
Check for updates regularly. This keeps the system secure. Open settings on your computer. Find the update section. Click check for updates. Install all available updates. Restart computer after updates. This ensures all changes apply. Regular updates prevent problems.
Installing Iis On Windows
Open the Control Panel on your computer. Find and click on “Programs”. Next, choose “Turn Windows features on or off”. A new window will open. This window shows many Windows features. Scroll down until you see Internet Information Services (IIS). Make sure to click on the box next to it. This will add a checkmark. The checkmark means it is selected.
After selecting IIS, click on the small plus sign. This will show more options. You will see different components. Check the boxes you need. Common choices include Web Management Tools and World Wide Web Services. Each component has its own use. Choose what you need for your server. Once done, click OK. Your computer will install these components. This may take a few minutes.
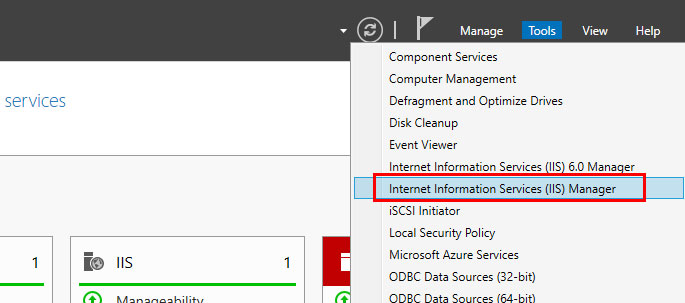
Credit: www.hostens.com
Configuring Iis For Web Hosting
Setting Up Default Website on IIS is easy. First, open the IIS Manager. Find the “Default Website” in the list. Right-click on it and select “Manage Website”. Then, click “Browse”. You can see your default site running. To change the site, click “Basic Settings”. Choose the folder with your website files. Click “OK” to save.
Configuring Security Settings is important to keep your site safe. Open IIS Manager again. Click on your website name. Find “Authentication” under the “IIS” section. Double-click it. Make sure “Anonymous Authentication” is enabled. This allows anyone to view your site. Next, check “Authorization Rules”. Set who can access your site. For most, allow “All Users”. This keeps your website open to everyone. Always check these settings. Safety first!
Installing Apache On Windows
Apache is free and easy to use. Visit the Apache website to find the Apache HTTP Server software. Choose the version for Windows. Click the download button to start. Save the file where you can find it. Open the file and run the installer. Follow the steps on the screen. Make sure to install all needed components.
Open the Apache configuration file in the installation folder. Look for a file named httpd.conf. Use Notepad to edit this file. Change the ServerName to your computer’s name. Set the correct port number. Save your changes. Restart Apache to see them. Check if the server is running correctly. Open a web browser. Type localhost in the address bar. You should see a message from Apache.
Credit: www.ionos.com
Managing Web Server Files
Organizing Directory Structure is crucial for a neat server. A good structure helps in finding files easily. You should use clear names for folders and files. Try using dates or versions in names. This helps to track changes. Keep important files separate from temporary ones. Protect sensitive files with passwords. Backup files regularly to avoid data loss.
Uploading Website Content is simple. You need an FTP client to upload files. Connect the client to your server. Drag files from your computer to the server. Make sure files go to the right folder. Double-check links and paths to ensure they work. Test the website to see if everything uploads correctly. Fix broken links or missing files quickly.
Setting Up Domains And Dns
Choose a unique name for your website. Check if your name is available. Visit a domain registrar to register your chosen name. Popular registrars include GoDaddy and Namecheap. Pay a small fee to register. This fee is usually yearly. Keep your registration details safe.
DNS settings help connect your domain to your website. Access your DNS control panel via your registrar. Find the section for DNS records. You need to enter your server’s IP address. This tells the domain where your website is located. Save these settings. Changes may take 24 hours to update. Always check that your website is accessible.
Testing Your Web Server
Setting up a web hosting server on Windows involves installing necessary software and configuring settings. Testing ensures the server runs smoothly and handles requests efficiently. Follow step-by-step guides to set up your server securely and optimize performance for user satisfaction.
Checking Server Status
First, open your web browser. Enter your server’s IP address. See if your website loads. If it shows, the server is working. Sometimes, the page might not load. This could mean there’s an issue. Try refreshing the page. Check your internet connection too.
Access the server logs. Look for any error messages. Logs can show what’s wrong. Logs are like a diary of the server. They keep a record of events. Understanding logs can help in fixing problems.
Troubleshooting Common Issues
Restart the server if it’s not responding. Often, this solves many problems. Check if the server software needs updates. Outdated software can cause issues. Ensure all cables are connected properly. Loose connections can stop the server.
If the website still doesn’t load, check the firewall settings. Firewalls might block some connections. Turn off the firewall temporarily to test. Remember to turn it back on later. Firewalls protect your server from threats.
Enhancing Server Security
Implementing SSL Certificates is very important. SSL keeps data safe. It encrypts information between a server and a user. This stops hackers from stealing data. Users feel secure when they see a padlock icon. It shows the website is safe. SSL also helps with search rankings. Google likes secure websites.
Setting Up Firewalls protects servers from bad traffic. Firewalls block harmful connections. They keep your server safe from attacks. Firewalls can be hardware or software. They filter incoming and outgoing data. Setting rules helps control what data passes through. Regular updates keep firewalls strong. Always check firewall settings. Make sure they work properly.
Regular Maintenance And Monitoring
Setting up a web hosting server on Windows requires regular maintenance and monitoring. Check server performance and security updates. Always ensure backups are available. This keeps your server running smoothly and securely.
Scheduling Backups
Backups are very important for your server. Always keep your data safe. Schedule them at least once a week. Use simple tools to make backups. Many tools can help you. Ensure the backup is stored safely. You can use cloud storage for this. Remember, losing data can be very bad. Plan your backups today.
Monitoring Server Performance
Check your server’s performance regularly. This helps to avoid problems. Use tools to watch CPU usage. Keep an eye on memory levels. Ensure your server is not too slow. Monitor network traffic. Too much can cause issues. Alerts can notify you of problems. Set them up for peace of mind.
Frequently Asked Questions
How To Setup A Web Server In Windows Server?
Install Internet Information Services (IIS) via Server Manager. Open Server Manager, select “Add roles and features”, then choose IIS. Configure settings as needed and start the server. Test the setup by accessing the server’s IP address in a web browser.
How To Make Your Own Web Hosting Server In Windows?
Install software like WAMP or XAMPP on your Windows computer. Configure Apache, MySQL, and PHP settings. Register a domain and link it to your server’s IP. Ensure security by configuring firewalls and SSL certificates. Regularly update software to maintain server performance and security.
Can I Host A Website On A Windows Server?
Yes, you can host a website on a Windows Server. Use Internet Information Services (IIS) to manage hosting. Windows Server supports various scripting languages and databases. Ensure the server meets your website’s technical requirements for optimal performance.
How Do I Turn My Pc Into A Web Server?
Install a server software like Apache or Nginx on your PC. Configure router settings to forward ports. Ensure your firewall allows web traffic. Upload website files to the server directory. Test by accessing the site via your public IP address.
Ensure security with regular updates and monitoring.
Conclusion
Setting up a web hosting server on Windows is straightforward. Follow the steps carefully. Ensure you have the right software. Configure settings as needed. Check your internet connection. Test the server regularly for issues. Keep security measures in place. Stay updated on new tools and techniques.
Troubleshoot common problems quickly. Your Windows server can host websites effectively. Enhance your skills with practice. Websites run smoothly with proper setup. Maintain your server for best performance. Enjoy hosting your web projects.


