
Are you ready to take your website design skills to the next level? Building a WordPress theme with Dreamweaver might seem like a daunting task, but it’s more achievable than you think.
Imagine having the power to create a unique, customized theme that stands out in the crowded digital landscape. This is your chance to break free from generic templates and design something that truly reflects your vision. With Dreamweaver, you have a robust tool at your fingertips that can transform your ideas into a fully functional WordPress theme.
You don’t need to be a coding expert to get started; you just need the right guidance and a bit of creativity. You’ll discover easy-to-follow steps, insider tips, and the secrets that professional web developers use to craft stunning themes. By the end, you’ll not only know how to build a WordPress theme with Dreamweaver, but you’ll also have the confidence to bring your creative concepts to life. So, if you’re ready to make your mark on the web, keep reading to unlock the full potential of your design capabilities.
Credit: www.fiverr.com
Setting Up Your Environment
Dreamweaver is a tool for building websites. First, download it from Adobe’s website. Then, open the installer. Follow the steps on the screen. Choose the location to install. Wait a few minutes for it to finish. Once installed, open Dreamweaver. Set up your preferences. Choose a workspace layout. This will help you design easily. Now you are ready to use Dreamweaver.
WordPress is a popular platform. You need a few things to start. First, download WordPress from its official site. You will need a web server. You can use XAMPP or WAMP for local testing. Install one of them on your computer. Next, create a new database. This is where WordPress stores information. Unzip the WordPress file. Place it in the web server folder. Open a browser and type “localhost/wordpress”. Follow the steps to set up. Now, WordPress is ready for use.
Credit: blog.adobe.com
Understanding WordPress Theme Structure
WordPress themes use template files. These files decide your site’s look. Each file has a specific job. For example, header.php manages the top part. footer.php handles the bottom part. The index.php is the main file. It shows your posts and pages.
Themes also use the style.css file. This file designs your site. It changes colors, fonts, and sizes. functions.php adds new features. It can add menus or widgets. Template files work together. They make your site unique. They help organize content.
WordPress themes use a hierarchy. Files load in order. If one file is missing, another loads. This keeps your site running. Understanding these files is important. It helps you build better themes. Themes are flexible. You can change them easily.
Designing Your Theme Layout
Crafting a WordPress theme using Dreamweaver involves coding skills and design creativity. Start by setting up a workspace in Dreamweaver. Customize your CSS and HTML files to define layouts and styles.
Creating A Wireframe
Start with a simple sketch of your website. This is called a wireframe. It helps plan where things go. Draw boxes for headers, footers, and menus. Imagine how users will see your site. Arrange the boxes in a neat order. This makes design easy later. Keep it clear and tidy. Wireframes are like blueprints for a house.
Using Dreamweaver For Layout Design
Open Dreamweaver and create a new project. Use the tools to build your layout. Choose colors and fonts you like. Add buttons and links where needed. Make sure everything fits well. Use grids to align elements neatly. Preview your design often. Adjust until you are happy with it. This is how Dreamweaver helps design a site.
Coding With Html And Css
Building a WordPress theme in Dreamweaver involves using HTML and CSS to create custom designs. Dreamweaver provides tools to streamline coding, making the process smoother for beginners. This approach allows for unique, personalized themes tailored to specific website needs.
Converting Design To Code
Designs can be brought to life with HTML and CSS. Begin by structuring your content using HTML. Use tags like `
CSS adds style to your HTML. It makes the page attractive. Use CSS to define colors, fonts, and layouts. With CSS, your site gets its unique look. Combine HTML and CSS to create a working theme.
Styling With Css
CSS is like the clothing of your webpage. It changes how things look. Use CSS to set the background color. Choose fonts that are easy to read. Make sure your text and images have enough space.
Classes and IDs help in CSS styling. Use them to apply styles to specific parts. This keeps your code tidy and manageable. CSS brings creativity to your design.
Integrating WordPress Elements
PHP is a scripting language. It helps create dynamic web pages. Variables store data. Arrays hold multiple items. Functions perform tasks. Use PHP tags to add code. The tag starts with <?php and ends with ?>. WordPress uses PHP to connect to databases. This allows for dynamic content.
Dynamic content changes based on user actions. WordPress uses templates. Templates use PHP to show different content. Loops are common in WordPress. They repeat actions. Conditional statements make decisions. They check if something is true. Use tags to insert content in posts or pages. Tags like php the_title(); ? show post titles. Dynamic content keeps pages fresh and engaging.
Customizing With Javascript
JavaScript makes websites fun. It adds cool features. Users can see changes right away. Instant feedback is key. JavaScript helps with that. Users love fast responses.
Buttons can change color. Images can move. Interactive elements keep users happy. They stay longer. Explore more. Learn more.
Forms feel alive with JavaScript. Errors show up fast. Users fix them quickly. No waiting. This keeps users relaxed. Makes them want to come back.
Testing And Debugging
Websites must look good on all browsers. Cross-browser testing helps with this. Use tools to check the website on Chrome, Firefox, and Safari. Test on both desktop and mobile. Look for layout changes or missing content. Fixing these issues makes the site better for everyone. Always test after changes. This keeps the design consistent.
Debugging helps find and fix errors. Use the console in your browser. It shows error messages. Read these messages to know what’s wrong. Check your code for typos or missing parts. Try changing one thing at a time. This helps you see what change fixes the problem. Ask for help if you get stuck. Sometimes another person can spot the mistake.
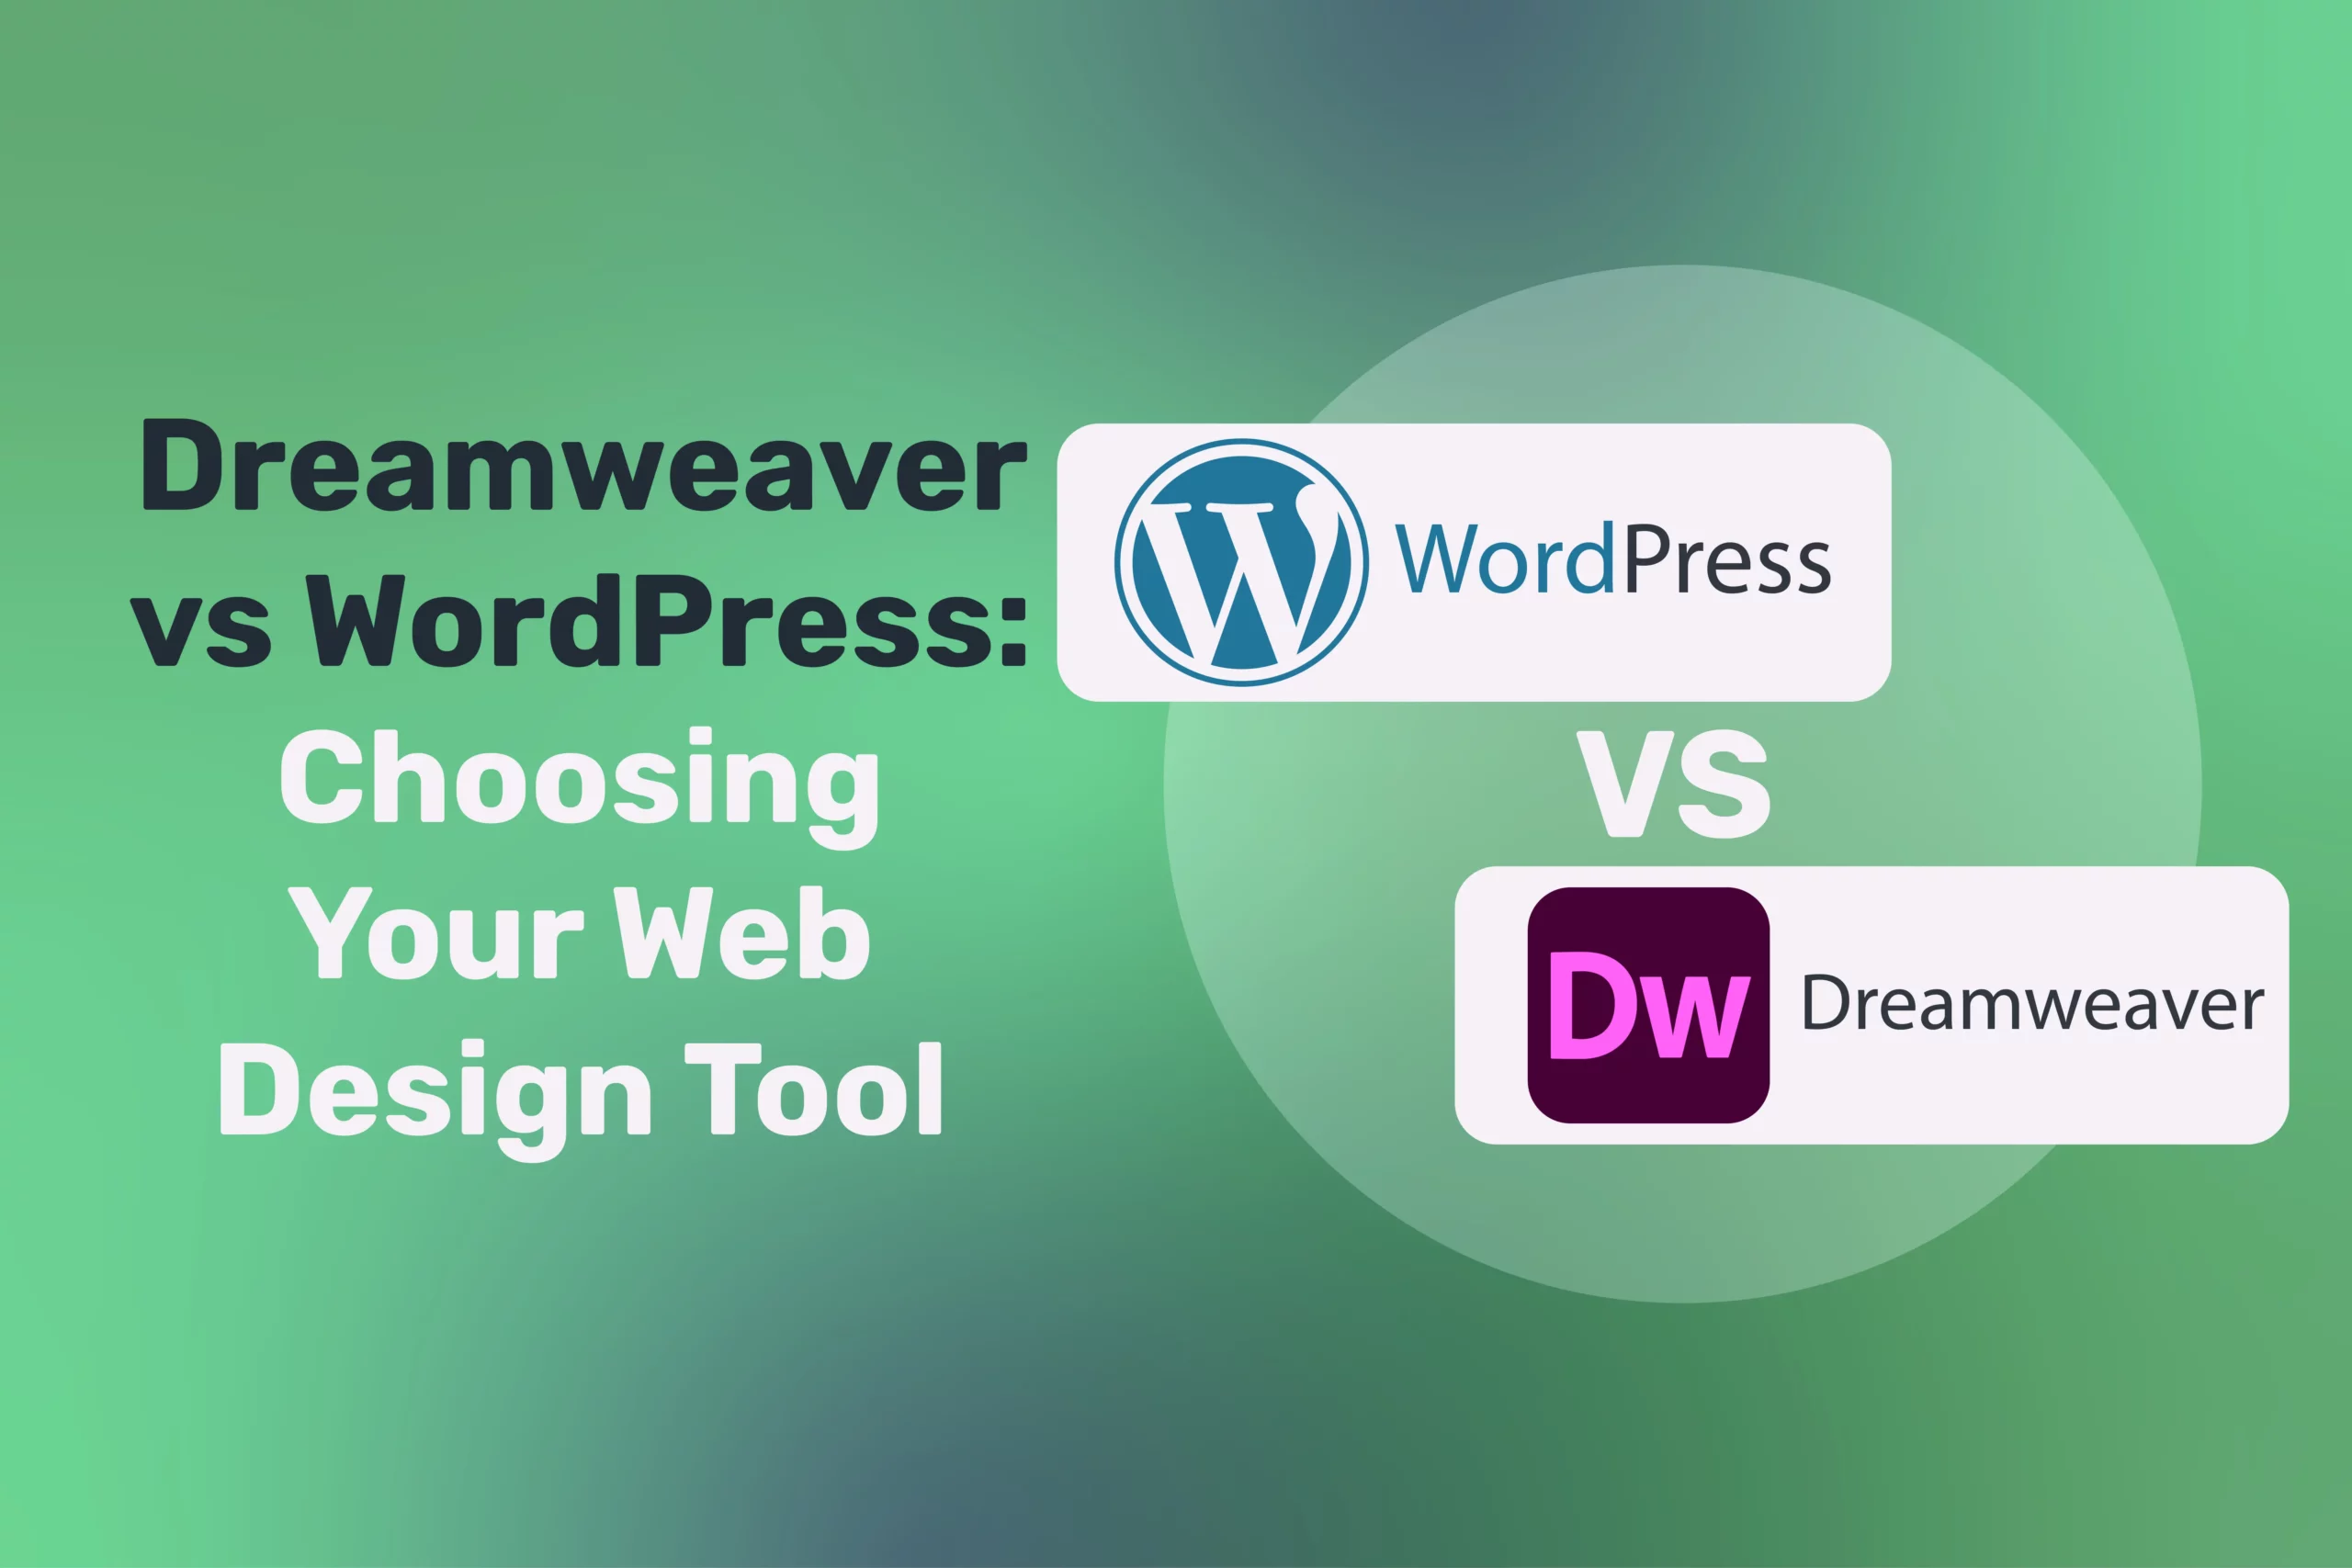
Credit: profiletree.com
Finalizing And Launching Your Theme
Finalizing and launching your theme in Dreamweaver involves testing every feature. Ensure your WordPress theme is responsive and user-friendly. Check compatibility with various plugins and browsers. Attention to detail guarantees a smooth launch and a great user experience.
Optimizing For Performance
Speed matters for your website. A fast site keeps visitors happy. Use light images and files. Compress them to save space. Minimize JavaScript and CSS. It helps the site load quickly. Check your site speed using online tools. Make adjustments if needed. A faster site ranks better on search engines.
Deploying Your Theme
Testing is crucial before launching. Check if all links work. Ensure images display correctly. Look for any errors. Fix them promptly. Install your theme on WordPress. Activate it and preview. Review all pages. Verify that everything looks right. Once satisfied, make your theme live. Share your new site with friends. Celebrate your achievement.
Frequently Asked Questions
How To Start Building A WordPress Theme In Dreamweaver?
To start, install Dreamweaver and set up a local development environment. Download WordPress and create a new site in Dreamweaver. Import WordPress files and begin editing the theme template files like header. php and footer. php. Use Dreamweaver’s design and code views for a streamlined workflow.
Can Dreamweaver Help In Customizing WordPress Themes?
Yes, Dreamweaver can significantly aid in customizing WordPress themes. It offers visual tools and a code editor. This helps in editing CSS, HTML, and PHP files. You can easily preview changes in real-time and manage your theme’s layout and design efficiently.
What Are Essential Files For WordPress Themes?
Essential WordPress theme files include index. php, style. css, header. php, footer. php, and functions. php. These files define your theme’s structure, style, and functionalities. Each file has a specific role, like styling content or managing theme features. Understanding these files is crucial for building a functional WordPress theme.
Why Use Dreamweaver For WordPress Development?
Dreamweaver offers a powerful interface for both coding and design tasks. It integrates with FTP for easy website management. The software supports live previews, which help in visualizing changes instantly. Its robust tools make WordPress theme development faster and more efficient.
Conclusion
Creating a WordPress theme with Dreamweaver is straightforward and rewarding. You now have the basic steps to start your project. Dreamweaver helps in organizing and managing your files. Coding becomes easier with its helpful tools. Remember to test your theme regularly.
Make sure it works smoothly across devices. Customize your theme to reflect your brand. Keep learning and improving your skills. Explore forums and communities for more tips. Your unique WordPress theme will attract visitors. Enjoy the process and watch your site grow!


