
Imagine visiting a website and instantly recognizing its brand by the logo seamlessly integrated into the menu. This small yet powerful visual cue can significantly enhance your site’s professional appeal and brand consistency.
If you’re using the Divi Theme on WordPress, you’re in luck. Divi makes it incredibly easy to add your logo to the menu, but knowing the right steps is crucial to getting it just right. This guide is crafted just for you, to help you effortlessly achieve that polished look for your website.
By the end of this article, you’ll not only have your logo proudly displayed on your menu but also understand the subtle art of enhancing user experience through branding. Dive in and discover how a simple logo placement can make a world of difference in how visitors perceive your site.
Credit: www.elegantthemes.com
Installing Divi Theme
First, log into your WordPress Dashboard. Use your username and password. This is where you manage your website. Look for the left sidebar. It has many options.
Click on the “Appearance” menu. Then, select “Themes”. You will see an “Add New” button at the top. Click it. Now, choose “Upload Theme”. Find your Divi theme file on your computer. Click “Install Now”. Wait for it to upload. Once done, click “Activate”. Your Divi theme is now active.
Customizing The Menu
First, locate the WordPress Dashboard. Find the Appearance section. Click on Customize. This opens the Theme Customizer. Here, you can change the website design. It’s easy to use. You’ll find many options. You can choose colors and layouts.
Inside the Theme Customizer, look for Header & Navigation. Click it to open settings. You can add your logo here. Upload your logo file. Make sure it fits well. Adjust the size if needed. Save changes. Your logo appears on the menu now.
Adding Logo To Menu
To add a logo, first go to your WordPress dashboard. Click on Divi and then Theme Options. You’ll see an option to upload your logo. Click on Upload and choose your logo file. Ensure it’s a clear image. After uploading, save the changes. Now, your logo is ready to be placed.
For positioning, go to the Divi Theme Customizer. Find the Header & Navigation settings. Choose Primary Menu Bar. Here, adjust the Menu Height to fit your logo. Use the Logo Max Height setting to resize. Save these settings. Your logo will now appear on the menu.
Credit: www.learnhowwp.com
Adjusting Logo Size
Use the Customizer Tools in the Divi Theme to change the logo size. Open the WordPress dashboard and go to the Divi settings. Click on the Customizer. Find the “Header & Navigation” option and select it. There, adjust the logo size using the slider. Make sure it fits well with the menu items.
Using Customizer Tools
The Divi Theme has handy tools for design changes. These tools are easy to use. They help you change the look of your site. You can try different sizes until your logo looks just right. Remember to save changes after adjusting the size.
Ensuring Mobile Responsiveness
Check how the logo looks on mobile devices. A big logo may cover the menu. Use the customizer to see a mobile preview. Adjust the size so it’s clear and fits well. This keeps your site looking good on phones and tablets. Always test on different devices for best results.
Styling The Menu
Incorporating a logo into your WordPress menu using the Divi theme enhances brand identity and site aesthetics. Navigate to the Divi theme builder, select header settings, and upload your logo. Adjust size and placement for a cohesive look.
Choosing Colors And Fonts
Pick colors that match your brand. They should make your menu stand out. Use fonts that are easy to read. This helps visitors find what they need quickly. You can try different combinations. See which ones look best for your menu.
Adding Custom Css For Advanced Styling
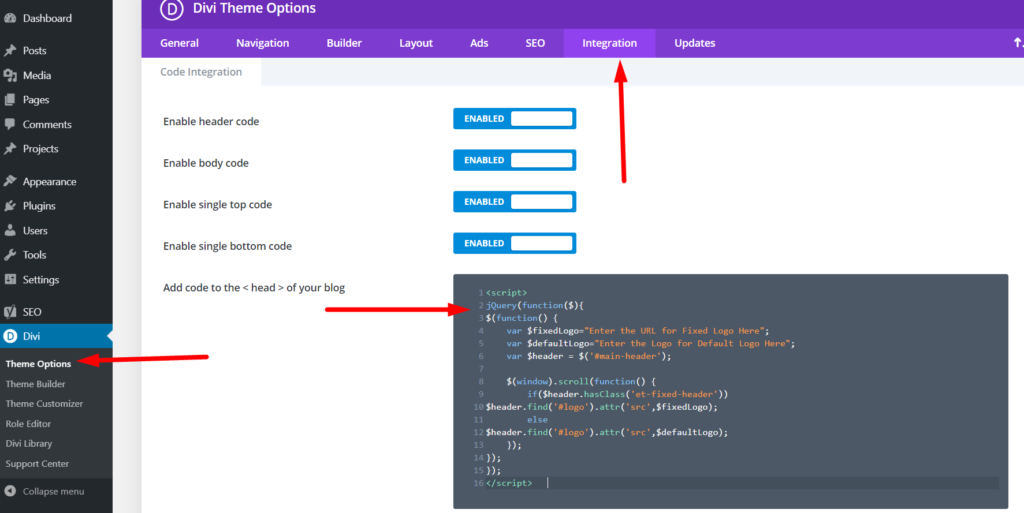
Use Custom CSS to make your menu unique. Add CSS in the Divi Theme Options. This allows for more control over the look. You can change the size, color, or style of text. You can also adjust spacing and alignment. This helps keep your menu neat and tidy.
Saving And Publishing Changes
Adding a logo to your WordPress menu using the Divi Theme is simple. First, navigate to the Divi Theme Builder. Then, select the header template and upload your logo. Save and publish the changes to see your logo displayed.
Previewing Your Modifications
Look at your changes before saving them. This step is very important. Make sure the logo fits well in the menu. The menu should still look nice. If the logo is too big, it might look strange. Adjust the size if needed. Check if the colors match. Everything should look good together.
Finalizing The Design
Once happy with the design, click save to keep changes. This makes your logo appear on the website. It’s important to check everything looks good on different devices. Use your phone and computer to see the site. If it looks good everywhere, you’re done. Now your logo is part of the menu. Everyone will see it on your site.
Troubleshooting Common Issues
Adding a logo to the WordPress menu using Divi Theme can face some common issues. Ensure the logo size fits the menu space, and use Divi’s theme customizer for precise placement. Adjust settings to make the logo appear correctly in both desktop and mobile views.
Resolving Logo Display Problems
The logo may not show up on the menu sometimes. Check the theme settings first. Make sure the logo is uploaded correctly. Next, verify the logo size. It should fit well in the menu bar. Use the Divi builder to adjust the logo. If the logo still doesn’t show, look at the CSS codes. There might be a missing or wrong code. Fixing these can help the logo appear right.
Fixing Menu Alignment
Menu alignment can be tricky. Sometimes, menus look out of place. Check the menu settings in Divi theme options. Adjust the alignment settings there. If it looks off, open the Divi builder. Move the menu items to the right spot. Look at the padding and margins. Fix these to make the menu align well. It should look neat and tidy.
Credit: diviflash.com
Frequently Asked Questions
How Can I Add A Logo To Divi Menu?
To add a logo to the Divi menu, navigate to the Divi Theme Customizer. Click on “Header & Navigation” and select “Primary Menu Bar. ” Upload your logo using the “Logo Image” option. Save changes to see your logo displayed in the menu.
Is Logo Customization Possible In Divi Theme?
Yes, Divi offers extensive logo customization options. You can adjust logo size, position, and spacing in the Theme Customizer. Additionally, custom CSS can be used for more advanced styling changes. These options help align the logo perfectly with your site’s design.
Why Is My Logo Not Displaying Correctly?
If your logo isn’t displaying correctly, check the image format and size. Use common formats like PNG or JPEG. Ensure the logo size matches your menu’s dimensions. Also, clear your site cache and browser cache to update changes effectively.
Can I Use A Custom Logo Size In Divi?
Absolutely, Divi allows custom logo sizes. Go to the Theme Customizer and adjust the “Logo Max Height” setting. This lets you set a preferred size for your logo. Remember to optimize the logo for speed and responsiveness.
Conclusion
Adding a logo to your WordPress menu is simple with Divi. It enhances your site’s look, making it more professional. Follow the steps above for a seamless experience. Customizing your menu can improve your brand’s visibility. A clear logo makes it easy for users to recognize your site.
Keep experimenting with different styles. Ensure your logo fits well within the menu space. Proper placement helps in maintaining a neat design. Try to keep your website’s layout clean and user-friendly. Now, you can confidently customize your WordPress site using Divi.


