

Are you looking for a simple way to create and manage your host domain? Webmin makes this process easy and efficient, even if you’re not a tech expert.
In this guide, you’ll discover exactly where and how to set up your host domain using Webmin. By the end, you’ll have full control over your domain settings without any hassle. Ready to take charge of your hosting? Let’s dive in and get your domain up and running quickly.
Accessing Webmin Interface
Accessing the Webmin interface is the first step to managing your server efficiently. Webmin offers a simple web-based control panel to handle various server tasks. This section explains how to open Webmin and find the settings needed to create a host domain.
Logging Into Webmin
Open your web browser and enter your server’s IP address followed by the Webmin port number, usually :10000. For example, http://192.168.1.1:10000. You will see a login page.
Enter your administrator username and password. These credentials are set during Webmin installation. Click the login button to enter the interface.
Navigating To Server Settings
After logging in, look at the left menu panel. Find the “Servers” section and click it. This area contains many server management tools.
Scroll to find the “BIND DNS Server” or similar DNS service option. Click it to open DNS settings. This section allows you to create and manage host domains easily.
Locating The Create Host Domain Module
Finding the Create Host Domain module in Webmin is simple. This module helps you manage DNS settings easily. It is part of the BIND DNS Server tools. Knowing where to find it saves time and avoids confusion.
The steps are clear and easy to follow. This guide shows exactly where to locate the module. It helps you start creating host domains quickly.
Finding The Bind Dns Server Section
Start by logging into Webmin. On the main menu, look for the “Servers” category. Under this category, find and click “BIND DNS Server.” This section controls all DNS functions. It holds the tools needed to create host domains.
Opening The Create Master Zone Option
Inside the BIND DNS Server section, find the “Create Master Zone” button. Click this to open the creation tool. This option allows you to add new DNS zones. It is the first step in creating a host domain. The interface is simple and clear, guiding you through the process.
Configuring Domain Details
Configuring domain details is a key step when creating a host domain using Webmin. This process ensures your domain works correctly on the internet. You need to provide specific information about your domain. This includes the domain name, the type of DNS zone, and the primary DNS server. Proper setup helps your domain resolve names quickly and reliably.
Setting The Domain Name
Start by entering the domain name you want to host. Use the full domain, such as example.com. Avoid using spaces or special characters. The domain name must be unique and correctly spelled. This name acts as the main identifier for your website or service.
Defining The Zone Type
Choose the right zone type for your domain. The most common type is a master zone. This zone holds the main DNS records for your domain. You can also select slave zones if you want to copy data from another server. Picking the correct zone type ensures proper DNS management.
Specifying Primary Dns Server
Enter the IP address of your primary DNS server. This server handles all DNS queries for your domain first. Make sure the IP address is accurate. This step helps your domain respond quickly to user requests. It also supports smooth domain name resolution.
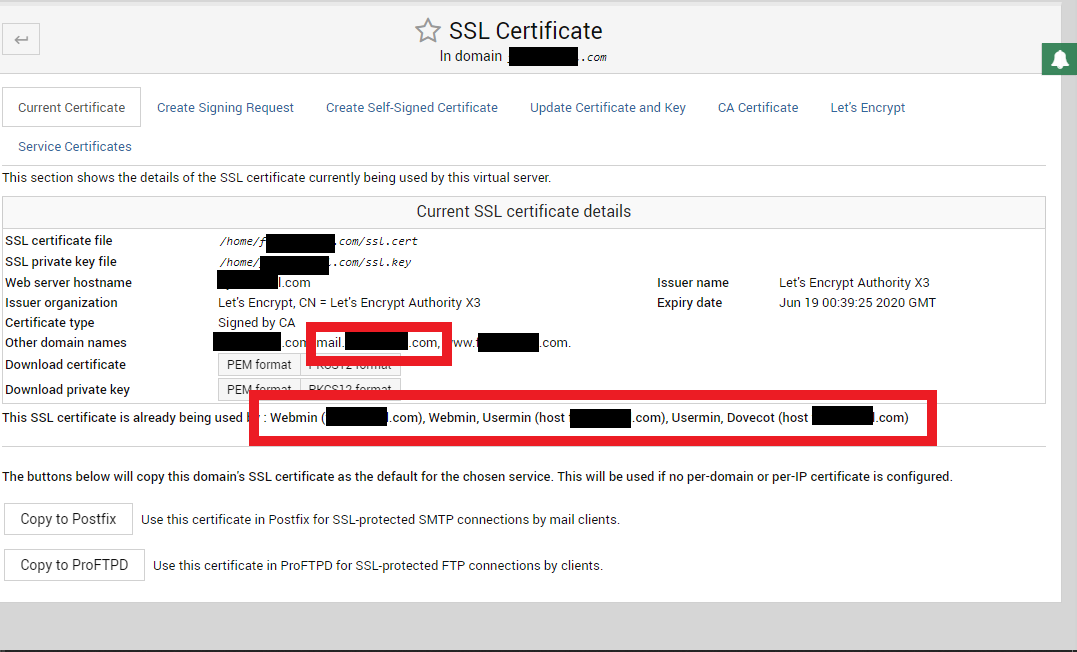
Credit: forum.virtualmin.com
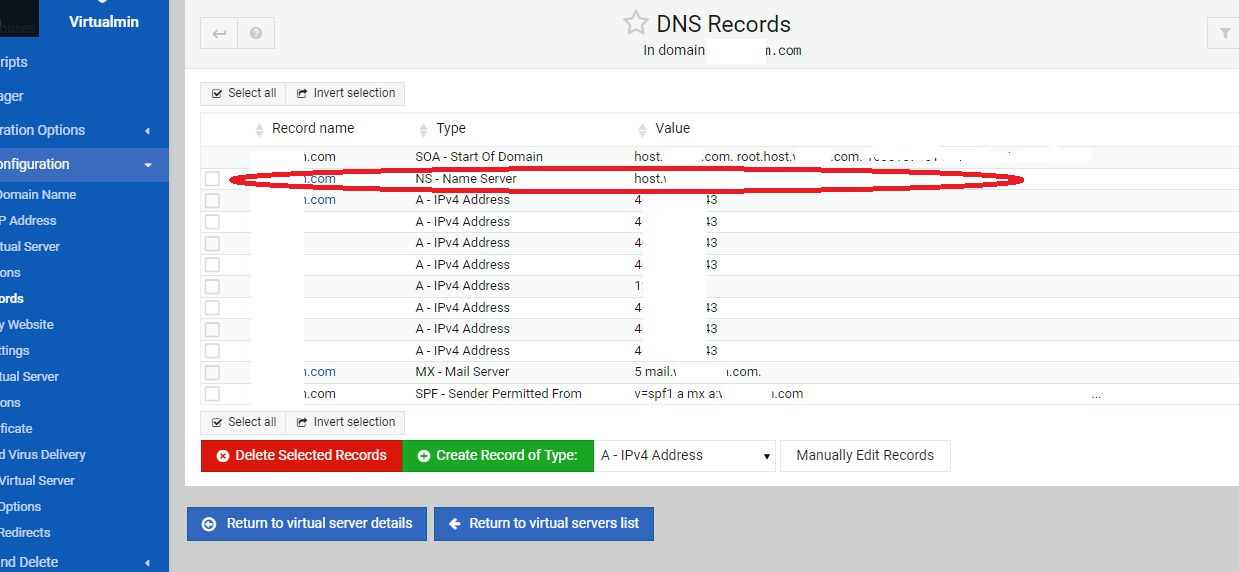
Adding Dns Records
Adding DNS records is key to managing your domain with Webmin. These records tell the internet where to find your website and services. You can control your site’s address, email routing, and aliases. Webmin makes it simple to create and edit these records.
Creating A And Aaaa Records
A records link your domain to an IPv4 address. This is the common internet address format. AAAA records connect your domain to an IPv6 address. Both records ensure visitors reach your website correctly. In Webmin, enter the IP address for each record carefully. This step directs traffic to your server.
Setting Up Mx Records
MX records manage email delivery for your domain. They point to the mail servers that handle your emails. Each MX record has a priority level. Lower numbers mean higher priority. Use Webmin to add your mail server details and set priorities. This setup helps your emails get delivered smoothly.
Including Cname Entries
CNAME records create aliases for your domain. They let you use different names that point to the main domain. This is useful for subdomains like “www” or “mail.” In Webmin, add the alias name and the target domain. This keeps your domain structure clean and easy to manage.
Saving And Applying Changes
Saving and applying changes is a key step after creating a host domain in Webmin. It makes sure your settings take effect and work correctly. This process helps avoid errors and keeps your domain running smoothly.
Always check your configuration before saving. This prevents common mistakes that could cause issues later.
Reviewing Configuration
Carefully review all details in your domain setup. Look at the domain name, IP address, and any records added. Confirm everything matches your requirements. Double-check for typos or missing information. Correct any errors before moving on. This step saves time by avoiding problems after saving.
Restarting Dns Services
After saving changes, restart your DNS services. This applies the new configuration immediately. Restarting refreshes the system and clears old settings. Use Webmin’s interface to stop and start the DNS server. Wait a moment for the service to restart fully. Check for any error messages during the restart. Proper DNS service restart is vital for domain functionality.
Credit: webmin.com
Testing The Host Domain Setup
Testing the host domain setup is a key step after creating your domain in Webmin. This process helps confirm the domain points correctly to your server. It ensures visitors reach your website without errors. Simple tests can find issues early and save time later.
Use basic tools to check your domain’s DNS records. Verify that the domain resolves to the correct IP address. Testing helps maintain a smooth user experience and reliable website access.
Using Dns Lookup Tools
DNS lookup tools show how your domain resolves online. Tools like nslookup, dig, or online DNS checkers work well. Enter your domain name and see the returned IP address. This confirms your DNS settings are active and correct.
Look for A records pointing to your server’s IP. Check for CNAME or MX records if you use email or aliases. These tools also reveal any DNS propagation delays or errors.
Verifying Domain Resolution
Domain resolution means your domain name converts to the right IP address. Use the ping command or browser access to test this. If the domain loads your website, resolution works fine.
Clear your browser cache before testing to avoid old data. Try accessing the domain from different devices or networks. This confirms the domain is publicly visible and properly linked.
Troubleshooting Common Issues
Troubleshooting common issues in Webmin saves time and reduces frustration. Errors can stop your host domain from working properly. Understanding how to fix these problems helps keep your server stable and online.
Many issues come from zone file errors or service restart failures. These problems often block DNS updates or server functions. Fixing them quickly ensures your domain runs smoothly.
Fixing Zone File Errors
Zone file errors usually cause DNS resolution problems. Check your zone file for syntax mistakes first. Look for missing semicolons, wrong IP addresses, or incorrect record types.
Use Webmin’s built-in syntax check tool to find errors fast. Correct any typos or formatting issues. Save the file and reload the DNS service to apply changes.
Keep backups of zone files before editing. This step helps restore settings if you make a mistake. Clear cache on client devices to see updates immediately.
Resolving Service Restart Failures
Service restart failures stop DNS or web services from running. Check service status using Webmin’s system status module. Look for error messages in the logs.
Common causes include permission problems or port conflicts. Fix permissions by ensuring the service user owns the necessary files. Change port numbers if conflicts occur.
Restart services from the command line if Webmin fails. Use commands like systemctl restart named or service bind9 restart. This method often reveals detailed error messages.
Credit: forum.virtualmin.com
Frequently Asked Questions
What Is Webmin For Hosting Domain Creation?
Webmin is a web-based control panel for server management. It simplifies creating and managing host domains without complex commands. Users can easily configure domain settings through an intuitive interface, making hosting setup faster and more accessible.
How To Create A Host Domain Using Webmin?
To create a host domain in Webmin, log in to the control panel. Navigate to the “Servers” section, select “BIND DNS Server,” and add a new zone. Enter the domain details and save the configuration to complete the setup.
Can I Manage Multiple Domains With Webmin?
Yes, Webmin supports managing multiple domains from a single interface. You can add, edit, or remove domains easily. It helps streamline domain administration on your server, saving time and reducing errors.
Is Webmin Suitable For Beginners In Domain Hosting?
Absolutely. Webmin’s user-friendly interface makes it ideal for beginners. It offers step-by-step options and clear menus, helping new users create and manage domains without advanced technical knowledge.
Conclusion
Creating a host domain with Webmin is simple and fast. You can manage your server easily through its clear interface. Just follow the steps to add domains without trouble. This tool helps keep your website organized and running smoothly. Webmin works well for beginners and experts alike.
Try it yourself and see how it improves your hosting tasks. Managing domains has never been this straightforward. Give it a go today and enjoy hassle-free hosting.


