

When you’re setting up your WordPress store, the size of your product images can make or break the shopping experience. Too small, and your customers won’t see the details that make your products shine.
Too large, and your site could slow down, driving visitors away before they even browse. So, what’s the perfect size for your product images on WordPress? You’ll discover the ideal dimensions and tips to optimize your images for speed, clarity, and seamless design.
Keep reading to unlock the secret to images that boost sales and keep your website running smoothly.
Credit: fr.wordpress.org
Ideal Dimensions For Product Images
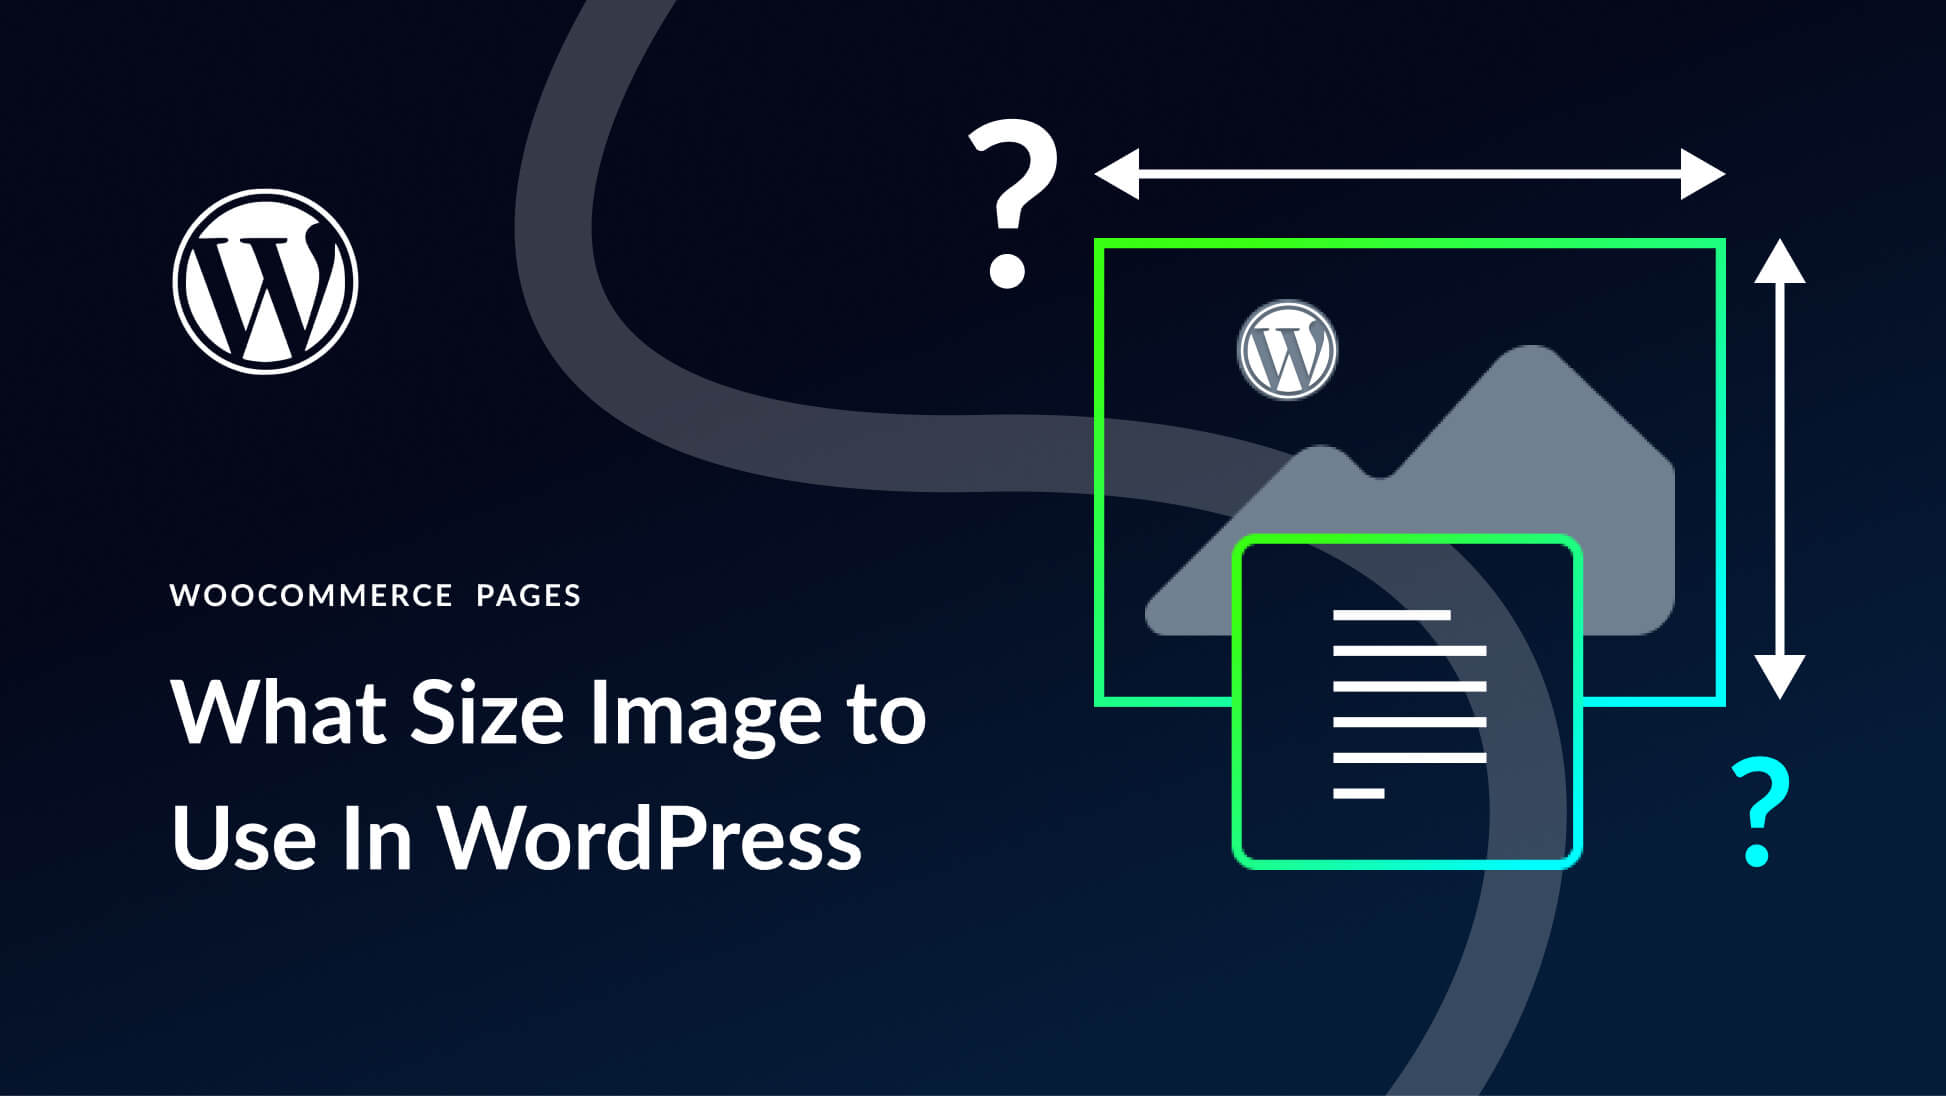
Choosing the right dimensions for product images is key to a professional WooCommerce store. Proper image size boosts site speed and improves user experience. It also helps products look clear and attractive on all devices. This section explains the ideal dimensions for WordPress product images and how to set them.
Standard Woocommerce Sizes
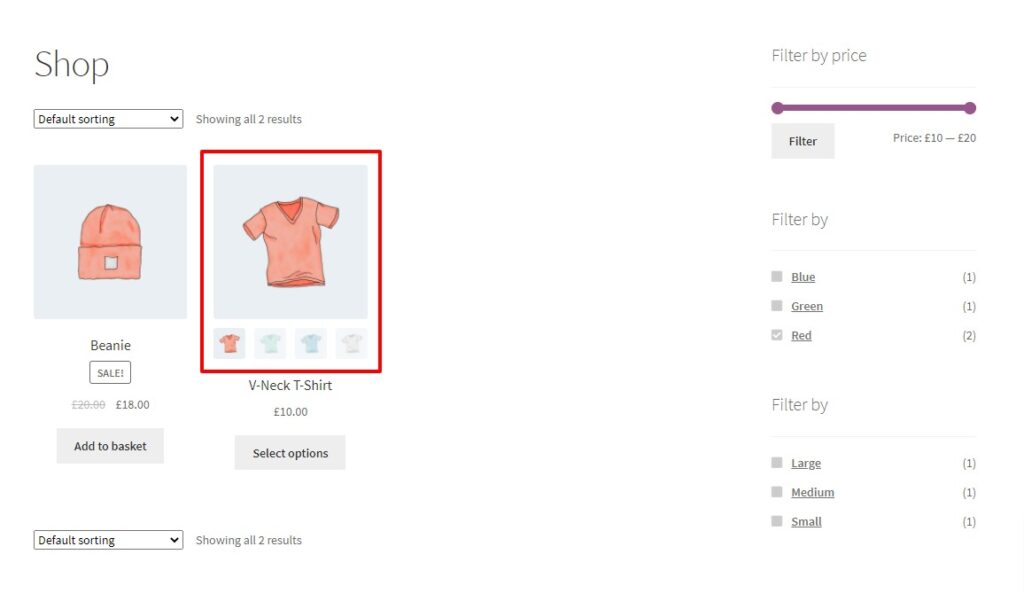
WooCommerce uses default image sizes for product photos. The main sizes are thumbnail, catalog, and single product images. Thumbnails usually measure 150×150 pixels. Catalog images often use 300×300 pixels. Single product images are larger, around 600×600 pixels. These sizes work well for most stores. They keep images sharp while keeping pages fast.
Custom Image Sizes
You can change WooCommerce image sizes to suit your store’s design. Custom sizes help fit images perfectly in your theme layout. To adjust sizes, go to WooCommerce settings and choose the product images tab. Upload images with the new dimensions for best results. Use image editing tools to resize before uploading. Custom sizes can improve site speed and appearance.
Aspect Ratio Considerations
Maintaining a consistent aspect ratio is important for product photos. A common ratio is 1:1, which means square images. Square images display evenly across the shop. Avoid mixing tall and wide pictures. Mixed ratios can make your store look messy. Keep all product images the same shape. This consistency creates a clean and professional look.
Optimizing Image Quality
Optimizing image quality is essential for WordPress product images. Clear, sharp images attract customers and improve trust. High-quality images show product details and colors accurately. Yet, large image files can slow down your website. Finding the right balance between quality and file size is key for a smooth user experience.
Choosing The Right File Format
Select file formats that keep images clear and small in size. JPEG works well for photos with many colors. It compresses images efficiently with little quality loss. PNG is best for images needing transparency or sharp edges. Avoid using BMP or TIFF as they create very large files. WebP is a newer format that offers good quality at smaller sizes and is supported by most browsers.
Compression Techniques
Compression reduces file size without hurting image quality too much. Lossless compression keeps all image data but only reduces size slightly. Lossy compression removes some data to shrink files more, but quality drops if overdone. Use tools like TinyPNG or ImageOptim to compress images before uploading. Test different compression levels to find the best quality and size balance.
Balancing Quality And Speed
Fast-loading pages keep visitors engaged and improve SEO. Large images slow page speed and can frustrate users. Resize images to the exact dimensions needed on your site. Avoid uploading very large images and letting WordPress scale them down. Use caching and content delivery networks (CDNs) to serve images quickly worldwide. Always preview your product images on desktop and mobile to ensure they look good and load fast.
Editing And Resizing Tools
Editing and resizing product images is essential for a clean, professional WordPress store. Properly sized images improve site speed and user experience. Several tools help adjust images to fit your site’s layout. These tools make sure your images look sharp without slowing down your page. Below are popular options for editing and resizing product images.
Using Canva For Resizing
Canva offers a simple way to resize images. Upload your photo and choose custom dimensions. It keeps the image quality while adjusting size. Canva’s drag-and-drop interface is easy for beginners. You can also crop and enhance photos quickly. This helps create consistent product images for your store.
Woocommerce Settings For Image Size
WooCommerce lets you control product image sizes in its settings. Go to Appearance > Customize > WooCommerce > Product Images. Set the main image width and thumbnail size here. WooCommerce will crop images to fit these dimensions. Adjusting these settings ensures uniform images across your shop. This also helps reduce load times on product pages.
Plugins For Additional Variations
Some plugins add more image size options for WooCommerce. They allow extra thumbnails or zoomed-in views. Plugins like “Additional Variation Images” offer this feature. These tools give shoppers more image angles and details. They also handle image resizing automatically. Using plugins can improve product presentation and customer trust.
Responsive Image Display
Responsive image display is key for great user experience on WordPress sites. Product images must look clear and load fast on all devices. This means images should adjust smoothly to different screen sizes. Responsive images improve site speed and keep visitors engaged. They also help your site rank better on search engines.
Adapting Images For Mobile
Mobile users make up most web traffic today. Product images must fit smaller screens well. Use flexible widths and set max-width to 100%. This lets images scale down without losing quality. Choose image sizes that load quickly on mobile networks. Smaller images reduce data use and speed up pages. Test images on various phones and tablets. Ensure they are clear and easy to see on all devices.
Retina And High-resolution Screens
High-resolution screens show more detail. Standard images may look blurry on retina displays. Upload images at double the size needed. This keeps them sharp on all screens. Use srcset and sizes attributes in HTML. They let the browser pick the best image version. This saves bandwidth and keeps images crisp. Always check how images appear on different devices. Clear, sharp images build trust and improve sales.
Lazy Loading Benefits
Lazy loading delays image loading until needed. Images load only when they enter the user’s view. This speeds up initial page load times. It reduces server load and saves bandwidth. Lazy loading improves user experience on slow connections. It also boosts SEO by lowering bounce rates. Use plugins or native HTML loading=”lazy” attribute. Make sure important images load quickly without delay.
Uploading Best Practices
Uploading product images on WordPress requires care to keep your site fast and appealing. Proper practices make images clear and load quickly. These steps help maintain quality and improve user experience.
Preparing Original Photos
Start with high-quality photos that show your product well. Use natural light and simple backgrounds. Crop images to focus on the product only. Avoid clutter or distractions in the frame.
Keep your photos consistent in style and size. This creates a professional and uniform look. Use a good camera or smartphone with high resolution. Clear images build customer trust.
Naming And File Organization
Name your image files with simple, descriptive words. Use hyphens to separate words, not spaces or underscores. For example, use “blue-running-shoes.jpg” instead of “IMG_1234.jpg”.
Organize files in folders by product type or category. This makes finding and updating images easier. Proper naming also helps search engines understand your content better.
Optimizing Before Upload
Reduce image file size without losing quality. Use tools like TinyPNG or Photoshop’s “Save for Web”. Smaller files help pages load faster and save bandwidth.
Choose the right image dimensions for your site layout. Common product image sizes are 800×800 pixels or 1000×1000 pixels. Avoid uploading very large images that slow down your website.
Save images in JPEG format for photos and PNG for graphics with transparency. Check that images look sharp and load quickly on different devices.
Credit: www.elegantthemes.com
Speed And Seo Impact
Speed plays a crucial role in how search engines rank your WordPress site. Fast-loading product images improve user experience and boost SEO scores. Large, unoptimized images slow down page load times. This delay can cause visitors to leave quickly, increasing bounce rates. Optimizing image size helps keep your site speedy and search-friendly.
Reducing Load Times
Use images sized for your site’s design. Avoid uploading large files that browsers must resize. Compress images without losing quality to reduce file size. Tools like TinyPNG or ImageOptim work well. Serve images in modern formats like WebP to cut loading times further. Fast images keep visitors engaged and improve rankings.
Image Seo Tips
Use descriptive file names with keywords related to your products. Add meaningful alt text for each image. This helps search engines understand your content. Include captions if possible to provide context. Keep image titles clear and relevant. These practices make your images more visible in search results.
Using Cdn For Delivery
A Content Delivery Network (CDN) stores images on servers worldwide. This reduces the distance between your visitors and your images. CDNs speed up delivery and reduce server load. Many CDNs also optimize images automatically. Using a CDN ensures consistent fast loading for all users.
Credit: iconicwp.com
Frequently Asked Questions
What Size Are WordPress Product Images?
WordPress product images typically measure 800×800 pixels for clear display. Optimize file size for fast loading without quality loss. Use JPEG for photos and PNG for transparency. Adjust dimensions based on your theme and layout for best results.
What Is The Best Size For Product Image?
The best product image size is 800×800 pixels for clear, high-quality display. Optimize file size for faster loading. Use JPEG for photos and PNG for transparency. Keep aspect ratio consistent to maintain visual appeal across devices.
What Is The Optimal Image Size For WordPress?
The optimal WordPress image size varies by use. Generally, 1200×628 pixels suits featured images, while 800×600 works for in-content images. Compress files to under 100 KB for faster loading. Use JPEG for photos and PNG for graphics with transparency. Adjust sizes to match your theme’s layout.
What Is The Best Image Size For Woocommerce?
The best WooCommerce image size is 800×800 pixels for product images. Use JPEG format and compress for faster loading. Maintain a 1:1 aspect ratio.
Conclusion
Choosing the right product image size improves your WordPress site’s look. Clear, well-sized images help customers see details easily. Large files slow your site, so keep images light. Use JPEG for photos and PNG for graphics with transparency. Resize images to fit your theme’s layout perfectly.
Optimized images boost site speed and user experience. This simple step can increase visitor engagement and sales. Focus on clarity, speed, and size for the best results.


