
Are you ready to take control of your online presence? Whether you’re launching a personal blog, starting an e-commerce site, or creating a platform to showcase your work, understanding how to effectively set up web hosting is crucial.
The process may seem daunting at first, but don’t worry—you’re about to discover a step-by-step guide that breaks it down into manageable steps. Imagine having the power to make your website live and accessible to anyone, anywhere, at any time.
With this guide, you’ll gain the confidence and skills to do just that. By the end, you’ll be well-equipped to choose the right hosting provider, configure essential settings, and ensure your site runs smoothly. Let’s eliminate the guesswork and remove any barriers between you and your online success. Dive into this straightforward guide and empower yourself with the knowledge you need to make informed decisions and start your web hosting journey confidently. Your website deserves to be seen, and you deserve the satisfaction of making it happen.
Choosing A Hosting Type
Shared hosting is great for beginners. Many websites use the same server. This keeps costs low. Perfect for small sites and blogs. Limited resources are a downside. If one site is busy, others slow down. Easy setup and affordable plans make it popular.
VPS stands for Virtual Private Server. It’s like having your own space. More control and flexibility than shared hosting. Better for growing sites. Each site has its own resources. Costs more but offers more power. Great for medium-sized businesses.
Dedicated hosting gives you a whole server. Full control over everything. Best for big sites with lots of traffic. No sharing with others. This means faster speeds. It’s more expensive. Suitable for large companies or complex sites.
Cloud hosting uses many servers. Scales easily with needs. Reliable and flexible. If one server fails, others help. Pay for what you use. Good for unpredictable traffic. Perfect for businesses that might grow quickly.
Selecting A Hosting Provider
Choose a host with a strong track record. Uptime is key. Look for 99% or more. Downtime can cause issues. Slow websites lose visitors. Read reviews from real users. They share honest experiences.
Good support helps quickly. Look for 24/7 service. Live chat is fast and easy. Email support can be slower. Check response times. Fast answers save time.
Compare costs and features. Shared hosting is often cheaper. Dedicated servers cost more. Look at storage and bandwidth. More is better. Some hosts offer free SSL certificates. This helps secure your site.
Registering A Domain Name
First, make sure the domain name is available. Use online tools to check. Enter your desired name. The tool will tell if it’s free. Choose a unique name. Avoid long and hard-to-spell words. A short name is easy to remember. Try different names if your first choice is taken.
Pick a company to buy your domain from. This is a registrar. Popular registrars include GoDaddy and Namecheap. Compare prices and features. Some offer free emails or privacy protection. Read reviews to know if they are trusted. Choose a registrar that fits your needs. Always check their customer service quality.
Setting Up Hosting Account
Start by visiting a web hosting site. Look for a sign-up button. Click it to begin. You need a username and password. Choose a strong password. Write it down. Fill in your email address. Check your details. Click submit. You will get a confirmation email. Open the email. Click the confirmation link. Your account is now ready.
Log in to your hosting account. Find the settings tab. Click on it. Look for domain settings. Enter your domain name. Save the changes. Next, find security settings. Enable SSL for security. Check email settings. Set up your email. Save again. Your hosting settings are now configured.
Uploading Website Files
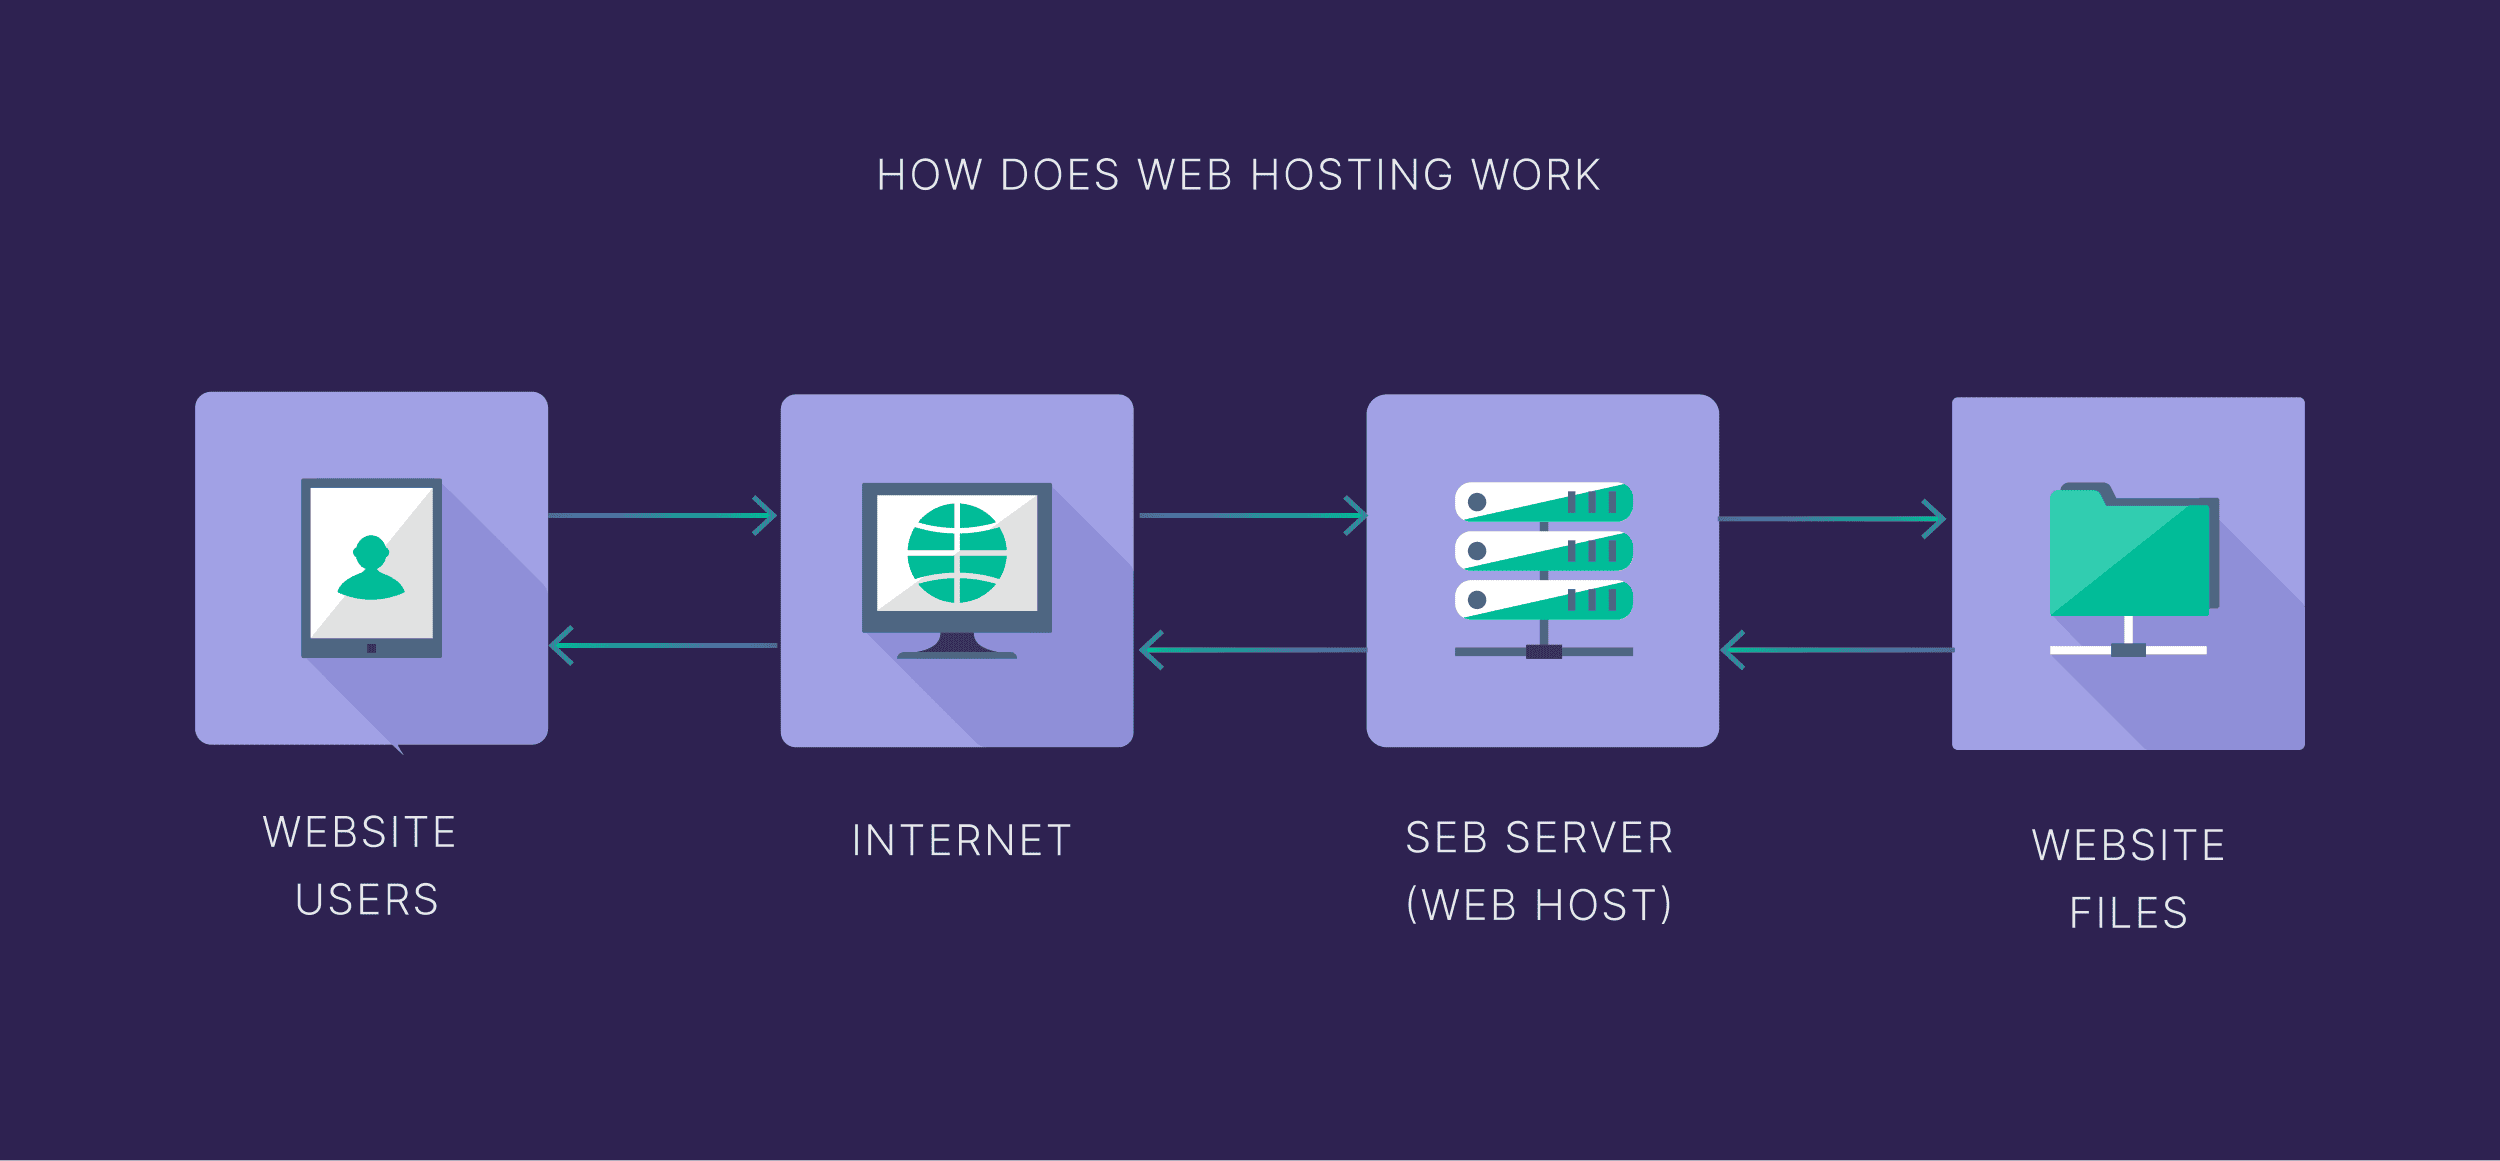
Uploading your website files is important for sharing online. FTP clients help you do this easily. They are tools that connect your computer to the website server. You can send files from your computer to the server. This way, people can see your site.
Utilizing File Managers on the hosting platform is another way. File managers are like folders on your computer. They let you organize and move files. You can upload your website files directly here. They are user-friendly and simple to use. Many hosting services have built-in file managers. You can drag and drop files easily. This makes managing your site simple and quick.
Credit: backlinko.com
Configuring Dns Settings
DNS records are like address books for the internet. They tell computers where to find websites. Each record has a name and a value. The name is your domain. The value is the IP address. Some common DNS records are A, CNAME, MX, and TXT. Each one has a special job. The A record points your domain to an IP address. The CNAME record links one domain to another. The MX record is for email servers. TXT records hold text information. They help with security and verification.
First, log into your domain registrar. Find the DNS settings section. Look for the A record. You need to change its value. Use the IP address of your server. Save your changes. It may take some time to update. This process is called propagation. Once done, your domain will point to your server. Now your website can be seen online.
Installing A Content Management System
Popular CMS Options make website building easy. WordPress, Joomla, and Drupal are top choices. Each CMS has its unique features. WordPress is known for ease and flexibility. Joomla offers strong security. Drupal is great for complex sites. Choosing the right CMS is important.
Installation Process varies slightly between systems. Always start by downloading your chosen CMS. Next, upload files to your web server. Set up a database for storage. Most CMS have a wizard. Follow it to complete installation. It guides you step by step. Remember to secure your site after installing.
Securing Your Website
Securing your website starts with choosing reliable web hosting. Explore step-by-step hosting guides to ensure strong protection. Learn to manage settings, install security plugins, and backup data effectively. Follow these steps to create a secure online presence that protects your information and builds trust with visitors.
Ssl Certificates
SSL certificates are very important for website safety. They keep data safe. Your users’ data stays private with SSL. It also helps build trust. A secure site gets more visitors.
Regular Backups
Backing up your site is essential. It saves data from loss. If your website crashes, you can restore it quickly. Always have a copy of your data. Store backups on a secure server. This keeps your website running smoothly.
Monitoring Security Threats
Check your site for threats often. Hackers can attack anytime. Use tools to spot problems early. Protect your website from harmful attacks. A secure site keeps visitors safe. It also protects your business reputation.
Maintaining And Updating
Websites need regular updates to stay safe. New updates fix bugs and keep sites fast. It’s important to check for updates often. Use tools that help automate the process. This saves time and reduces mistakes.
Fast websites make visitors happy. Optimize images and use caching to speed up. Minimize the use of large files. Check the website speed with tools like Google PageSpeed. Improve anything that slows down the site.
Good traffic management keeps a site running smoothly. Use analytics tools to track visitors. Understand where they come from and what they do. Adjust hosting resources based on traffic patterns. This helps in managing high traffic days better.
Credit: www.milesweb.com
Credit: www.facebook.com
Frequently Asked Questions
How To Start Web Hosting?
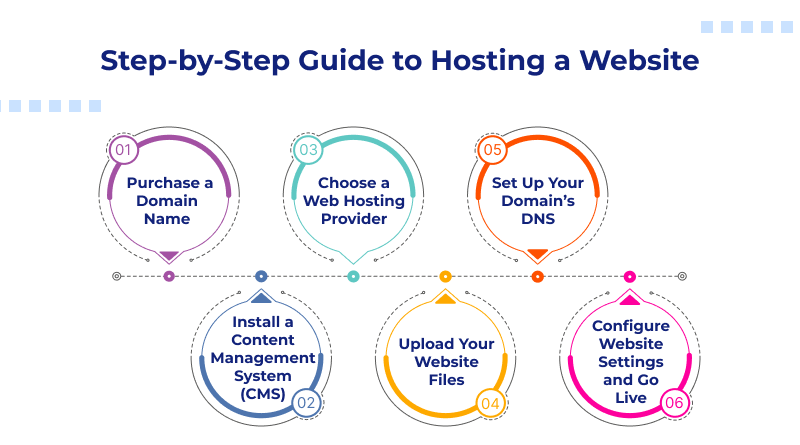
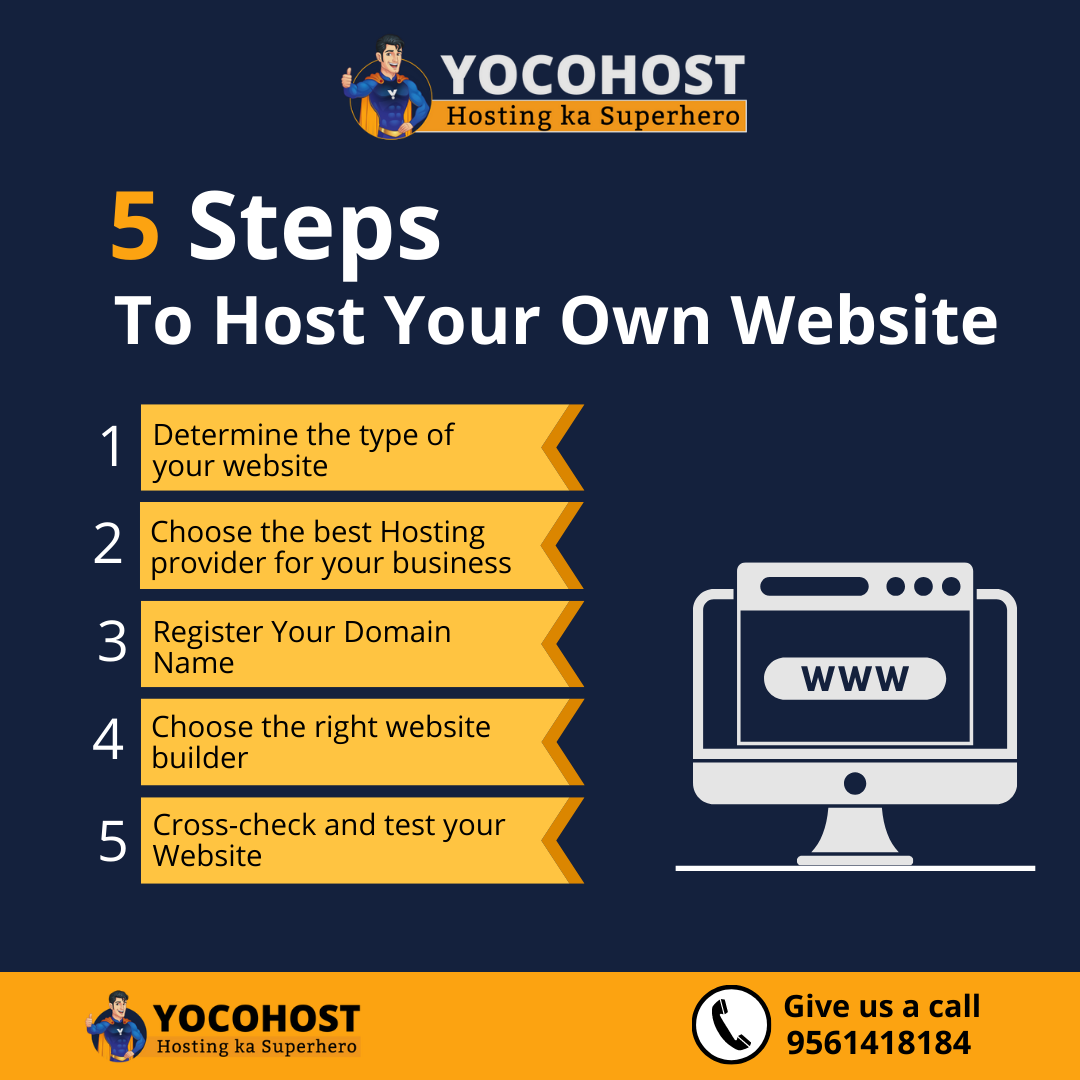
Select a reliable hosting provider and choose your hosting plan. Register a domain name. Configure server settings and upload website files. Ensure security measures and backup protocols. Monitor performance and maintain regular updates.
Can I Host My Website By Myself?
Yes, you can host your website yourself. You’ll need a computer with server software, a reliable internet connection, and technical knowledge. Consider security, maintenance, and uptime challenges. For ease, many choose third-party hosting providers. Self-hosting offers control but requires dedication and expertise.
Ensure your setup meets your website’s needs.
What Are The Basics Of Web Hosting?
Web hosting stores website files on servers, allowing online access. Choose hosting type: shared, VPS, dedicated, or cloud. Consider bandwidth, storage, and security features. Domain name registration is necessary. Reliable customer support enhances hosting experience.
Can You Do Web Hosting Yourself?
Yes, you can host a website yourself. You’ll need a server, technical skills, and a reliable internet connection. Self-hosting gives more control but requires maintenance and security management. Consider costs and time commitment before choosing this option. For beginners, using established hosting providers might be easier.
Conclusion
Starting your web hosting journey is simpler than it seems. Follow each step carefully. Choose a reliable host. Set up your domain. Manage your files effectively. Regularly update your website. Secure your data. Optimize for performance. Monitor traffic and server health.
Troubleshoot issues promptly. These steps ensure a smooth hosting experience. Practice makes perfect. Keep learning. Hosting is a valuable skill. It opens doors to online opportunities. Stay patient. Progress happens gradually. With these guidelines, your web hosting journey will be successful.
Enjoy building and growing your online presence.


