
Have you ever struggled with moving your MySQL database to your web hosting account? It might seem like a daunting task, but it doesn’t have to be.
Whether you’re launching a new website or migrating an existing one, getting your database up and running is crucial. Imagine the relief of having everything set up smoothly, with your data securely in place and your website ready for visitors.
This guide is here to walk you through each step, ensuring you’re not just following instructions, but truly understanding the process. You’ll discover the easiest methods to upload your MySQL database without unnecessary headaches. By the end, you’ll have the confidence and skills to handle your database like a pro. Let’s dive in and make this task a breeze for you!

Credit: www.youtube.com
Choosing The Right Web Hosting
Shared hosting is like sharing a house with others. You share the resources. It is usually cheaper. But it might be slower. Dedicated hosting is like having your own house. You have all the resources. It is faster, but costs more. Think about what you need. Do you want speed or save money?
Database compatibility is very important. Some hosting does not support all databases. Check if your MySQL database works with your hosting. Ask the hosting company. They can help you. It is important to know before you upload. This will save you time and trouble.
Preparing Your Mysql Database
First, open your database management tool. Find the option to export your database. Choose the correct format, usually SQL. Save the file to your computer. Make sure it is in a safe place. This file has all your data.
Verify your hosting server’s MySQL version. It should match your database version. Use the same character set and collation. This ensures your data stays the same. Check for any specific requirements your host might have. Read the documentation for details. Be prepared before uploading.
Using Phpmyadmin
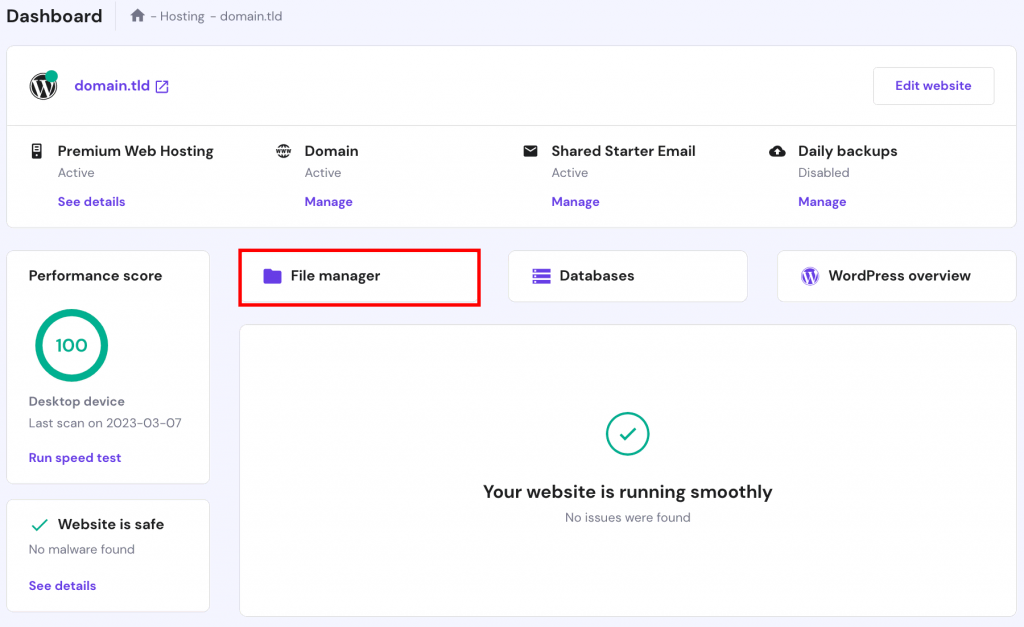
First, log in to your web hosting account. Find the control panel. Look for the phpMyAdmin icon. Click it. This opens the phpMyAdmin page. It’s where you manage databases.
On phpMyAdmin, select your database name. Click on the Import tab. Find the Browse button. Click it. Choose your database file from your computer. The file should be in .sql format.
Once selected, click Go. Wait a bit. Your database is now uploading. You will see a success message.
Credit: www.hostinger.com
Command Line Upload
First, ensure SSH is enabled on your hosting account. Use your hosting dashboard to check. You will need an SSH client like PuTTY or Terminal on Mac. Connect using your server’s IP address and your SSH credentials. Once connected, navigate to the directory where your database file is stored. Use scp or rsync commands to transfer the database file to the server.
Open the MySQL command line on your server. Type the command: mysql -u username -p database_name < file.sql. Replace “username” with your database username. Replace “database_name” with your database name. Replace “file.sql” with your file name. Press Enter. Enter your password when prompted. Your database will upload to the server.
Configuring Database Settings
Uploading a MySQL database to web hosting involves simple steps. First, export the database from your local system. Next, access your hosting control panel, locate the database section, and import the file. Ensure proper configuration for smooth operation.
Adjusting Configuration Files
First, locate your database configuration file. This file is usually named config.php or similar. Open it with a text editor. Find the section where database settings are defined. You will see fields like host, username, password, and database name. Make sure these match your web hosting details. If they don’t match, edit them. Save the changes and close the file.
Setting Up User Permissions
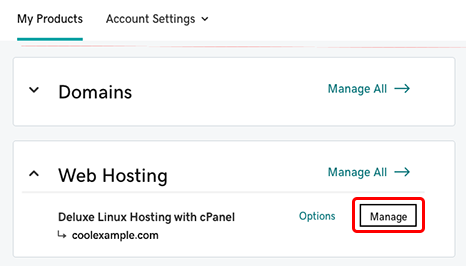
Access your web hosting control panel. Find the database management section. Look for user settings. Create a new user if needed. Assign necessary permissions to this user. Permissions can include read and write access. Make sure the user has access to the right database. Save your changes. Your database is now ready to use.
Testing The Database Connection
Scripts help check if the database connects well. Use a simple PHP script for this task. Open a text editor. Write the connection code. Save it as connect.php. Run this script. It shows if the connection works. A successful connection shows a “Connected” message. A failed connection shows an “Error” message.
Problems may occur with database connections. Check if server details are correct. Ensure username and password match. Verify the database name is correct. Check if the server is running. Sometimes, the firewall blocks connections. Make sure the firewall allows access. Test again after fixing issues.
Security Measures
Implementing firewall rules is key for database safety. Firewalls block unwanted access. Only allow trusted IPs. This reduces risks. Use strong firewall settings. Avoid weak configurations. Regular checks are important. Update rules often. Stay alert to threats. Firewalls are your first defense.
Regular backup strategies keep data safe. Always have a backup plan. Store copies in different places. This prevents data loss. Use automatic backups. Set them daily or weekly. Manual backups can fail. Test backups regularly. Ensure they work. Backup is a safety net.
Maintaining Your Database
Keep an eye on your database’s speed. Fast databases make users happy. Check for any slow queries. Slow queries can cause problems. Use tools to watch your database. They help find issues quickly. Fix problems as soon as you find them. Always keep your database clean and tidy.
Always use the latest database version. Updates bring new features and security. Old versions can have bugs. Bugs can cause data loss. Set reminders to check for updates. Install updates when they are available. This keeps your data safe and sound. Never skip an update.
Credit: www.godaddy.com
Frequently Asked Questions
How To Host A Website With A Mysql Database?
Choose a web hosting provider offering MySQL support. Install the database using the host’s control panel. Upload your website files via FTP. Connect your website to the MySQL database by configuring database settings in your site’s code. Test the connection to ensure everything functions correctly.
How To Upload Mysql Database Online?
To upload a MySQL database online, use a web hosting service with cPanel access. Navigate to phpMyAdmin, select your database, and import your SQL file. Alternatively, use FTP to transfer files or a MySQL client like MySQL Workbench to connect and upload directly to the server.
How To Put A Database In Hosting?
To host a database, choose a reliable hosting provider. Upload your database files via FTP or a web interface. Ensure proper permissions and security settings. Connect your application to the database using the hosting credentials provided. Regularly backup and monitor the database for optimal performance.
How To Connect Mysql Database To Web Page?
Use PHP’s MySQLi or PDO extension to connect a web page to a MySQL database. First, establish a connection using server details, username, password, and database name. Execute SQL queries to interact with the database. Ensure proper error handling and security measures like prepared statements to prevent SQL injection.
Conclusion
Uploading your MySQL database is a straightforward process. Follow each step carefully. Double-check your settings. Ensure your data is secure. Web hosting makes data management easier. Regular updates keep your database functioning well. Troubleshooting common issues saves time. Don’t rush the process.
A successful upload improves website performance. Consider backup options for data safety. Practice makes perfect. The more you upload, the easier it becomes. Keep learning new techniques. Stay informed about hosting updates. A smooth upload leads to a more efficient website.
Happy hosting!


