
Are you eager to launch your own website but unsure how to get started? Uploading an HTML file to free web hosting might seem daunting, but it’s easier than you think.
Imagine the thrill of seeing your very own webpage live on the internet, accessible to anyone with a simple click. This guide will walk you through each step, ensuring you feel confident and empowered as you take this exciting leap.
We’ll break down the process into bite-sized, straightforward steps so you can focus on what truly matters – sharing your unique voice with the world. Stay with us and discover how this seemingly technical task can be simplified, allowing you to showcase your creativity effortlessly. Your website is just a few clicks away – let’s make it happen!
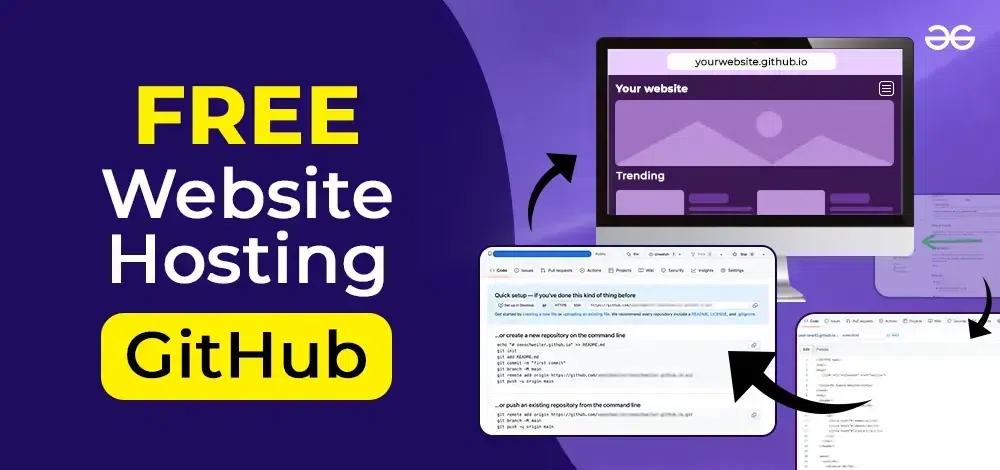
Credit: www.geeksforgeeks.org
Choosing The Right Free Web Hosting
Finding a free hosting provider can be tricky. Many providers offer free plans. Wix is popular for easy site building. WordPress.com offers free hosting with templates. 000webhost gives free hosting with no ads. InfinityFree has unlimited storage. Choose based on your needs.
Consider storage space. Some free hosts limit storage. Look at bandwidth. Bandwidth affects site speed. Check for ads. Some hosts display ads on free sites. SSL certificates are important for site security. Not all free hosts provide SSL. Customer support is vital. Good support helps fix problems fast.
Creating An Account
First, go to the free web hosting site. Look for the sign-up or register button. Click on it to start. Fill in the required details like your name, email, and password. Make sure to choose a strong password. It helps keep your account safe. After filling out the form, click submit.
Check your email after signing up. Look for a verification email. Open it and click on the verification link. This step confirms your account. Without it, you cannot proceed. If you don’t see the email, check your spam or junk folder. Sometimes, emails end up there. Once verified, you can log in and start using your account.
Preparing Your Html File
Keep your files neat and tidy. Create a folder for your project. Name it something simple like “MyWebsite”. Place your HTML file inside this folder. If you have images, make a separate folder named “images”. Keep all image files there. This helps avoid confusion later. Also, if you have styles, create a “styles” folder. Place your CSS files there. Keeping everything in order is key.
Open your HTML file in a web browser. Check if it looks correct. Ensure all links and images work. Fix any errors you see. Testing locally helps you spot mistakes. It saves time before uploading. If you find problems, adjust your code. Make sure everything is perfect before moving to the web. This step is important for a smooth upload process.
Credit: www.hostinger.com
Uploading Process
Many free web hosting providers have built-in file managers. These are easy to use. First, log into your web hosting account. Find the file manager option in the dashboard. Click on it to open. Look for the “Upload” button. This is usually at the top. Click it to start uploading your HTML file. Select your file from your computer. Wait for the upload to complete. The file manager shows the status. Once done, check if the file is in the correct folder. This step is important. It makes sure your website works.
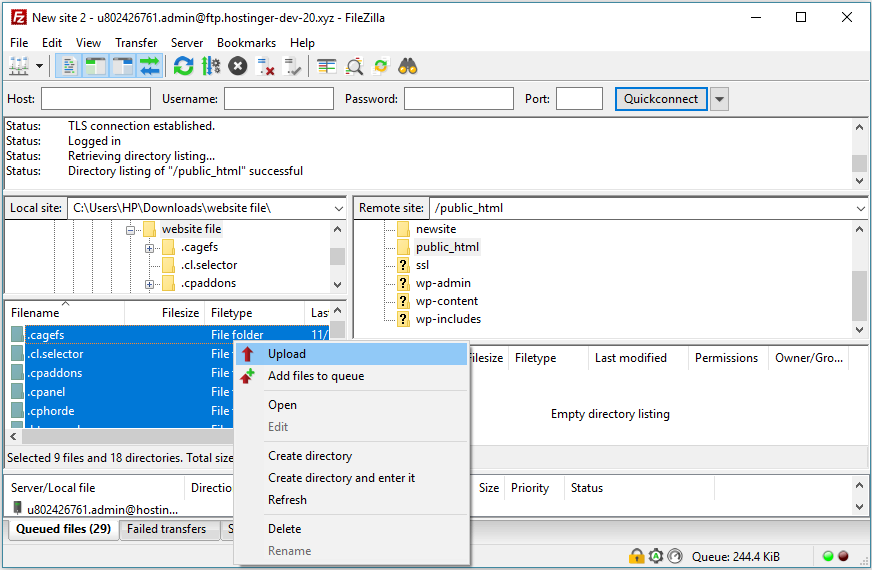
FTP stands for File Transfer Protocol. This is another way to upload files. You need an FTP client. FileZilla is a popular choice. First, download and install it. Then, open FileZilla. Enter your FTP details in the fields. These include host, username, and password. These details are in your hosting account. Connect to the server using FileZilla. Navigate to the folder where you want the file. Drag your HTML file into the folder. Wait for the upload to finish. Check if the file is in the right place.
Configuring Your Website
Uploading an HTML file to free web hosting involves simple steps. First, access your hosting account and find the file manager. Next, upload your HTML file to the designated public directory. Ensure your file is named “index. html” to display correctly.
Setting Up Domain
Choose a domain name that is easy to remember. Check if it is available. You can use tools online for this. Make sure it fits your website theme. Register the domain with a hosting provider. Follow their instructions. Link your domain to the hosting account. Update your DNS settings. This tells the internet where your site is. Wait for a few hours for changes to take effect.
Adjusting Permissions
Permissions control who can see and change files. Log into your hosting account. Find the file manager. Locate your HTML files. Right-click to see options. Choose permissions. Set them to 755. This allows others to view your site. Keep important files secure. Adjust permissions to 644 for safety. Regular checks help keep your site safe. Don’t forget to save changes.

Credit: tiiny.host
Troubleshooting Common Issues
Uploading an HTML file to free web hosting often faces issues like incorrect file paths or permissions. Ensure the file name matches the hosting requirements, and verify folder permissions. Using the hosting provider’s file manager can simplify the upload process.
File Not Found Errors
Sometimes, files don’t show up. This could be a File Not Found error. Check the file name. Is it spelled right? Also, look at the file path. Is it in the correct folder? These small things can cause big problems. Double-check everything. Make sure the file is there. If not, upload it again. Then refresh the page to see changes.
Permission Denied Problems
Getting a Permission Denied error? This means you need access. Check file permissions. They should be set to allow reading. Ask your host for help if needed. They can fix permission settings. This is important. Without the right permissions, files won’t open.
Maintaining Your Website
Websites need regular updates. Keep content fresh. Add new articles often. Change old images. Fix broken links. This helps users. It also boosts your site in search engines. Fresh content attracts more visitors. Check for errors weekly. Use tools for help.
Track your website traffic regularly. Use tools like Google Analytics. See which pages are popular. Find out how visitors come to your site. This helps improve content. It shows what people like. Adjust your site based on this data. Make changes to attract more visitors.
Frequently Asked Questions
How To Upload Html File To Website For Free?
Use free hosting platforms like GitHub Pages, Netlify, or Firebase. Sign up, create a project, and upload your HTML files directly. Follow platform-specific instructions for deployment. Ensure files are in the correct directory for visibility. Enjoy free hosting with easy access.
How Do I Upload Html To A Web Server?
Upload HTML files using an FTP client like FileZilla. Connect to your server, locate the desired directory, and drag your HTML files into it. Ensure the server supports HTML and configure permissions correctly for public access.
How Do I Upload My Website On Free Hosting?
Choose a reliable free hosting provider. Register an account, then access the control panel. Upload website files using the File Manager or FTP. Configure settings, domain, and permissions. Test your website to ensure everything works smoothly.
How Do I Publish A Local Html File?
Open the HTML file in a web browser for local viewing. Double-click the file or use “Open With” in the browser to display it. Ensure the file’s path is correct. If you need to share it online, upload it to a web server using FTP or a hosting service.
Conclusion
Uploading an HTML file to free web hosting is simple. Follow these steps for a smooth process. Choose a reliable host. Check their guidelines. Prepare your HTML file correctly. Use the file manager or FTP client. Verify the upload. Ensure your site functions well.
With practice, it becomes easier. This skill improves your online presence. Share your creations with the world. Enjoy the freedom of free web hosting. Experiment and learn more. Keep improving your skills. Your website is your canvas. Create and showcase your ideas.
Happy hosting!


