
Are you struggling to figure out how to upload files to your subdomain web hosting site? You’re not alone.
Many people find this process confusing, especially if they’re new to web hosting. But don’t worry—you’re in the right place. Imagine the freedom of seamlessly uploading files to your subdomain, making your website more dynamic and effective. This guide is designed just for you, breaking down each step into simple, easy-to-follow instructions.
By the end of this article, you’ll feel confident in managing your subdomain like a pro. So, let’s dive in and unlock the potential of your website!
Choosing The Right Hosting Provider
Picking the right host is vital. Start by checking the hosting features. These features help with file uploads. Look for features like storage space and bandwidth. Also, check for easy-to-use control panels. These panels make file uploading simple. Some hosts offer free SSL certificates. This helps keep your site secure.
Next, compare the pricing plans. Some hosts have low prices. But, they may have hidden costs. Always read the fine print. Check if there is a money-back guarantee. This way, you can try the service risk-free. Look for special discounts for new users. Some hosts offer these to attract new customers.
Setting Up Your Subdomain
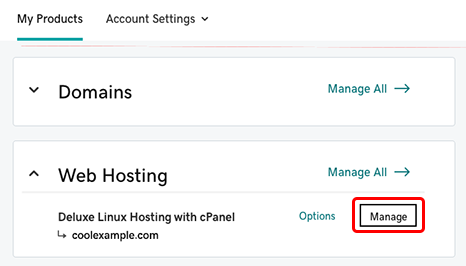
First, log into your cPanel account. Look for the “Domains” section. Click on “Subdomains”. Enter the name you want for your subdomain. Choose the main domain from the dropdown menu. Click on the “Create” button. Your subdomain is now ready.
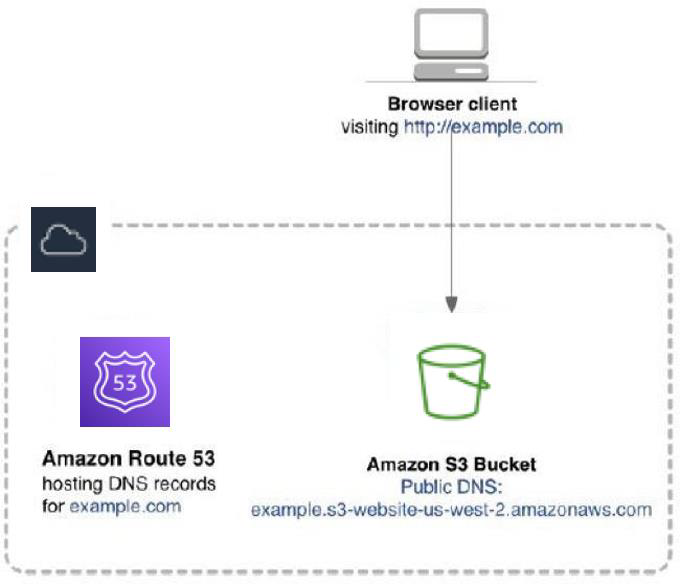
Go to the “DNS Zone Editor” in cPanel. Find your new subdomain. Look for the A record. Check if it points to the correct server IP. Update it if needed. This ensures your subdomain directs traffic correctly. Wait for a few hours. DNS changes might take time to update.
Preparing Files For Upload
Gather all your files in one place. Use a single folder. This helps keep things tidy. Name files clearly. This makes finding them easy. Avoid special characters in names. Use letters and numbers only. Check the folder size. Make sure it is not too big. This ensures a smooth upload process.
Verify each file type. Common formats include JPEG, PNG, and PDF. Some sites might not accept certain formats. Convert files if needed. Use online tools for this. Ensure all files are virus-free. Scan them with antivirus software. This keeps your uploads safe. Double-check the file extensions. They should match the content type. This prevents errors during upload.
Credit: docs.aws.amazon.com
Using Ftp For File Upload
First, choose a trusted FTP client. Popular choices are FileZilla or Cyberduck. Download the client from their official site. Install it by following the on-screen steps. These steps are simple. Most computers support these clients.
After installation, open the client. Check if it runs smoothly. If there are issues, reinstall the client. Make sure your computer meets the software needs. Some clients need special settings. Read the help guide if needed.
Open your FTP client. Enter the server details. You need the hostname, username, and password. Your web host provides these details. Find them in your account settings.
Click the connect button. Your client will link to your server. If connection fails, check your details. Ensure they are correct. Contact support if issues persist. Once connected, you can upload files. Drag and drop files into the client. Watch them move to your server. Check if files appear on the site.
Uploading Files Via Cpanel
First, log in to your cPanel account. You will find the File Manager option in the dashboard. Click on it to open. Look for your subdomain folder. It’s usually in the public_html directory. Open the folder to see its contents. This is where you’ll upload your files.
Inside the folder, click the Upload button. A new window will appear. Select the files from your computer. You can choose multiple files at once. Wait for the upload to finish. You will see a progress bar indicating the upload status. Once done, check the folder. Your files should be there. If not, try uploading again.
Credit: www.godaddy.com
Troubleshooting Common Issues
Connection errors happen often. First, check your internet. Make sure it is stable. Next, see if the server is online. Sometimes, servers go down. Try using a different browser. Each browser works in a unique way. If the error continues, restart your computer. This simple step helps many times. Also, clear your browser cache. Old data can cause problems. If none of this works, contact your hosting support.
File permissions control who can see or change files. Wrong settings can stop uploads. Use an FTP client to check permissions. Set files to 644 and folders to 755. These numbers are standard. They allow safe access. If problems remain, check the file owner. The owner should match your username. Change it if needed. Still stuck? Reach out to support. They know how to fix these issues.
Verifying File Upload
Checking Subdomain Content is important. Ensure files are visible in the subdomain. Visit the subdomain URL. See if the files appear. If files are missing, check upload settings.
Use a file manager. It helps to organize and view files. Check if files are in the right folder. Ensure files are not too big. Large files might cause issues. Check permissions. Files need the right permissions to display.
Testing File Accessibility is crucial. Try opening files from a web browser. If files open, they are accessible. Check links. Ensure links lead to the correct files. Broken links need fixing.
Use browser tools to test files. Check how files load. Slow loading files need attention. Optimize them for faster access. Ensure files work on different devices. Test on phones and tablets. Make sure everyone can see them.
Credit: docs.plesk.com
Frequently Asked Questions
How Do I Upload Files To A Subdomain?
Access your hosting control panel. Navigate to the file manager. Locate the subdomain folder. Click “Upload” and select your files. Ensure files are in the correct directory.
How Do I Upload Files To Web Hosting?
Use an FTP client to connect to your web host. Enter your FTP credentials. Select the files you want to upload. Drag and drop them into the web host directory. Confirm the upload completion.
How Do I Add A Record To A Subdomain?
Log in to your domain registrar’s control panel. Navigate to DNS settings. Select your subdomain. Add the desired record type (e. g. , A, CNAME). Enter required details and save changes. Wait for DNS propagation to complete.
How To Connect A Subdomain To Hosting?
Log into your hosting account, access the DNS management. Create a new record for your subdomain. Enter the subdomain name and set the record type to A or CNAME. Direct it to your server’s IP address. Save changes to establish connection.
Conclusion
Uploading files to a subdomain can be easy. Just follow the steps carefully. Choose the right tools for file transfer. Ensure your files are well-organized. Double-check the paths and permissions. This ensures everything works smoothly. Remember, practice makes perfect. With time, you’ll gain confidence.
Always keep learning and exploring new methods. Your website will benefit greatly. Happy hosting and uploading!


