
Are you feeling stuck with your current web hosting? Maybe your site is sluggish, or customer support is lacking.
Whatever the reason, it’s time to make a change. Transferring your web hosting might seem daunting, but it doesn’t have to be. Imagine having the power to enhance your site’s performance and reliability with just a few steps. In this guide, you’ll discover straightforward methods to move your website seamlessly.
We’ll break down the process into simple actions that empower you to take control. No more feeling overwhelmed or trapped. You deserve a hosting service that works for you and your audience. Dive in, and learn how you can make this transition smooth and stress-free. Your website’s success is just a few clicks away!
Assessing Current Hosting Needs
Evaluating Site Performance is crucial before transferring web hosting. Check if your site loads fast. Slow loading can cause visitors to leave. Monitor your site’s uptime. Frequent downtimes can hurt your business. Use tools to analyze site speed and uptime.
Determining Resource Requirements involves checking what your site needs. Look at bandwidth usage. Does your site have many visitors? You need more bandwidth if yes. Check storage space. Make sure your hosting plan can store all your files. Consider your site’s growth. Choose a hosting plan that can grow with your needs.
Identifying Pain Points helps find issues with current hosting. Is customer support slow to respond? This can be frustrating. Are you facing security issues? Your site must be safe from hackers. Look at flexibility. Does your hosting plan allow changes easily? Note these pain points to find better hosting.
Choosing A New Hosting Provider
Transferring your web hosting involves selecting a reliable provider, backing up your data, and migrating files. Ensure your new host offers excellent support and easy setup. This process can be seamless with proper planning and execution.
Comparing Hosting Plans
Choosing a new hosting plan can be tough. First, check the storage each plan offers. More storage means more space for your website files. Next, look at the bandwidth. Higher bandwidth allows more visitors to your site. Also, consider the cost of the plan. Make sure it fits your budget. Some plans offer free domain names. This can save you money. Also, check if they provide SSL certificates. SSL keeps your site safe. Choose wisely to get the best deal.
Checking For Reliable Support
Support is very important. Look for 24/7 customer support. This means help is always there. Check if they have live chat. Live chat can solve problems fast. Email support is good too. Some companies offer phone support. This can be very helpful. Read reviews online. Reviews tell you about their support. Choose a provider with good support. It makes a big difference.
Considering Scalability Options
Your website may grow. Check if the hosting plan can scale with you. Some plans offer easy upgrades. This is useful when you get more traffic. Look for plans with flexible options. They let you add more resources. Some plans have auto-scaling features. This adjusts resources automatically. Choose a plan that grows with your needs. It saves time and trouble later.
Preparing For Migration
Always save your website data first. This step is crucial. Use backup tools to save files. It keeps your data safe. Store backups in a secure place. It’s like having a copy of your work. Never skip this step.
Write down all important files. Include images, text, and other files. List all databases too. Databases store your website’s information. Make sure you have everything listed. This list helps during transfer.
Check if your files work on the new host. Compatibility is key. Some hosts use different software. Ask the new host about their setup. Know the tech they use. This step avoids problems later.
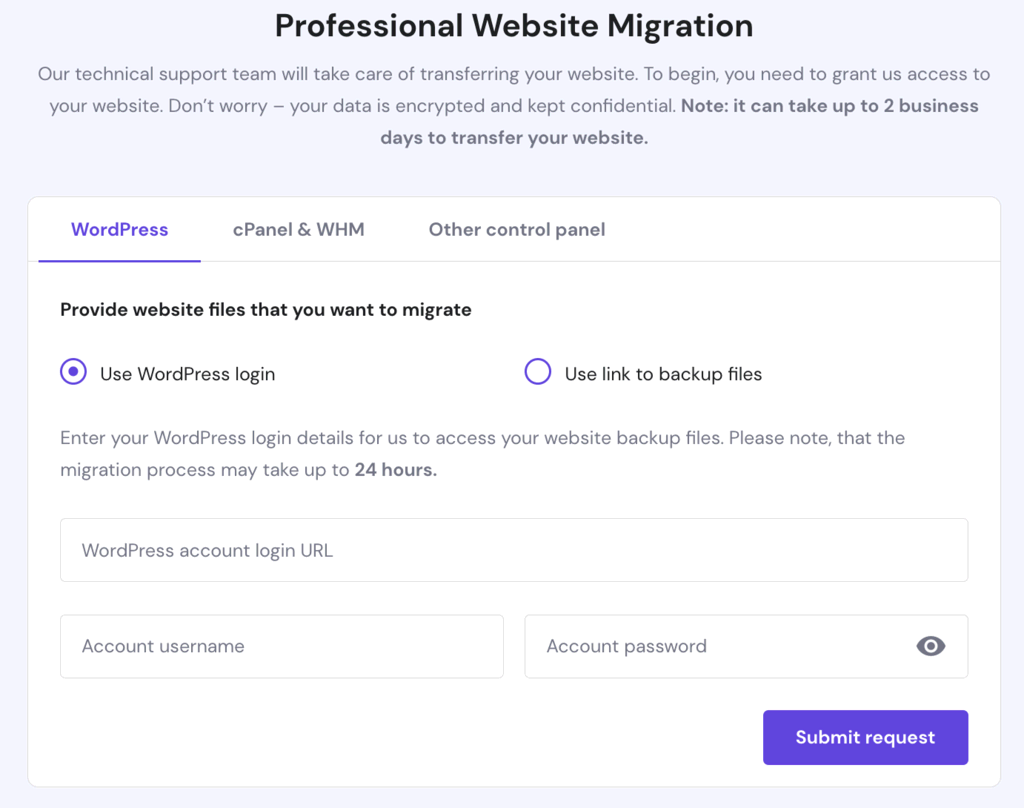
Credit: www.hostinger.com
Transferring Domain Name
Start by logging into your domain registrar account. Locate the option to manage your domain. Ensure the domain is not locked. This is necessary for transfer. Find the “Unlock” option. Unlocking allows transfer to another registrar.
The EPP code is like a key. It is needed for domain transfer. Request this code from your registrar. They usually email it to you. Keep this code safe. You will need it soon.
Now, go to your new registrar. Start the transfer process there. Enter your domain name first. Then, provide the EPP code. Follow the instructions they give. Transfers can take a few days. Be patient during this time.
Migrating Website Files
First, gather all your website files. Use an FTP client to move files. Connect to your new server. Upload files carefully. Check each file after uploading. Make sure all files are there. This ensures nothing is missing.
Databases hold important data. Create a new database on the new server. Export old database data. Import this data to the new server’s database. Double-check each record. Ensure data integrity. Look for any errors. Fix them quickly to avoid problems.
Server settings control your site. Update server configurations. Match them with old server settings. Adjust PHP versions if needed. Check file permissions. Make sure they are correct. Configure SSL for security. Keep your site safe.
Testing The New Setup
Ensure all pages load correctly. Click on every link. Test each button. Make sure images display properly. Check videos if you have them. They should play smoothly. No broken parts. Ensure forms work. Try to submit a test form. See if it sends correctly.
Check your site’s speed. Use free tools online. They help measure load times. A fast site keeps users happy. Slow sites can lose visitors. Test on different devices. Use a phone and a tablet. Try a laptop too. Make sure the site looks good everywhere.
Test your email. Send a message to yourself. See if it arrives. Check any contact forms. They should work well. If you use any special services, test them too. For example, shopping carts or booking tools. Ensure they perform as expected.
Updating Dns Settings
Nameservers help direct web traffic. They connect your domain to your web hosting. Find your new hosting’s nameservers. Enter them in your domain settings. This step is crucial for a smooth transfer.
DNS changes take time. Sometimes up to 48 hours. Monitor the progress. Use DNS checking tools. They show if the changes have spread worldwide. Keep an eye on your website’s availability during this period.
Problems can arise during DNS changes. Websites might not load. Check DNS settings again. Ensure nameservers are correct. Contact your hosting provider for help. They can assist in troubleshooting issues.

Credit: www.crazydomains.com
Finalizing The Transfer
Make sure to cancel your old hosting account. This saves you money. You don’t need two hosting accounts. Check for any cancellation fees. Some hosts charge for early exit. Read the terms before canceling. Contact support if unsure. Keep a record of cancellation confirmation.
Double-check your new hosting bill. Ensure all charges are correct. Look for unexpected fees. Check billing cycle dates. Ask questions if you find mistakes. Contact support for help. Make sure you understand the payment terms. This helps avoid surprises later.
Build a checklist for after the move. Check your website is live. Test all links and pages. Verify email functions properly. Monitor site speed and performance. Update DNS settings if needed. Keep backups safe. Regularly review site security. Ensure everything works smoothly.

Credit: www.ovhcloud.com
Frequently Asked Questions
How Do You Transfer Your Hosting Plan To A Different Server?
Begin by backing up your website data. Choose a new hosting provider, then initiate the transfer process. Update DNS settings to point to the new server. Verify your site functionality on the new server. Contact support for assistance if needed.
How Do I Move A Website To A Different Host?
Switch your domain’s DNS to the new host. Backup website files and databases. Upload them to the new host. Test functionality and resolve issues. Cancel old hosting after successful transfer.
Can I Transfer My Domain To Another Host?
Yes, you can transfer your domain to another host. Ensure your domain is unlocked and obtain the transfer authorization code. Follow the new host’s transfer instructions and complete the process. The transfer may take up to 7 days. Check compatibility with your current domain registrar.
How Do I Transfer A Website To A New Owner?
To transfer a website, update domain ownership details. Provide new owner access to hosting and website files. Update billing info and renewals. Ensure all legal agreements are transferred. Communicate clearly during the process to avoid any disruptions.
Conclusion
Transferring your web hosting seems daunting, but it’s manageable with guidance. Start with planning. Gather all necessary information. Back up your website data. Choose a reliable hosting provider. Follow the steps carefully. Monitor your website after the transfer. Check for any issues or errors.
Ensure everything works smoothly. Remember, patience is key. Take it one step at a time. Seek help if needed. Your website deserves a seamless transition. A successful transfer ensures your site runs efficiently. Enjoy your new hosting environment. Simplify the process.
Make informed decisions. Focus on your website’s future growth.


