
Transferring your web hosting can feel daunting, especially if you’re switching from a provider like GoDaddy to HostGator. But what if I told you it could be simpler than you think?
Imagine a seamless transition, with your website running smoothly and efficiently on its new platform. That’s exactly what you can achieve by following the right steps. In this guide, you’ll discover how to move your web hosting without the stress, ensuring that your site remains up and running throughout the process.
Whether you’re seeking better service, more features, or cost savings, this transfer could be the upgrade your website needs. Ready to make the switch? Let’s dive into how you can easily transfer your web hosting from GoDaddy to HostGator.
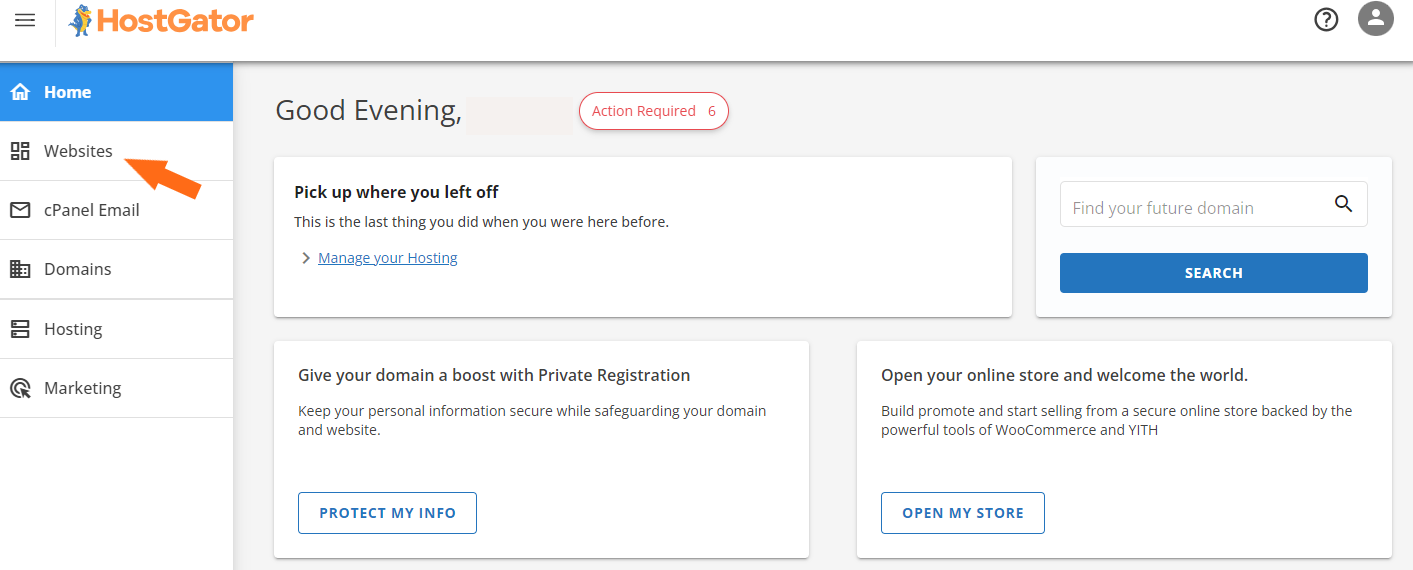
Credit: www.hostgator.com
Preparing For Transfer
Always create a backup of your website data first. Use a reliable tool or plugin. Download all files to your local computer. Keep them safe. This prevents data loss during the transfer. Your backup should include databases and media files. Double-check to ensure everything is saved. Regular backups are a good habit too.
Make sure your domain is eligible for transfer. Domains should be at least 60 days old. Check if your domain is locked. Unlock it if necessary. Verify your contact details are up to date. Update them in your registrar’s account. Confirm there are no pending actions. This ensures a smooth transfer process.

Credit: chemicloud.com
Setting Up Hostgator Account
First, visit the Hostgator website. Choose the plan that fits your needs. Plans differ in price and features. Think about your website’s needs. Shared hosting is a good start. It is cheap and easy to manage. Bigger websites may need VPS or dedicated hosting. Hostgator has many options. Pick the best one for you.
After choosing a plan, create an account. Click on the sign-up button. Enter your email and create a password. Make sure your password is strong. Use numbers and letters. Next, fill in your personal details. Name, address, and phone number. Hostgator will use this info to contact you. Double-check your details for accuracy.
Migrating Website Files
First, sign in to your Godaddy account. Find the control panel. It helps manage your website. Look for the file manager. You need it to download your files.
Select the files you want. Click on the download button. This will save the files to your computer. Make sure you have all the files. Missing files can cause problems later.
Log in to your Hostgator account. Find their file manager. It’s like Godaddy’s. Click on the upload option. Choose the files from your computer. Wait for them to upload. Now your website files are on Hostgator.
Transferring Databases
Transferring web hosting from GoDaddy to HostGator involves moving databases securely. Start by backing up your data. Import the databases to HostGator using their control panel. Ensure everything is set up correctly to maintain website functionality.
Export Database From Godaddy
First, log in to your GoDaddy account. Find the database you want. Click on “phpMyAdmin” to open it. Select the database you need to export. Click on the “Export” tab at the top. Choose “Quick” as the export method. Select the “SQL” format for export. Click “Go” to download your database file. Save it safely on your computer.
Import Database To Hostgator
Log in to your Hostgator cPanel. Open “phpMyAdmin” in the databases section. Click on the “Import” tab at the top. Use the “Choose File” button to find your database file. Make sure the file format is “SQL”. Click “Go” to start the import process. Wait for the confirmation message. Your database is now on Hostgator.
Updating Domain Settings
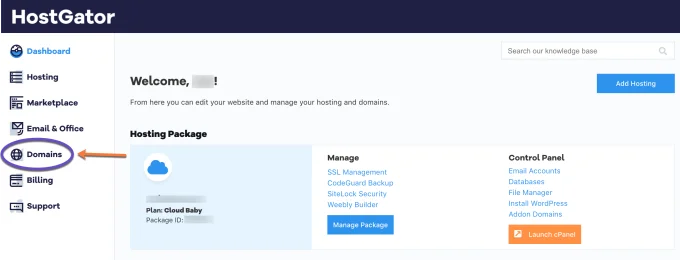
First, log into your GoDaddy account. Navigate to the domain settings. Find the section called DNS management. This is where you will change settings. Look for nameservers in this section.
Replace old nameservers with HostGator’s new nameservers. You can find these in your HostGator account. Save the changes. It might take some time to update.
After changing settings, check if they have updated. This is called domain propagation. It can take up to 48 hours. You can use online tools to check. Type your domain name in the tool.
If everything is correct, the tool will show new settings. Be patient. Sometimes it takes longer. Once updated, your site will point to HostGator.
Testing And Troubleshooting
Transferring web hosting from GoDaddy to HostGator involves careful planning and execution. Start by backing up your website data. Ensure all files and databases are secured. Then, initiate the transfer through HostGator’s platform. Finally, test your website on the new host to ensure everything runs smoothly.
Check Website Functionality
Make sure your website is working smoothly after the transfer. Click on each page to see if it loads. Check if all links are working. Confirm that images and videos display properly. Ensure forms and buttons respond correctly. Verify that your site is fast and no errors appear. Test on different devices like a phone and a computer. Try different web browsers too. This ensures your site is user-friendly for everyone.
Resolve Common Issues
Sometimes things don’t go as planned. If you find a problem, don’t panic. First, check if all files were transferred. Look for missing files or broken links. If a page doesn’t load, check your DNS settings. Make sure they point to the new host. Problems with emails? Revisit your email settings. Still having trouble? Contact Hostgator support for help. They can guide you. Fixing small issues quickly keeps visitors happy.
Finalizing Transfer
Check if your website works on Hostgator. Open your site in a browser. Look for any broken links or missing images. Ensure all pages load quickly. Your email accounts should work too. Test sending and receiving emails. If there are problems, check settings or contact Hostgator support.
Confirm Successful Migration
Once everything is fine, you can stop using Godaddy. Log into your Godaddy account. Go to your hosting section. Find the option to cancel hosting. Follow the steps to complete cancellation. Remember, only cancel once your site works on Hostgator.
Credit: chemicloud.com
Frequently Asked Questions
How Do I Transfer Hosting From Godaddy To Hostgator?
Transfer hosting by backing up files on GoDaddy. Move them to HostGator using FTP. Update DNS settings. Ensure all configurations match. Contact HostGator support for assistance.
Can I Move My Website From Godaddy To Another Host?
Yes, you can move your website from GoDaddy to another host. Backup your files and database first. Choose a new hosting provider, transfer your domain, upload your site files, and update DNS settings. Check everything works correctly after migration to ensure a smooth transition.
How Do I Transfer My Web Hosting From One Company To Another?
To transfer your web hosting, backup your site files and database. Choose a new host and migrate files there. Update your domain’s DNS settings to point to the new host. Test your website to ensure everything works. Contact support if needed for assistance during migration.
How Much Does It Cost To Transfer A Domain To Hostgator?
Transferring a domain to HostGator costs $7. 95 per domain. This fee includes a one-year renewal extension. Ensure your domain is unlocked and obtain the EPP code from your current registrar to initiate the transfer. HostGator provides 24/7 support for a seamless domain transfer process.
Conclusion
Transferring web hosting can seem challenging. But it’s manageable with the right steps. Start by backing up your website data. Then, move files to HostGator using an FTP client. Update your domain’s DNS settings. Check everything works after the switch.
Your website deserves a smooth transition. These steps make the process easier. Now, enjoy your new hosting with HostGator. Remember, patience is key. Troubleshooting might be needed. But, your site will be up and running in no time. Happy hosting!


