
Setting up email on your web host might seem like a daunting task at first, but once you know the steps, it becomes a straightforward process. Picture this: You log in to your hosting account, and just like that, you can have a professional email address that matches your domain name.
Imagine the credibility and trust this brings to your brand! Whether you’re launching a new business or want to streamline your communication, mastering this setup is crucial. Don’t worry about technical jargon—this guide breaks it down for you in simple terms.
Ready to enhance your online presence and communication? Let’s dive in and make sure your emails are set up perfectly.
Choosing The Right Web Host
Setting up email on a web host involves accessing the control panel and creating new email accounts. Configure the email settings using the provided server information. Ensure proper security measures are in place for safe communication.
Evaluating Hosting Features
Check if the host offers unlimited email accounts. This is important for businesses. Look for spam protection features. Spam can be a big problem. Storage space matters too. Emails can take up lots of space. Ensure there is enough for your needs. Ease of use is key. Choose a host with a simple control panel. This helps you manage emails easily. Customer support should be reliable. Problems can happen anytime. Support must be available 24/7. Security features are crucial. Sensitive data needs protection. Look for SSL certificates and encryption options.
Understanding Email Capabilities
Verify if email forwarding is available. It helps redirect emails to other accounts. Autoresponders are useful too. They send automatic replies to emails. IMAP and POP3 support are essential. They allow access to emails on different devices. Webmail access is a plus. It lets you check emails without an app. Consider attachments size limit. Some hosts restrict large files. Email filters can organize your inbox. This keeps it tidy and manageable.

Credit: mailserverguru.com
Creating Email Accounts
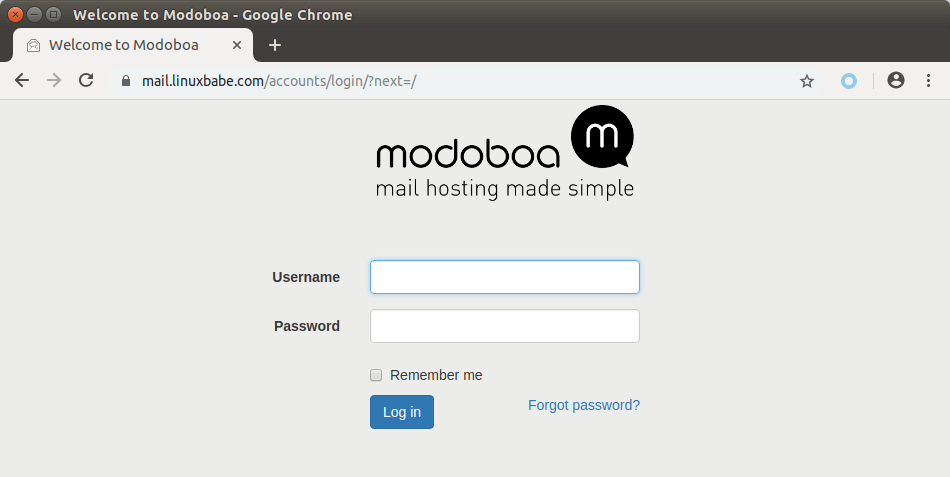
To create email accounts, open the control panel of your web host. You usually need a username and password to log in. This is the place where you manage your website settings. Look for an option that says Email Accounts. Click on it to proceed. This will take you to the email management section. It’s easy to find if you follow these steps.
After accessing the email section, choose Create New Account. Enter the username you want. This is the name that comes before the “@” symbol in your email address. Choose a strong password for security. Save these details for future use. You can create more accounts if needed. Remember, each account needs its own unique username.
Configuring Email Client
Set up email on a web host by accessing your hosting account’s email section. Create a new email account, then configure settings like incoming and outgoing servers. Use these details in your email client to start sending and receiving messages.
Selecting Email Client
Choose an email client that fits your needs. Popular choices include Outlook, Thunderbird, and Apple Mail. Each has unique features. Check compatibility with your web host. This ensures smooth operation. Keep your preferences in mind. Some clients offer better security. Others provide more customization. Read reviews to make an informed decision.
Inputting Server Details
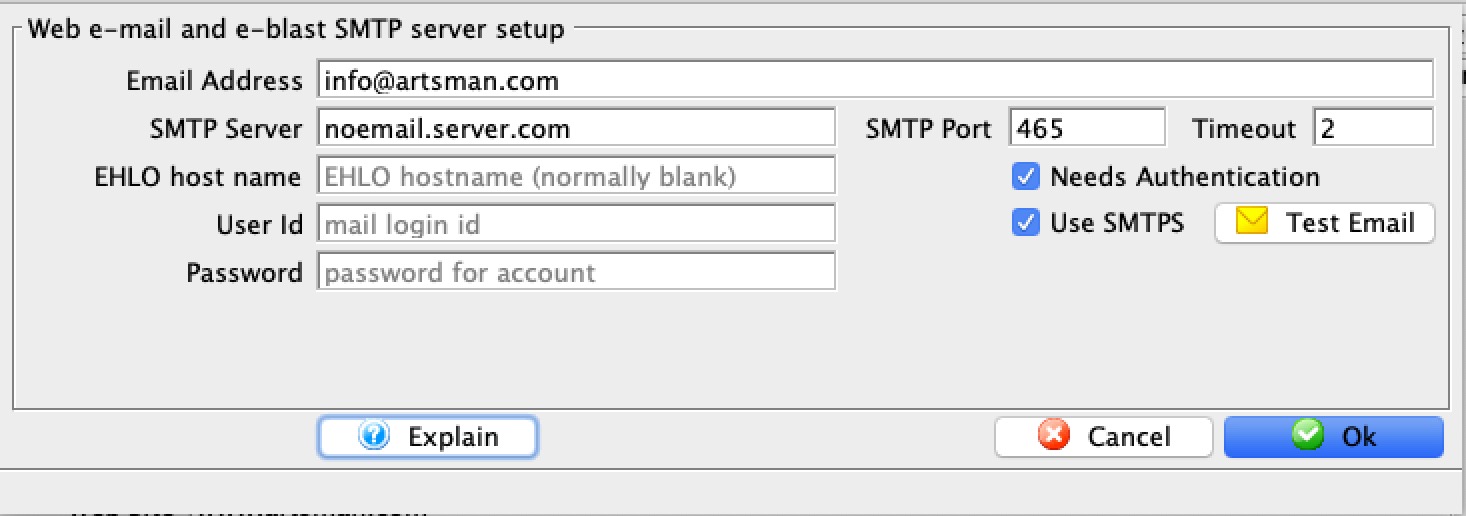
Start by finding the server details from your web host. These include incoming and outgoing server names. Usually found in your hosting account dashboard. Enter these details in your email client settings. Use the correct port numbers. Ensure settings are accurate to avoid errors. Double-check your username and password. Save changes after inputting all details. Test your setup by sending a test email. Make adjustments if needed.
Managing Dns Settings
Setting up email on a web host involves managing DNS settings. Start by accessing your web host’s DNS management panel. Add or update MX records to direct email traffic properly. Ensure SPF, DKIM, and DMARC records are configured to enhance email security and deliverability.
Updating Mx Records
First, access your DNS management on your web host. Find the MX Records section. Add the new MX Records provided by your email service. This tells the Internet where to send your emails. Make sure the records are entered correctly. Check twice to avoid errors.
Ensuring Proper Propagation
Changes in DNS settings take time to spread. This is called propagation. It can take up to 48 hours. During this time, your email may not work properly. Patience is key. Use online tools to check if changes are live. Once complete, your email should work smoothly.
Setting Up Email Forwarding
Email forwarding sends messages to another address. First, go to your web host’s email settings. Find the forwarding section. Enter the email address you want to forward messages to. Double-check the address. Mistakes can cause lost emails. You can also set up filters. Filters help organize messages. Only forward certain emails. This keeps your inbox tidy. Be sure to save changes.
Choose what emails to forward. Use filters or forward all. Some hosts offer auto-response. Set a message to reply automatically. This is helpful when busy. Adjust settings often. Make sure they match your needs. Always remember to save.
Send a test email. Check if it arrives at the forwarded address. If it doesn’t, review settings. Double-check the forwarding address. Make sure filters are correct. Errors can happen. Fixing them is easy. Check spam folders too. Sometimes emails end up there.
Credit: help.theatremanager.com
Implementing Security Measures
Setting up email on a web host requires careful security measures to protect sensitive data. Always use strong passwords and enable two-factor authentication. Regularly update software to safeguard against vulnerabilities.
Enabling Ssl Encryption
SSL keeps emails safe. It protects the data. SSL Encryption stops hackers. It keeps information private. Ask your web host for an SSL certificate. This makes your email secure. Install the certificate on your server. Follow the steps they give. Your emails will be safe and trusted.
Setting Spam Filters
Spam filters keep your inbox clean. They block unwanted emails. Set up spam filters with your web host. Use their control panel. Adjust the settings to your needs. Mark spam as junk. This helps the filter learn. It will know which emails are bad. Your inbox will have less clutter.
Troubleshooting Common Issues
Setting up email on a web host often poses common challenges. Find solutions to fix connectivity issues or incorrect server settings. Ensure smooth email operations by verifying authentication details and updating DNS records accurately.
Resolving Connection Problems
Email connection problems are common. Check your internet connection first. It should be stable. Verify your email settings. They must be correct. Ensure the server information is right. Use correct ports for email. Update your email client. This can fix many issues. Restart your computer. Sometimes, this solves problems.
Addressing Delivery Failures
Emails not delivering can be frustrating. Check the recipient’s email address. It must be correct. Inspect your spam folder. Emails sometimes go there. Confirm your email quota. It shouldn’t be full. Examine the server settings. They should be accurate. Review any attachments. They must not exceed limits. Ensure your email isn’t blocked. Check with your host provider.
Credit: www.linuxbabe.com
Frequently Asked Questions
Does Web Hosting Include Email?
Web hosting often includes email services. Check with your provider for specific features and limitations. Some plans may require additional fees for email accounts. Always review the hosting package details before purchasing.
How To Create An Email In Hosting?
Log into your hosting account. Access the email section in the cPanel. Choose “Create Email” and fill in the required details. Set a password and configure settings. Save the email account. Test the email to ensure it’s working correctly.
How To Create A Webmail?
To create a webmail, choose a hosting provider with email services. Set up your domain and email accounts. Access webmail via the provider’s control panel. Configure settings, including spam filters and security. Test sending and receiving emails to ensure functionality.
Enjoy streamlined communication with your new webmail service.
How Do I Host My Own Email Server?
To host your own email server, choose reliable hardware and install Linux. Configure DNS settings and firewall rules, then install software like Postfix and Dovecot. Secure with SSL certificates. Regularly update and monitor for security. Consider backup solutions to prevent data loss.
Conclusion
Setting up email on your web host is simple. Follow these steps. First, choose a reliable web host. Next, access your control panel. Then, create email accounts easily. Configure email settings with care. Test your email to ensure it works.
Troubleshoot any issues promptly. Enjoy the benefits of professional communication. Email setup enhances your online presence. Now, you can send and receive emails smoothly. Stay connected with clients and colleagues. A functional email system boosts your business. You’re ready to manage your emails efficiently.


