
Are you ready to move your website to a new host but worried about keeping your domain name the same? Migrating hosts without changing your domain can feel tricky, but it doesn’t have to be.
If you get this right, your visitors won’t even notice the switch. You’ll discover simple, step-by-step strategies to make your migration smooth and stress-free. Keep reading, and you’ll learn how to protect your site’s traffic, avoid downtime, and keep everything working perfectly on your new host.
Let’s get started!
Credit: kb.porkbun.com
Preparing For Migration
Preparing for a host migration with the same domain name requires careful planning. This step ensures a smooth transition without downtime or data loss. Start by understanding your current hosting setup. Then, secure your website data by creating backups. Finally, review your domain registrar settings. Each task helps avoid common migration issues.
Assess Current Hosting Environment
Know your current hosting details. Check the server type, software, and resources used. Identify your website’s files, databases, and email accounts. Understand bandwidth limits and storage capacity. This information guides the new host selection. It also helps in setting up the new environment correctly.
Backup Website Data
Create full backups of your website files and databases. Use tools provided by your host or third-party software. Store backups in a safe location outside your server. Test backups to ensure data is complete and usable. Backups prevent data loss during migration.
Check Domain Registrar Settings
Log in to your domain registrar account. Verify the domain’s contact details and expiration date. Check current DNS settings and name servers. Know how to update these settings quickly after migration. Accurate domain settings ensure your website points to the new host without delay.
Choosing The New Host
Choosing the new host is a key step in migrating your website. The right host keeps your site fast and safe. It supports your site’s growth and keeps it online without issues. Take time to pick a host that fits your needs well.
Compare Hosting Plans
Start by comparing different hosting plans. Check the storage space and bandwidth offered. See if the plan includes backups and security features. Look at the price and payment terms. Choose a plan that fits your website size and budget.
Evaluate Support And Features
Good support helps solve problems fast. Check if the host offers 24/7 customer service. See what ways you can contact them: chat, phone, or email. Look for extra features like website builders, SSL certificates, and easy control panels. These make managing your site easier.
Confirm Domain Compatibility
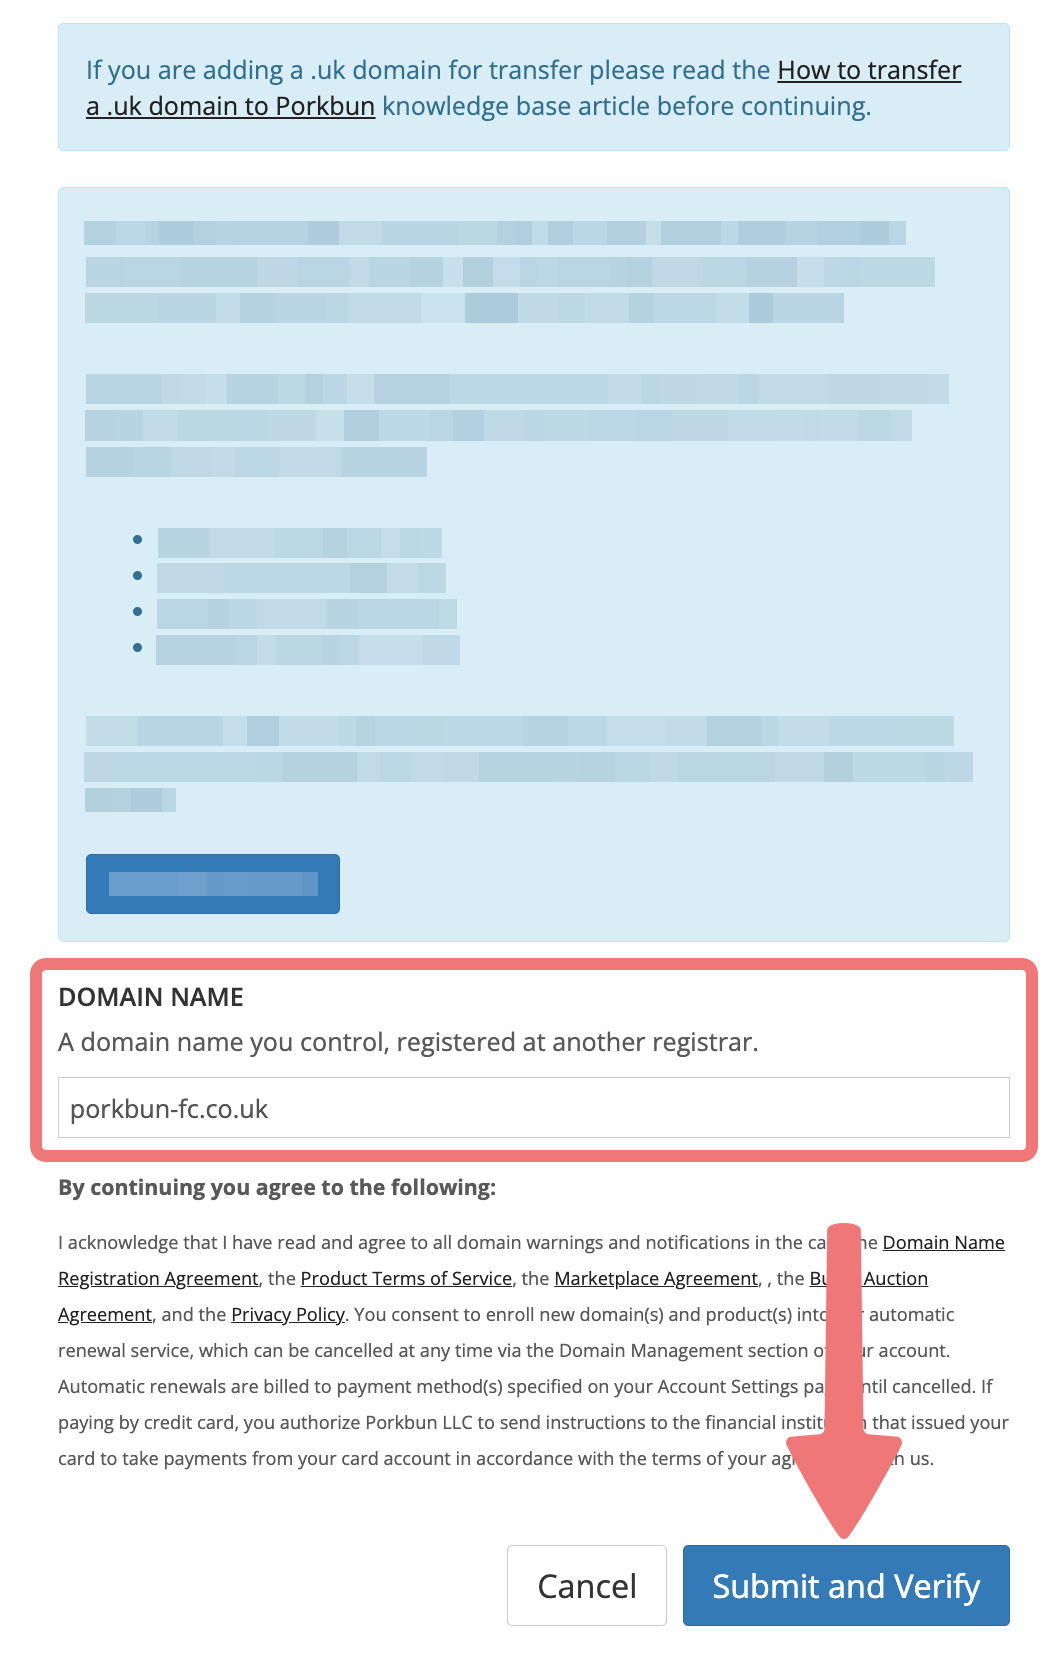
Make sure the new host supports your domain name. Some hosts offer free domain transfers. Check if you can keep your current domain registrar or need to move it. Confirm the process to avoid downtime. Your domain must work smoothly with the new host.
Setting Up The New Host
Setting up the new host is a key step in migrating your website. It ensures your site works smoothly on the new server. This phase involves creating an account, uploading files, and setting up databases.
Each step must be done carefully to avoid downtime or errors. Follow these simple steps to prepare your new hosting environment.
Create Hosting Account
First, sign up for a hosting plan that fits your needs. Use the new host’s website to create your account. Provide necessary details like your domain name and contact info. After registration, access your hosting control panel. This panel lets you manage files, databases, and settings easily.
Upload Website Files
Next, move your website files to the new server. Use an FTP client or the file manager in your hosting panel. Upload all files from your old host, including images and scripts. Keep the same folder structure for smooth operation. Check that all files are uploaded without errors.
Configure Databases
Many websites use databases to store content. Export your database from the old host as an SQL file. Create a new database in your hosting panel. Import the SQL file into this new database. Update your website’s configuration files with the new database details. This step ensures your site connects to the database correctly.
Credit: plane.so
Migrating Domain Name
Migrating a domain name is a key step when changing hosts but keeping your website address. It needs careful work to avoid downtime and loss of visitors. You must handle DNS records and timing correctly. This section explains how to update your domain settings for a smooth move.
Update Dns Records
Start by changing your domain’s DNS records to point to the new host. This includes updating the A record with the new server’s IP address. Also, check CNAME and MX records if your email or subdomains are affected. Use your domain registrar’s control panel to make these edits. Save changes carefully to avoid errors.
Adjust Ttl Settings
TTL (Time to Live) controls how long DNS information is cached. Lower the TTL value a few days before migration. This helps speed up the update process across the internet. Set TTL to 300 seconds or 5 minutes for quick changes. After migration, you can return TTL to a higher value to reduce server load.
Verify Domain Propagation
After updating DNS, check if the changes spread worldwide. Use online DNS checker tools to see if your domain points to the new host. Propagation can take from a few minutes to 48 hours. Keep monitoring until all locations show the correct IP. This ensures your visitors reach the new server without trouble.
Testing After Migration
Testing after migrating your website to a new host is a key step. It ensures everything works well with the same domain name. This stage helps catch problems early before visitors see them. Focus on core functions and services to confirm a smooth transition.
Check Website Functionality
Visit your website and test all pages. Look for broken links, missing images, or slow loading times. Test forms, buttons, and interactive features. Use different devices and browsers to check compatibility. Ensure the site looks and works as expected.
Monitor Email Services
Verify that email accounts linked to your domain work properly. Send and receive test emails from each account. Check email forwarding and autoresponders if used. Confirm no emails are lost or delayed during migration. Keep an eye on spam filters and settings.
Resolve Post-migration Issues
Track any errors or issues users report. Fix broken links, missing files, or configuration problems quickly. Review server logs for hidden errors or warnings. Adjust DNS settings or SSL certificates if needed. Stay proactive to maintain website reliability and user trust.
Finalizing Migration
Finalizing your host migration is a crucial step to ensure your website runs smoothly on the new server. This phase wraps up the transfer process and sets your site up for success. Careful actions here prevent downtime and data loss. Follow these steps to complete the migration safely and efficiently.
Cancel Old Hosting Plan
Confirm your site works perfectly on the new host. Test all pages and features. Wait a few days to be sure. Then, contact your old hosting provider. Ask them to cancel your plan. Avoid canceling too soon. You might lose access to files or email. Keep your old hosting active until you are sure.
Maintain Regular Backups
Create backups of your website regularly. Store backups in a safe place outside your hosting server. Use automatic backup tools if possible. Backups protect against accidental data loss. Schedule backups weekly or daily, depending on your updates. Always keep the latest backup before making changes.
Optimize Website Performance
Check your website speed after migration. Remove unused plugins and themes. Compress images to reduce loading time. Use caching tools to improve performance. Monitor your website’s uptime and speed. A fast website keeps visitors happy and boosts SEO. Small improvements make a big difference.

Credit: www.youtube.com
Frequently Asked Questions
How Do I Keep Seo During Host Migration?
Maintain SEO by using 301 redirects from old to new host URLs. Update DNS settings carefully. Test site speed and fix broken links promptly to avoid ranking drops.
Can I Migrate Hosts Without Downtime?
Yes, migrate hosts by copying files and databases first. Update DNS last, reducing downtime. Use low TTL values to speed up DNS propagation.
What Risks Exist When Using The Same Domain?
Risks include DNS misconfiguration, data loss, and SEO impact. Backup data, verify settings, and monitor traffic to minimize issues during migration.
How To Handle Email When Migrating Hosts?
Update MX records to the new host’s mail servers. Backup emails before migration. Inform users about changes to avoid service disruption.
Conclusion
Migrating hosts while keeping the same domain name takes careful planning. Follow each step to avoid downtime and data loss. Test your site fully before making it live on the new host. Keep backups handy in case something goes wrong.
Clear communication with your hosting providers helps the process run smoothly. A smooth migration keeps your visitors happy and your site working well. Take your time and double-check everything. Success is in the details.


