
Imagine having your own slice of the internet. A place where your ideas, business, or passions can thrive and reach audiences worldwide.
Creating a web hosting account is the first step towards making this dream a reality. It’s simpler than you might think, and this guide will walk you through each step. Whether you’re launching a blog, an online store, or a personal website, the process of setting up a web hosting account is crucial for your online success.
You might feel overwhelmed by the technical jargon, but don’t worry. By the end of this article, you’ll feel confident and ready to take control of your digital presence. Ready to dive in and learn how to make your web hosting account? Let’s get started!

Credit: my.kualo.com
Choosing A Web Hosting Provider
Web hosting comes in many forms. Shared hosting is basic. Many websites share one server. VPS hosting is better. It splits a server into parts. Each part is for one user. Dedicated hosting gives one server to one user. It is costly but powerful. Cloud hosting uses many servers. It handles big traffic well. Managed hosting helps with tech support. It is good for beginners.
Check cost first. Budget matters. Look at uptime guarantees. Websites must be live often. Speed is vital. Fast sites keep visitors happy. Security is key. Protect data and stop attacks. Support helps solve problems. Choose providers with great help. Scalability is important. Sites grow over time. Pick hosting that grows too.
Registering A Domain Name
Choose a name that is easy to remember. Short names are better. Avoid using numbers or hyphens. They can be confusing. Make sure the name is related to your business. This helps people know what you do. Check if the name is available. Some names might already be taken. Use tools to check availability.
First, find a domain registrar. These are companies where you buy domain names. Some popular ones are GoDaddy and Namecheap. Search for your chosen name. If it is available, you can buy it. You will need to create an account with the registrar. Then, follow the steps to purchase the domain. You will need a payment method. Domains are usually bought for one year. You can renew it every year.
Setting Up The Hosting Account
First, visit the web hosting provider site. Look for the sign-up page. Enter your email address and create a password. These will be your login details. Choose a hosting plan that fits your needs. Check the features of each plan. Some plans offer more storage or bandwidth. Select a plan that suits your website size.
Fill in your personal details. Include your name and contact information. Make sure you provide the correct details. Submit the form to create your account. You might receive a confirmation email. Click the link in the email to verify your account.
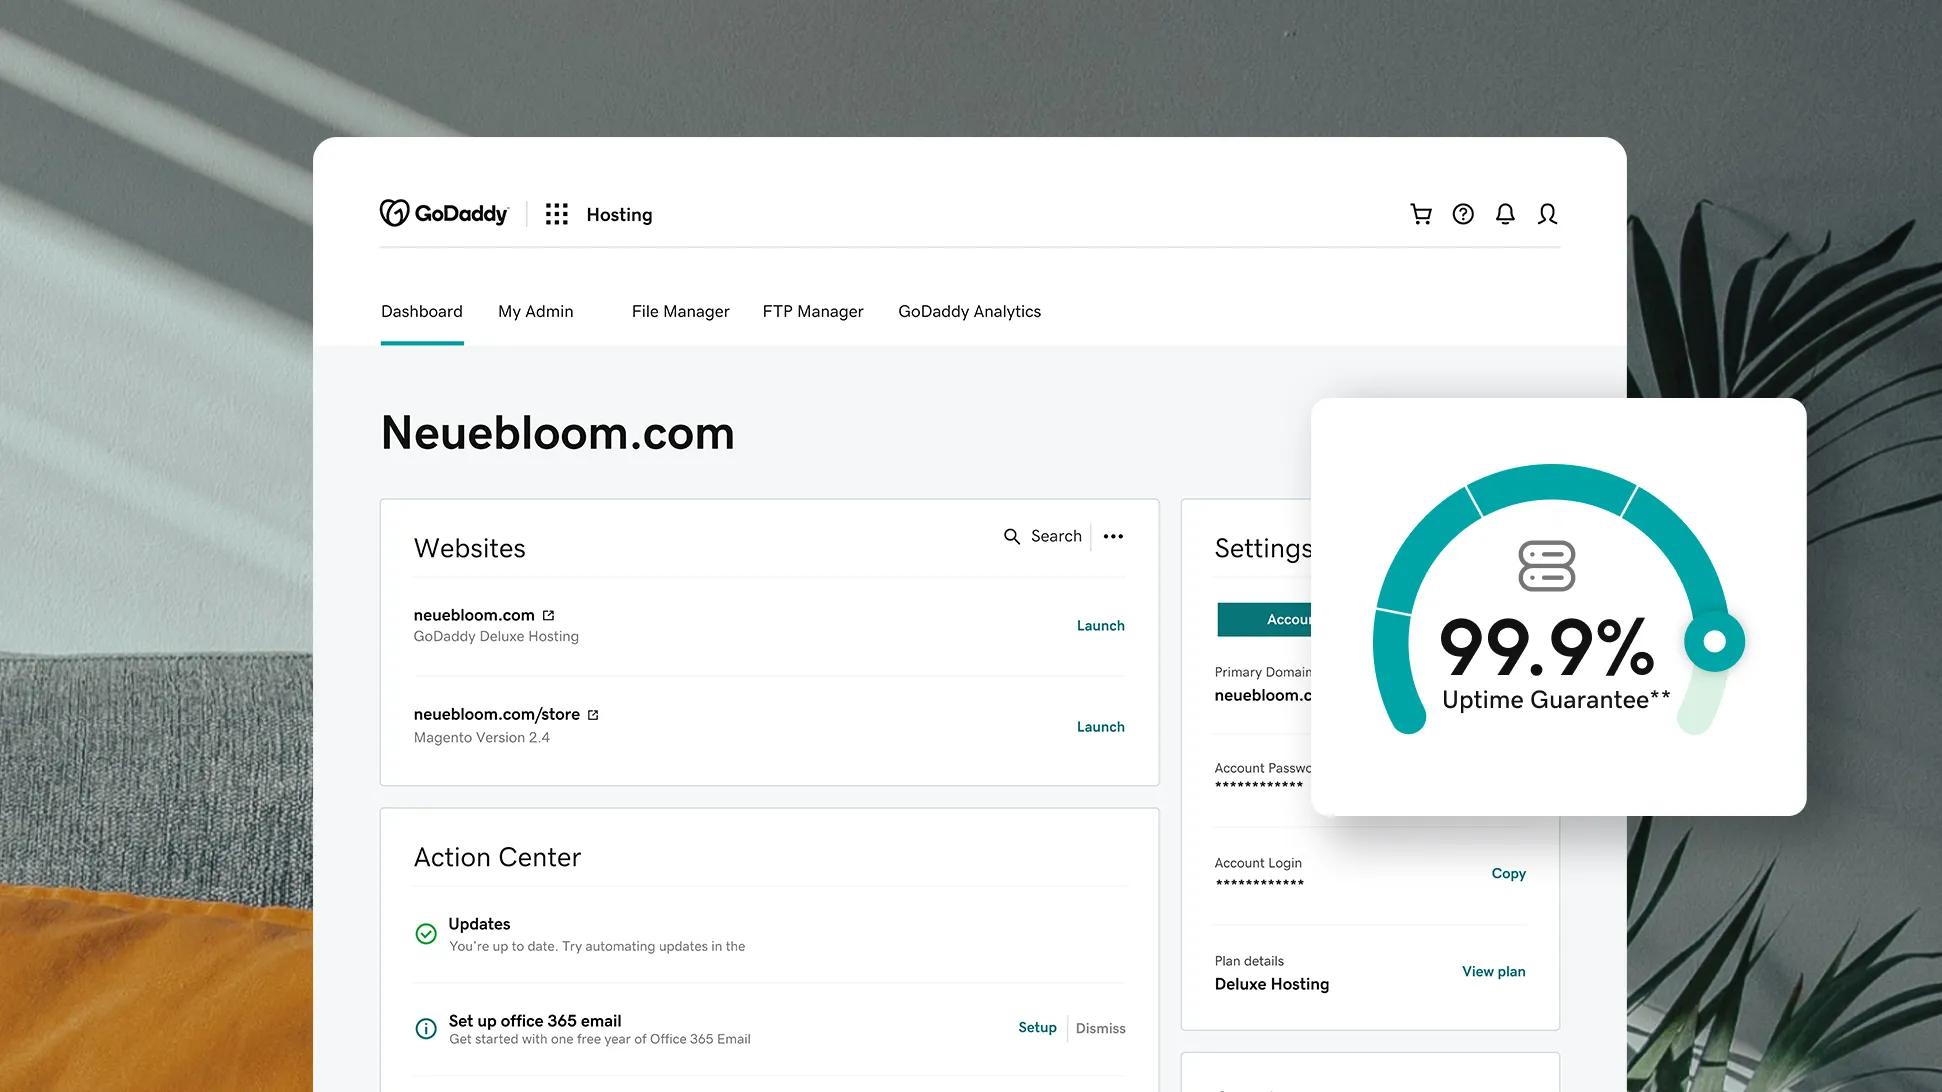
After creating the account, log in to the dashboard. Here, you can manage all settings. Start by setting your domain name. This is your website’s address. Choose a name that’s easy to remember. Next, set up your website’s security. Enable SSL to keep data safe. SSL is important for trust and security.
Adjust your email settings if needed. You can create email accounts linked to your domain. Set up backup settings to protect your data. Regular backups are essential. They help recover lost data. Finally, check your account settings once more. Ensure everything is correct.
Installing Website Management Tools
Content Management Systems (CMS) help you build websites easily. Popular CMS options include WordPress, Joomla, and Drupal. These tools let you add text and images. You can also change the design. Most CMS are free and open-source. They offer many plugins and themes. This makes customization simple. CMS is great for beginners. You don’t need coding skills to use them. Installation is quick. Just follow the setup steps provided by your web host.
Control panels manage your web hosting account. The most popular one is cPanel. It helps you manage files, databases, and emails. You can also use it to add domains. Control panels offer security features too. They protect your website from hackers. Easy to use with icons and buttons. You don’t need to remember complex commands. Control panels are very user-friendly. They save time and make tasks simple.
Uploading Website Files
FTP clients help move files to a web server. FileZilla is a popular choice. Start by downloading and installing the FTP client. Connect to the server using login credentials. Drag and drop files from your computer to the server. Check if files are uploaded correctly. Make sure to keep files organized. Organize files in folders for easy access.
Hosting accounts often have a File Manager. Log into your hosting account. Find the File Manager option. Click to open it. Choose the upload option. Select files from your computer. Upload them to the server. Use folders to keep files tidy. Ensure files are in the right directory. This helps your website run smoothly.
Credit: www.godaddy.com
Configuring Security Settings
An SSL certificate keeps your site safe. It encrypts data between the browser and server. This stops hackers from stealing information. Many hosting providers offer free SSL certificates. You can install them in your hosting dashboard. Follow the steps given by your host. Check if the padlock icon shows in the browser. It means your site is secure.
A firewall acts like a shield. It stops unwanted traffic from entering your site. Most hosts provide built-in firewalls. You can enable them in the security settings. Adjust firewall rules to allow only safe traffic. Block suspicious IP addresses. Regularly check and update your firewall settings. This keeps your website safe from attacks.
Monitoring And Maintenance
Creating a web hosting account involves continuous monitoring and maintenance. These tasks ensure your website runs smoothly and stays secure. Regular checks help in identifying potential issues early and maintaining optimal performance.
Performance Monitoring Tools
Keeping an eye on your server is key. Use tools to watch performance. These tools help find slow areas. If the website is slow, visitors leave. Tools like Google Analytics or Pingdom can help. They show how fast the site loads. Check these tools often. Fix problems quickly to keep visitors happy. Fast sites rank better in search engines too.
Regular Backups
Backups save important data. Things can go wrong without backups. Websites might crash or get hacked. Losing data can be bad. Set up regular backups of the site. Do it daily or weekly. Use services like Dropbox or Google Drive. They keep copies of your files safe. Check your backups work properly. Restore files easily if needed. This keeps your website safe and sound.

Credit: www.youtube.com
Frequently Asked Questions
How To Create A Web Hosting Account?
Choose a reliable hosting provider. Register on their website. Select a hosting plan. Provide necessary personal details. Complete payment to activate your account.
How To Create A Host Account?
To create a host account, visit the website’s sign-up page. Enter your personal details and verify your email. Set up your profile by adding relevant information and uploading necessary documents. Follow the prompts to complete the registration process and start hosting.
Is Google Web Hosting Free?
Google does not offer free web hosting services. Google Cloud provides web hosting with various pricing plans. Users can explore Google Cloud’s free tier for limited resources, but it is not entirely free for full-scale hosting needs. Pricing depends on the services and resources you choose.
Are Hosting Accounts Free?
Most hosting accounts require payment, though some providers offer free plans with limited features. Paid plans usually provide better performance, security, and support. Carefully review hosting options to determine the best fit for your needs. Always check the terms and conditions to understand any potential costs associated with “free” hosting services.
Conclusion
Creating a web hosting account is simpler than it seems. Start with reliable hosting services. Choose the right plan for your needs. Follow simple registration steps. Verify your account through email. Set up your domain. Explore the hosting dashboard for features.
Customize your website as desired. Ensure your site is secure. Reach out for support if needed. Regularly update your website content. Keep learning and adapting. With these steps, anyone can manage a web hosting account effectively. Enjoy the journey of building your online presence.
Success is within reach.


