
Are you ready to launch your website but feeling stuck on how to connect your web domain with your hosting? You’re not alone.
This crucial step can seem overwhelming, but it’s simpler than you might think. Imagine having your website up and running smoothly, reaching audiences worldwide with ease. By the end of this guide, you’ll have the confidence and knowledge to seamlessly link your domain and hosting, setting the stage for your online success.
Dive in and discover how straightforward this process can be, empowering you to take control of your digital presence.
Choosing The Right Domain And Hosting Provider
Picking a domain name is important. It should be easy to remember. Short names are better. Avoid special characters or numbers. They confuse visitors. Check availability of your desired name. Some names may be taken. Look for alternatives if needed.
Hosting is where your website lives. Choose a reliable provider. Uptime is crucial. Sites should be online always. Customer support helps solve issues fast. Compare prices before buying. Look for security features to protect your site. Good providers offer these.
| Provider | Feature |
|---|---|
| GoDaddy | Large variety of domains |
| Bluehost | Great for beginners |
| HostGator | Affordable pricing plans |
| SiteGround | Excellent support service |
Credit: www.youtube.com
Understanding Dns Basics
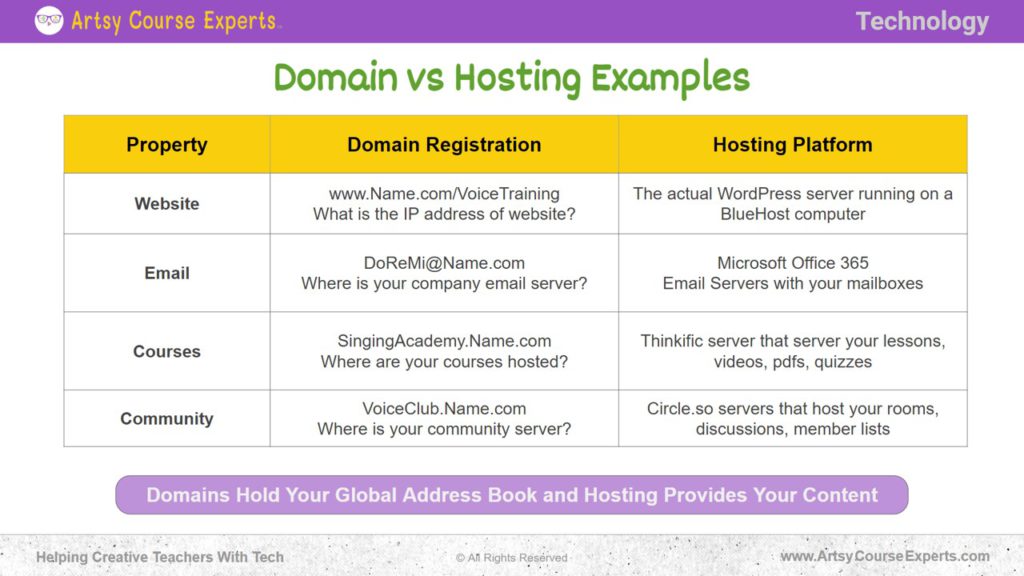
DNS stands for Domain Name System. It is like a phone book for the internet. It turns domain names into IP addresses. This helps browsers find websites easily. Imagine trying to remember a long number. That’s what IP addresses are. DNS makes it simple by using names we know.
DNS connects your domain name to your hosting server. This makes your website visible online. Without DNS, users can’t reach your site. It tells the internet where your website is stored. A bit like giving directions to a house. Every domain has its own DNS settings. It’s important to set them correctly. This ensures your site works well.
Accessing Domain Management Settings
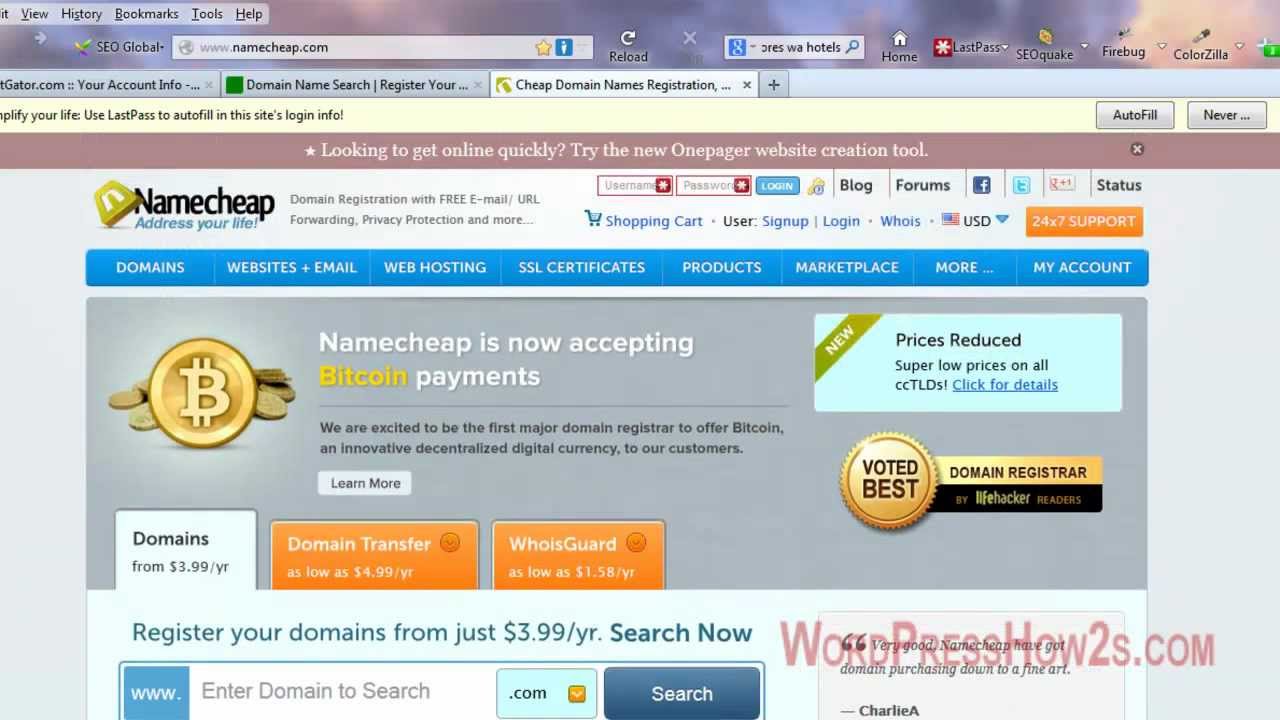
Start by visiting your domain registrar’s website. Enter your username and password. Click the login button to access your account. Make sure your details are correct. You will see your dashboard. Look for your domain list. This is where you manage your domains.
Find the domain you want to manage. Click on it to open its settings. Look for the DNS settings option. This is where you can change your domain records. Click on DNS settings to open it. You may see terms like A record, CNAME, and MX. These are types of DNS records. Choose the one you need to update. Carefully make changes to these records.
Updating Nameservers
Your hosting provider gives you nameserver information. This information is in your account settings. Check the email from your hosting company. It often has nameserver details. Look in your hosting control panel too.
Log into your domain registrar account. Find your domain settings. There is a section for nameservers. Enter the nameserver details from your host. Save your changes. It might take a few hours to update. This process is called DNS propagation. Check if your website works.
Configuring Dns Records
Linking your web domain and hosting requires configuring DNS records. First, access your domain registrar’s dashboard. Then, update the DNS settings to point to your hosting provider’s server.
Types Of Dns Records
DNS records help direct internet traffic. They link your domain to your hosting. Different types exist with specific roles. A Record points your domain to an IP address. CNAME directs one domain to another. MX Record handles email delivery to your domain. TXT Record is used for verification purposes. Each record has a unique function. Understanding these can simplify web setup.
Adding And Editing Records
Changing DNS records can be easy. Start by logging into your domain host account. Find the DNS settings section. To add a record, click ‘Add Record’. Choose the type needed. Fill in the required details. To edit a record, select the record. Click ‘Edit’. Make changes and save. Changes may take time to update. Always double-check entries. Mistakes can cause issues. Make sure you have the correct information.
Credit: www.artsycourseexperts.com
Verifying Domain And Hosting Connection
Checking the propagation status is essential. It shows if your domain links to hosting. Use online tools like DNS Checker. They help you see if changes are live. Propagation may take up to 48 hours. Be patient. Refresh your browser or clear cache. This ensures you see the latest updates. If it still doesn’t work, there might be issues.
Now, let’s look at troubleshooting common issues. First, check your DNS settings. Ensure they point to the right server. Wrong settings can break the connection. Next, verify your hosting account. Ensure your domain is added correctly. Sometimes, a simple error can cause problems. If all else fails, contact your hosting provider. They can help fix any technical issues quickly.
Managing Ssl Certificates
Connect your web domain to hosting by updating DNS settings. Ensure SSL certificates are installed for secure connections. Regularly renew and manage certificates to maintain site security and user trust.
Importance Of Ssl
SSL certificates are vital for online security. They protect data between the user and the website. This keeps information safe from hackers. Websites with SSL show a lock icon in the browser. This builds trust with users. Search engines prefer sites with SSL. This can help your site’s search ranking. Without SSL, data can be stolen easily. Protect your site with SSL to ensure safety.
Setting Up Ssl On Your Domain
Setting up SSL is simple. First, buy an SSL certificate from a trusted source. Next, install it on your hosting account. Your hosting provider can help with installation. After installing, check your site. Make sure the lock icon appears in the browser. If it does, SSL is working. Update all links from HTTP to HTTPS. This ensures all pages are secure. SSL setup is crucial for security and trust. Always use SSL for safe browsing.
Securing Your Domain And Hosting
Strong passwords protect your domain and hosting. Use a mix of letters, numbers, and symbols. Avoid using easy words. Change passwords often. Keep them safe and private.
Two-factor authentication adds extra safety. It needs a phone or email check. This stops others from getting into your account easily. Set it up for better security.
Regular backups keep your data safe. Save copies of your website often. If something goes wrong, you can restore it. Use online services or external drives for backups.
Check your domain and hosting often. Look for strange activities. If something seems off, act quickly. This keeps your site safe.
Keep software and plugins updated. Updates fix bugs and improve security. Set them to update automatically if possible. This helps protect your site from harm.

Credit: www.wikihow.com
Frequently Asked Questions
How To Link Hosting And Domain?
Connect hosting and domain by updating DNS settings. Log into your domain registrar account, find DNS settings, and input your hosting provider’s nameservers. Save changes to link them. This process allows your domain to point to your hosting server, making your website accessible online.
How Do I Link My Domain To Another Website?
To link your domain to another website, update the domain’s DNS settings. Set the domain’s A record to the target site’s IP address or use CNAME for subdomains. Contact your domain registrar for detailed instructions. Ensure changes propagate by checking with online DNS tools.
How Do I Point A Domain To Another Host?
To point a domain to another host, update the domain’s DNS settings. Change the A record to the new host’s IP address. Modify the nameservers if needed. Ensure propagation by checking DNS changes with tools like DNS Checker. This process can take up to 48 hours to complete.
How Do I Connect A Domain To A Local Server?
Connect a domain to a local server by setting up a DNS A record. Point the record to your server’s IP address. Ensure your router forwards relevant ports. Update your domain’s DNS settings with your registrar. Use a dynamic DNS service if your IP changes frequently.
Conclusion
Connecting your domain with hosting is simple and essential. First, choose a reliable host. Then, update domain settings to point to your host. Finally, test your website to ensure it’s live. With these steps, your site connects seamlessly. Remember, each step is crucial for success.
Keep your domain details handy. Follow instructions from your hosting provider. The process seems complex, but it’s manageable with patience. Once done, your website is ready to share with the world. A connected domain and host pave the way for your online presence.
Now, your site can reach its audience effectively.


