
Have you ever wondered how you can bring your website ideas to life using WordPress.org on your GoDaddy hosting account? You’re in the right place.
Setting up WordPress. org on GoDaddy might seem complex at first, but it’s actually a straightforward process once you know the steps. Imagine having your very own website, customized exactly the way you want, ready to reach the world. It’s empowering, right?
This article will guide you step-by-step through the installation process, making it simple and stress-free. Whether you’re starting a blog, launching an online store, or showcasing your portfolio, mastering this setup will open doors to endless possibilities. So, let’s dive in and get your WordPress. org site up and running on GoDaddy, turning your digital dreams into reality.
Preparing For Installation
Godaddy offers many hosting plans. Shared hosting is good for small websites. Virtual Private Server or VPS is better for larger sites. Dedicated hosting is the best but costs more. Choose a plan based on your website needs. Check for WordPress compatibility. Some plans have tools for easy WordPress setup. This makes the process simple and quick.
A domain name is your website address. Pick a name that is easy to remember. Check if the name is available. Use Godaddy’s search tool for this. Register the name once you find it. Domain registration is important for your website identity. It links your site to the hosting plan. Keep the domain simple and relevant to your site.
Credit: www.templatemonster.com
Accessing The Godaddy Dashboard
First, open your web browser. Visit the Godaddy website. Find the “Sign In” button. It’s usually at the top. Click on it. Enter your username and password. Make sure they are correct. Click the “Sign In” button again. You are now in your account.
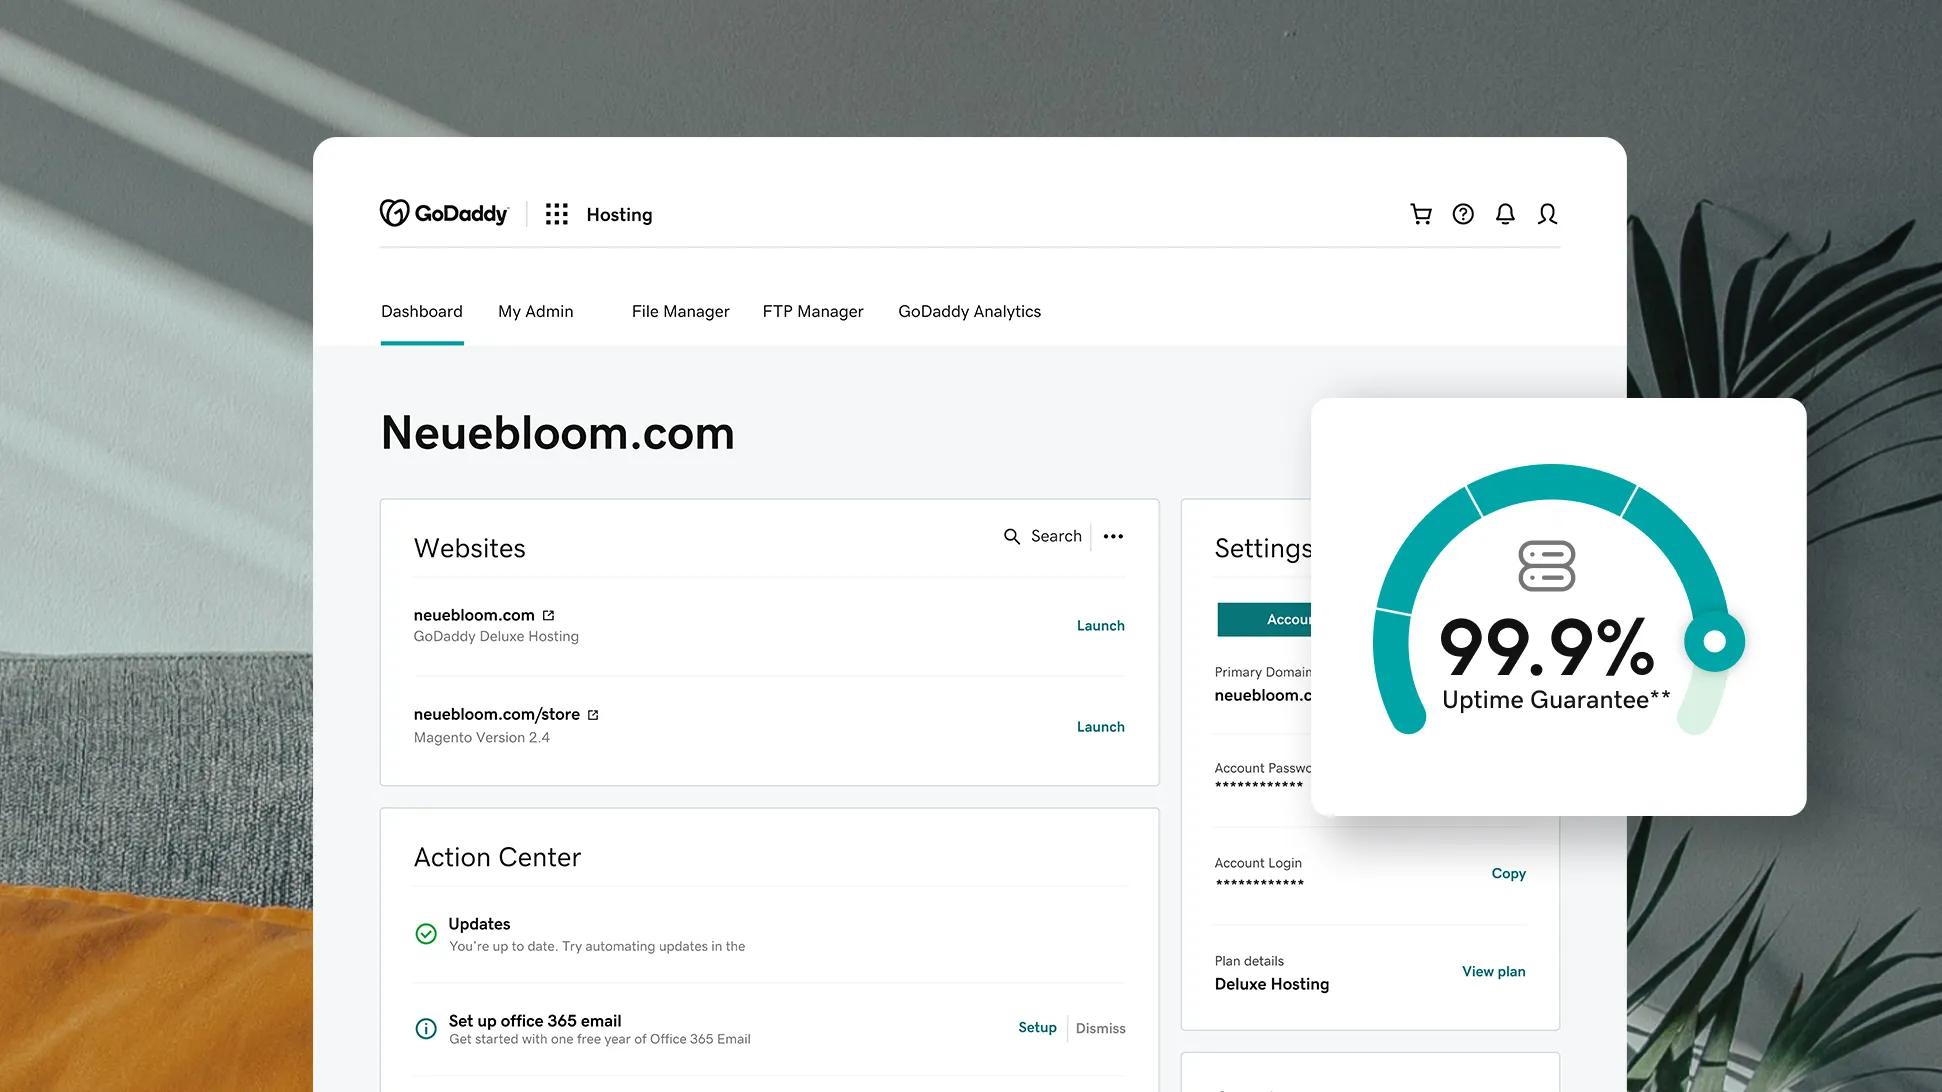
Look for the My Products section. It’s easy to find. Click on it. A list of products appears. Find the Hosting option. Click on it. Now, you’re in the hosting settings. Look for the cPanel Admin button. Click to open it. This opens your hosting dashboard.
Setting Up The Database
Start by logging into your GoDaddy account. Go to the hosting panel. Click on the MySQL Databases section. Find the option to create a new database. Give your database a name. Choose a name you can remember easily. Click on the “Create” button. Your new database is now ready.
Go back to the database section. Find the option for database users. Click to add a new user. Enter a username. Choose a strong password. Make sure the password is hard to guess. Assign the user to your database. Grant the user all permissions. Save the changes. Your database user is now configured.
Downloading WordPress Files
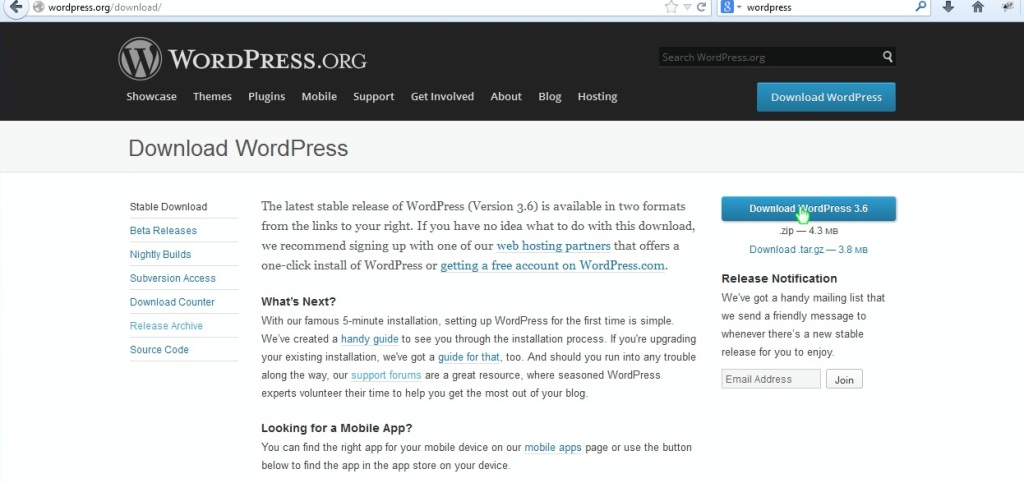
Visit the official WordPress site for the latest version. Look for the download button. Click on it to get the WordPress files.
After downloading, find the WordPress file. It will be a .zip file. Use a tool like WinRAR or 7-Zip. Right-click the file. Select “Extract Here” or “Unzip”. Now, the files are ready.
Uploading WordPress To Server
FTP helps in moving files. Download an FTP client like FileZilla. Connect to your server using FTP. Use your Godaddy account details. Locate the WordPress files on your computer. Select all the files. Drag them into the server window. Wait for the transfer to complete.
Ensure files go to the right place. Navigate to the public_html directory. This is where your website files should be. Put the WordPress files here. Check for any subfolders. Ensure all files are in the main directory. This makes sure your site works.
Configuring Wp-config.php
The wp-config.php file is crucial. Open this file in a text editor. Look for the line that says define(‘DB_NAME’, ‘database_name_here’);. Replace database_name_here with your actual database name. Next, find define(‘DB_USER’, ‘username_here’);. Change username_here to your database username. Finally, locate define(‘DB_PASSWORD’, ‘password_here’);. Enter your database password instead of password_here. Save changes. Your database details are now set.
Security keys protect your site. In the wp-config.php file, find the section titled Authentication Unique Keys and Salts. Visit the WordPress secret key service to get new keys. Copy these keys. Paste them over existing keys in the file. This makes your site more secure. Save your changes.
Completing The Installation
First, open your browser. Type in your website’s URL. Add “/wp-admin/install.php” at the end. Press enter. The WordPress installation script will start. Follow the simple steps. Choose your language. Click continue. Next, you need to set up your site.
Type in a site title. This is your website’s name. Choose a username for the admin. This is your login name. Pick a strong password. You should also enter an email address. This is for admin contact. Click the “Install WordPress” button. Your site is ready!
Credit: www.godaddy.com
Customizing WordPress
Easily set up WordPress. org on your GoDaddy hosting account. Start by logging into your GoDaddy account. Navigate to your hosting dashboard, locate the Install WordPress option, and follow the simple prompts. With a few clicks, your WordPress site will be ready for customization.
Choosing A Theme
Picking a theme can change your site’s look. Themes give your site style and function. Many themes are free. Some themes cost money. Choose a theme that fits your site. You can find themes in the WordPress dashboard. Click ‘Appearance’ then ‘Themes’. Browse themes until you find one you like. Click ‘Install’ to add the theme to your site. Activate the theme to make it live.
Installing Essential Plugins
Plugins add features to your site. Some plugins help with security. Others help with SEO. Some plugins are free. Others cost money. To install a plugin, go to the WordPress dashboard. Click ‘Plugins’ then ‘Add New’. Search for the plugin you want. Click ‘Install Now’ to add the plugin. Activate the plugin to start using it. Pick plugins that help your site grow.
Securing Your WordPress Site
Installing WordPress. org on a GoDaddy account enhances site security. Begin by accessing the hosting dashboard. Then, utilize GoDaddy’s one-click install feature. This simplifies the WordPress setup, ensuring your website is secure and efficient.
Implementing Ssl Certificate
SSL certificates keep your site secure. They protect visitor data. Godaddy offers easy SSL setup. Log in to your Godaddy account. Go to the “SSL Certificates” section. Purchase an SSL certificate. Assign it to your domain. Follow the installation steps. This makes your site safe for visitors. A padlock icon will show in the browser. This tells users your site is secure.
Setting Up Backup Solutions
Backups are important for your website. They save your data. Use a backup plugin for WordPress. Install and activate it from the plugin menu. Schedule regular backups. Store them safely on the cloud or local drive. This protects your site from data loss. If something goes wrong, you can restore it. Backups give peace of mind. Your hard work stays safe.
Troubleshooting Common Issues
Installing WordPress. org on a GoDaddy account can be simple. Start by accessing your GoDaddy hosting dashboard. Use the one-click installation feature to set up WordPress quickly.
Resolving Installation Errors
Many face errors during WordPress installation. Check if the server meets minimum requirements. PHP version and MySQL should be updated. Ensure enough disk space on your hosting plan. If files are missing, re-upload them. Use FTP or GoDaddy’s file manager for uploads.
Permissions might block installations. Check folder permissions. Set them to 755 or 644 for files. Incorrect permissions lead to errors. Fix them using the hosting control panel. Contact GoDaddy support if errors persist.
Fixing Database Connection Problems
Database connection errors are common. Verify database name, username, and password. They must match the ones in wp-config.php. Check database host value too. GoDaddy often uses localhost as the host. Wrong details lead to connection errors.
Ensure the database server is running. Use GoDaddy’s panel to check its status. Recreate the database if necessary. Contact support if nothing works. They can help resolve complex issues.

Credit: www.godaddy.com
Frequently Asked Questions
How To Install WordPress In Web Hosting Godaddy?
Log in to GoDaddy account and access “My Products. ” Click “Manage” next to hosting. Select “Installatron Applications Installer,” choose WordPress, and click “Install. ” Fill in details and start installation. Follow prompts to complete. Check your site after installation finishes.
How Do I Add A Website To My Godaddy Hosting?
Log in to your GoDaddy account. Navigate to “My Products” and select “Web Hosting. ” Click “Manage” next to your hosting plan. Choose “Add Website” and enter your domain details. Follow prompts to complete the setup. Ensure your domain points to GoDaddy’s servers for seamless integration.
How Do I Install WordPress On My Hosting Server?
To install WordPress, download its latest version. Upload files to your server using FTP. Create a MySQL database. Run the WordPress installation script by accessing your domain. Follow the prompts to complete the setup.
How To Make A WordPress Website Live On Godaddy?
To make a WordPress website live on GoDaddy, first purchase a hosting plan. Install WordPress via the GoDaddy dashboard. Upload site files using FTP or the File Manager. Configure domain settings to point to the hosting server. Test your site to ensure it’s working correctly.
Conclusion
Installing WordPress on GoDaddy can be simple. Follow each step carefully. Start by setting up your GoDaddy account. Then, download WordPress from WordPress. org. Use GoDaddy’s hosting panel to upload WordPress files. Create a database and connect it to WordPress.
Adjust settings as needed. Your site is now ready to customize. Explore themes and plugins to enhance your site. Keep your site updated for security. Enjoy building your online presence. Remember, practice makes perfect. Seek help if needed. You have the tools to succeed.
Happy website building!


