
Are you ready to build a powerful website with Joomla but unsure how to get started with the installation process on your web host? You’re in the right place.
Installing Joomla might seem daunting at first, but with the right guidance, it can be a straightforward task. Imagine the satisfaction of having a dynamic, user-friendly website that you can manage with ease. The process is simpler than you think, and by following a few clear steps, you’ll be well on your way to creating your online presence.
You’ll discover a step-by-step guide that will make the installation of Joomla on your web host a breeze. Whether you’re a beginner or looking to refine your skills, you’ll find valuable insights here. Don’t let technical hurdles hold you back; dive in and see how easy it can be to get your Joomla site up and running!
Preparing For Installation
A good web host makes websites run smoothly. Pick one with reliable service. Check for 24/7 support. Make sure they have good speed. This helps your site load fast. Choose a host with Joomla compatibility. This makes installation easier.
Joomla needs certain things to work. Your server must have PHP 7.2 or higher. It also needs MySQL 5.5.3 or above. Check if it supports Apache or Nginx. These are important for Joomla. Ensure your server meets these needs.
Visit the Joomla website to download. Find the latest version. Click the download button. Save the file on your computer. The file will be in ZIP format. You will need it for the next step.
Credit: www.hotjoomlatemplates.com
Setting Up The Database
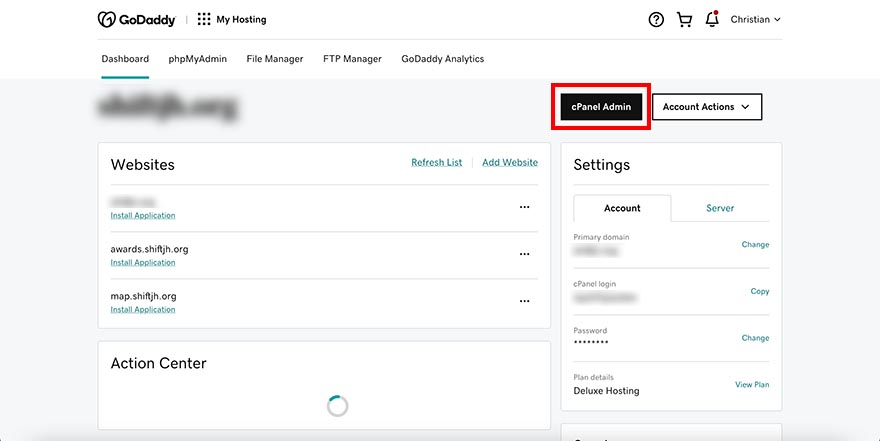
Log into your web host control panel. Find the database section. Choose to create a new database. Give it a name you can remember. Keep it simple and clear. Click save or create to finish. Now you have a database ready.
Add a new user to your database. Select user permissions carefully. Choose the right permissions for Joomla. Allow access to read and write. Set a strong password for safety. Save these changes to apply them. Check if the user can access the database. Make sure everything works fine.
Uploading Joomla Files
FTP helps you move files. It’s like a bridge. First, download an FTP client like FileZilla. Connect it to your server. You will need a username and password. Drag Joomla files from your computer to the server. Make sure all files are there. It’s important to check twice. This keeps things correct.
Files need a home on your server. Create a new folder for Joomla. Name it simply, like “Joomla”. Put all Joomla files inside this folder. This keeps them tidy. Finding files later is easier. Organization helps avoid mistakes. A clean server is a happy server.
Credit: sendlayer.com
Starting The Installation Process
Begin by opening your web browser. Type your website link. Add “/installation” at the end. Press “Enter.” The Joomla installer page will show up. Follow the steps on this page. Click “Next” to move forward. It’s simple and clear.
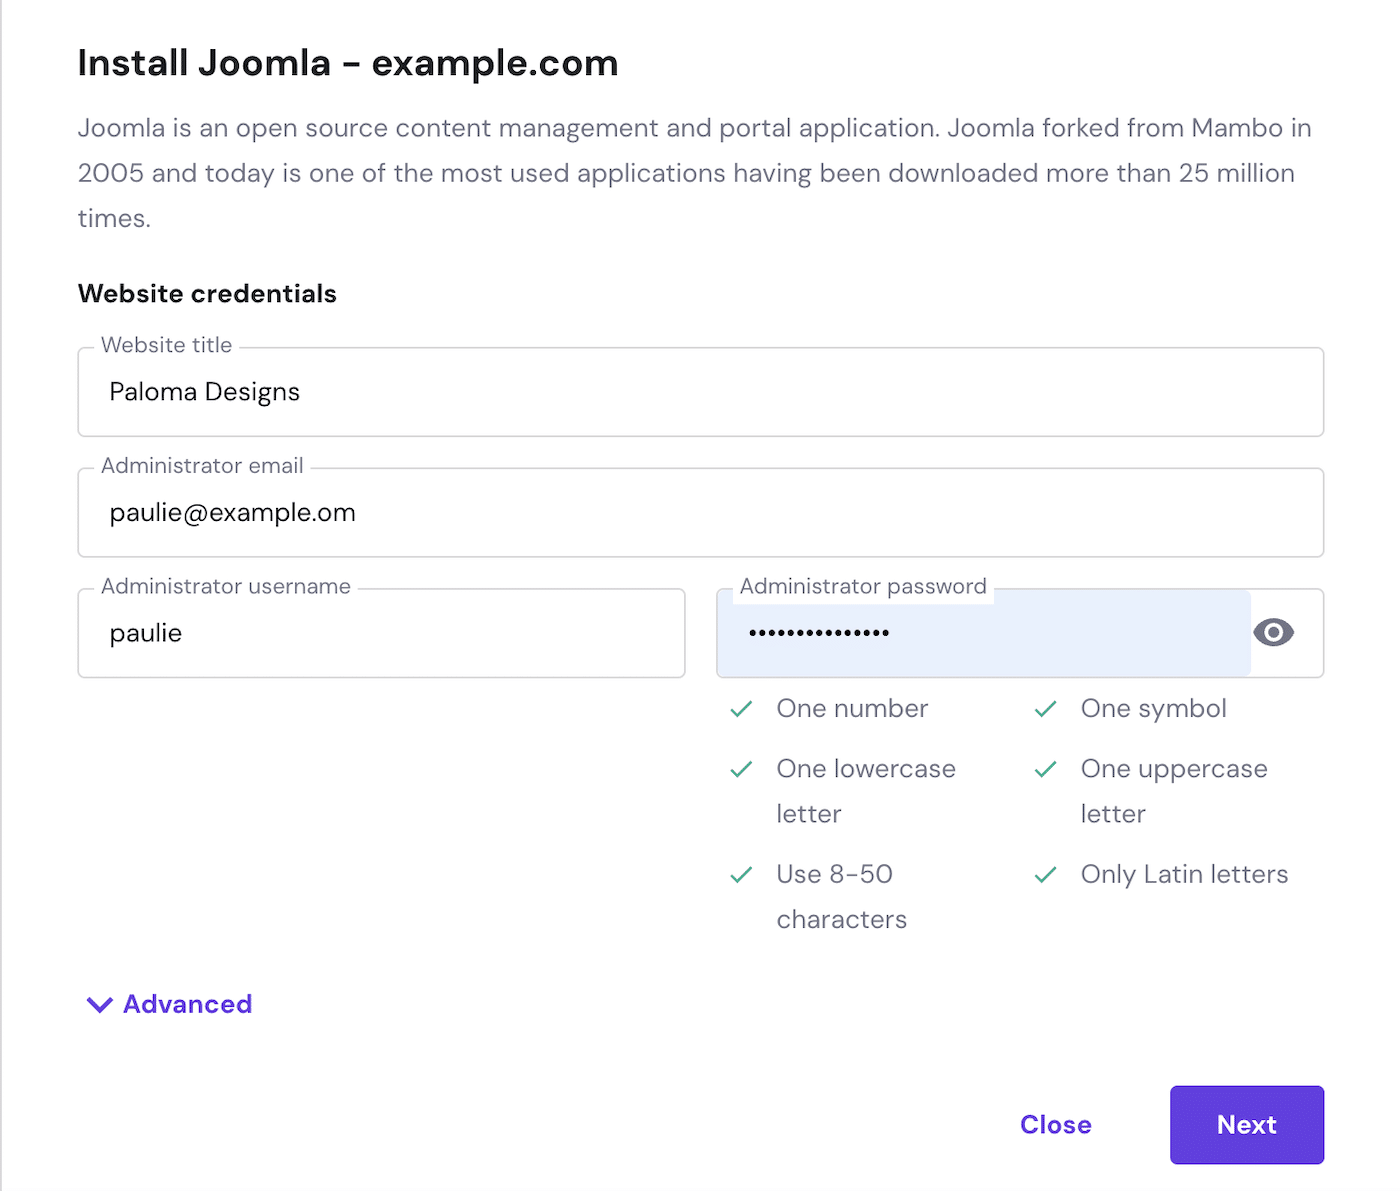
Choose a name for your site. Make it short and catchy. Fill in a description. Keep it brief. Add your email address. Enter your admin username. Pick a strong password. Write it down somewhere safe. Remember, these settings make your site secure. Click “Next” to continue.
Configuring Database Settings
Fill in the database name you created. Use the correct username and password. Select the database host. It’s often “localhost.” Choose the database type as “MySQLi.” Make sure all details are correct. Double-check your entries.
Click on the “Test Connection” button. This checks if the details are right. If it succeeds, you will see a success message. If it fails, recheck your information. Look for typos in your password or username. Ensure the host name is correct. Try again after fixing errors.
Credit: blog.crowncloud.net
Finalizing Installation
Completing the Joomla installation on your web host involves confirming settings and removing the installation folder. This step ensures your website is secure and ready for use. Check all configurations carefully to ensure everything functions smoothly.
Reviewing Installation Summary
Check all the settings in the summary. Ensure every detail is correct. Look at the database details and admin username. Confirm the site name is what you want. Double-check the email address for admin. Make sure the language is set to your choice. This is the last step before moving on.
Completing The Setup
Press the Install button to finish. Wait a few moments. The system will set up Joomla for you. You will see a message soon. It will say the installation is complete. Remove the installation folder to secure your site. Use the given link to visit your new Joomla site. Now, you can start creating your website. Enjoy using Joomla!
Post-installation Tasks
After installing Joomla on your web host, configure site settings. Optimize security by updating passwords and enabling backups. Customize the appearance using templates and extensions for a personalized touch.
Deleting Installation Folder
It’s important to delete the installation folder after setting up Joomla. This folder can be a security risk. Hackers might use it to harm your site. Go to your file manager. Find the folder named “installation”. Delete it completely. This keeps your website safe. Always check twice to ensure it’s removed.
Setting Up Security Measures
Security is crucial for your Joomla site. Start by creating strong passwords. Use a mix of letters, numbers, and symbols. Always update your Joomla software. This helps fix any bugs or holes. Install a security extension. It adds extra layers of protection. Regular backups are also vital. They help restore your site if anything goes wrong. Stay updated on security news. This helps keep your site safe.
Troubleshooting Common Issues
Installing Joomla on a web host can sometimes be tricky. Ensure you have the correct PHP version and database setup. Check file permissions and configuration settings to avoid common installation issues.
Resolving Connection Errors
Connection errors can stop Joomla from working. First, check the database details. Make sure the username and password are correct. Double-check the database host name. It should match the web host settings. If the problem continues, look at the firewall settings. Some firewalls block database connections. Disable them temporarily and test again. Also, ensure the database server is running. Restart it if needed. Finally, see if the server supports Joomla’s required PHP version. An outdated version can cause problems.
Fixing File Permission Problems
File permission issues can prevent Joomla installation. Start by checking the server’s file permissions. Files should be readable and writable. Common permissions are 755 for directories and 644 for files. Adjust them using an FTP client or hosting control panel. If changes fail, contact the web host for help. They can assist with permission settings. Make sure Joomla’s installation folder is accessible. Sometimes, folders are locked accidentally. Remove any restrictions to allow installation. Proper permissions ensure Joomla runs smoothly.
Frequently Asked Questions
How Do You Add Joomla To Your Website?
Download Joomla from the official site, upload it to your server, and complete the installation process. Configure settings and templates to customize your website. Ensure all necessary plugins are installed for added functionality. Regularly update Joomla to keep your site secure and optimized.
How To Install Joomla On Localhost?
Download Joomla from the official website. Set up a local server using XAMPP or WAMP. Extract Joomla files to the server’s root directory. Create a MySQL database. Run the Joomla installer by accessing “localhost/yourfoldername” in your browser. Follow the installation prompts to complete setup.
How To Install Joomla Manually In Cpanel?
Download Joomla from the official website. Upload the files to your cPanel File Manager. Create a MySQL database and user. Assign the user to the database. Visit your website and follow the Joomla installation wizard. Enter database details, configure site settings, and complete the installation.
How To Install Joomla Step By Step?
Download Joomla from the official website. Upload files to your server. Create a MySQL database. Run Joomla installation script. Follow on-screen instructions to complete the setup.
Conclusion
Installing Joomla on your web host can be simple. Follow each step carefully. Choose the right hosting provider. Download Joomla from the official site. Upload files using FTP. Create a database in your hosting panel. Connect Joomla to this database.
Run the installation process. Set up basic site settings. Test your website. Ensure everything works perfectly. Joomla offers flexibility and power. You can customize your site easily. Start building your dream website today. Enjoy creating and managing your content. Joomla can support your online growth.
Happy building with Joomla!


