
Are you ready to give your WordPress site a fresh look but unsure how to install a new theme using FTP? You’re in the right place!
Imagine the excitement of transforming your website’s appearance, making it more attractive and engaging for your visitors. Whether you’re a beginner or an experienced user, installing a theme via FTP might seem a bit daunting at first. But don’t worry; this guide will walk you through each step with ease.
By the end of this article, you’ll not only understand the process but also feel empowered to customize your site like a pro. Let’s dive in and unlock the potential of your WordPress site together!
Prerequisites
Install an FTP client on your computer. Common choices are FileZilla and Cyberduck. Download the software from their official websites. Follow the installation steps. It’s simple. Open the client after installing.
You need your WordPress login details. Find your username and password. Check your email for the details if you forgot. Save them safely. You will use them to connect to your site. Don’t share them with anyone.

Credit: www.interserver.net
Download Theme Files
First, find a theme you like. Many themes are free and easy to use. Some are premium and offer more features. Pick one that fits your needs.
After choosing, save the theme files on your computer. This is important for the next steps. Create a new folder. Name it something like “WordPress Themes”. Download the theme files into this folder. You will need these files for the FTP process.
Connect To Your Server
Access the server through FTP to install WordPress themes effortlessly. Upload the theme file to the ‘wp-content/themes’ directory. Activate the theme from your WordPress dashboard to complete installation.
Using Ftp Client
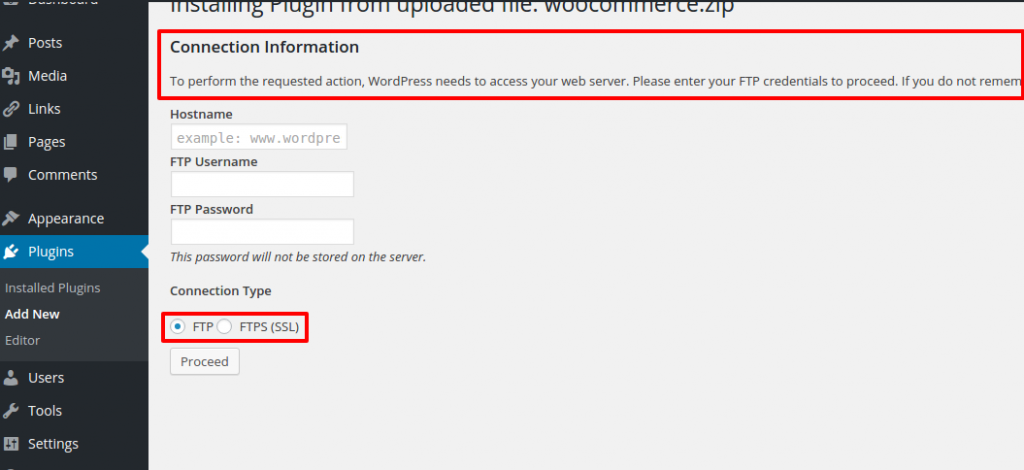
Start by downloading an FTP client. FileZilla is a good choice. Open the FTP client and locate the login screen. Enter your FTP details. This includes your server’s address, username, and password. Use port 21 for FTP. Click ‘connect’ to link to your server. Ensure the connection is successful. You will see your server files on the screen.
Inputting Ftp Details
Find the correct FTP details for your server. These are often in your hosting account. Your FTP address looks like an IP or a domain name. Use your hosting username and password for login. Confirm the port number is correct. Commonly, port 21 is used for FTP. Secure FTP might use port 22. Double-check all details before connecting. Once connected, you can view files on your server.
Navigate To WordPress Directory
Open your FTP client. Look for the wp-content folder. It holds important files. Click to open it. You will see more folders. These are crucial for your site. Don’t delete anything here. Be careful when you explore.
Inside wp-content, find the themes folder. This folder stores all your site themes. Open it to view your themes. You can add new ones here. Make sure you choose the right theme. Correct folder is key. Mistakes can make your site broken.
Upload Theme Files
Use an FTP client like FileZilla to upload theme files. First, open your FTP client. Enter your host details, username, and password. Connect to your server. Find the WordPress directory on your server. It is often named public_html or www. Locate the wp-content/themes folder. Upload your theme folder into this directory. Ensure the folder is unzipped before uploading.
Check the FTP client for upload completion. Look for a message saying “Transfer complete”. Open your WordPress dashboard. Go to Appearance > Themes. Look for the new theme. If it is visible, the upload was successful. Activate the theme from here. If not, check the FTP client for errors during upload.
Credit: support.inspirythemes.com
Activate The Theme
Installing a WordPress theme via FTP involves uploading theme files to your server. Access your FTP client, navigate to the WordPress theme directory, and transfer the theme files. Once uploaded, activate the theme from your WordPress dashboard to see changes on your site instantly.
Accessing WordPress Dashboard
Log in to your WordPress Dashboard. Find the menu on the left. Click on Appearance. Then, click on Themes. This will show your installed themes.
Activating The New Theme
Find the new theme in the list. Click on the Activate button. This makes your theme live. Check your website to see the changes. Make sure everything looks good. Your new theme is now active!
Troubleshooting Common Issues
Sometimes upload errors stop theme installation. It’s often due to file size limits. Check your server’s maximum file size setting. Increase it if needed. Use a compressed theme file. This can help if the file is too big.
Another cause is incorrect file format. Ensure theme files are in .zip format. This format is required for WordPress. If errors persist, verify your FTP credentials. Wrong details can lead to upload issues.
Activation issues often occur after uploading a theme. First, check the theme’s compatibility with your WordPress version. Some themes need specific versions. If a theme does not activate, it might be incompatible.
Another solution is checking PHP version. Themes sometimes need a higher PHP version. Update your PHP if it’s outdated. Clear your cache after activation attempts. This can solve minor problems and errors.

Credit: visualmodo.com
Frequently Asked Questions
How To Upload A Theme Via Ftp In WordPress?
To upload a theme via FTP, first connect your FTP client to your website server. Navigate to the `wp-content/themes` directory. Upload the theme folder from your computer to this directory. After uploading, go to the WordPress admin panel, access ‘Appearance’ > ‘Themes,’ and activate the newly uploaded theme.
Why Use Ftp To Install WordPress Themes?
Using FTP to install themes provides more control and flexibility. It is helpful when WordPress dashboard access is limited or problematic. FTP allows direct file management, making it easier to troubleshoot installation issues. This method is ideal for advanced users familiar with server file structures and FTP operations.
Can Ftp Installation Cause Theme Issues?
Yes, improper FTP installation can cause issues like missing files or broken themes. Ensure you upload the complete theme folder correctly. Always check for compatibility with your WordPress version. Regularly back up your website before making changes. Proper FTP handling ensures a smooth installation and functioning of your theme.
What Tools Are Needed For Ftp Theme Installation?
You need an FTP client like FileZilla or Cyberduck and your website’s FTP login credentials. Download and unzip the theme files on your computer. Ensure your FTP client is configured correctly. Familiarize yourself with the `wp-content/themes` directory structure to upload themes smoothly and efficiently.
Conclusion
Installing a WordPress theme using FTP is straightforward. Follow the steps carefully. Start by downloading your desired theme. Unzip the theme file on your computer. Use an FTP client to connect to your website server. Navigate to the wp-content/themes directory.
Upload the unzipped theme folder there. Once done, go to your WordPress dashboard. Activate the new theme under Appearance. This method is useful for themes not in the WordPress repository. With practice, it becomes easier. Enjoy customizing your site with new themes.
Remember, always keep backups. Happy theming!


