
Imagine having complete control over your code repository, accessible from anywhere in the world. Hosting your own SVN (Subversion) server on the web can provide you with just that.
This guide will show you how to set up your own SVN server, giving you the power to manage your projects seamlessly. Why should you host your own server? Well, picture this: no more dependency on third-party services, and you get to customize everything to suit your needs.
Plus, you’ll gain valuable technical skills along the way. By the end of this article, you’ll be equipped with the knowledge to establish your own SVN server, boosting your productivity and enhancing your project management capabilities. Are you ready to take control? Read on to discover the step-by-step process that will transform the way you handle your code repositories.
Credit: www.hanselman.com
Setting Up Your Environment
Start with a reliable computer. It should have enough memory and storage. Speed is important for smooth operation. A fast processor helps. Consider a server-grade machine. They are built for heavy tasks. Desktop computers can work too, but are less reliable.
Choose an OS that supports SVN. Linux is popular for servers. It is stable and secure. Windows can also host SVN. Each has its advantages. Know your preferences. Ensure the OS is updated. This keeps your server safe from bugs.
Set up a stable internet connection. Wired connections are better than wireless. They are more reliable. Configure your router correctly. Open the necessary ports for SVN. Firewall settings need attention. They should not block your SVN server. Use a static IP address. It helps with consistency.
Installing Svn Software
Start by downloading the SVN software from the official website. Choose the package that matches your computer’s system. The software is usually free to download. Make sure to download the latest version. This ensures you have all the new features. Once downloaded, save it on your computer.
Open the command line on your computer. Type the command to install SVN. This command varies by system. If you use Windows, it might differ from Mac. Follow the prompts on the screen. They will guide you through the setup. You will need administrator rights to install.
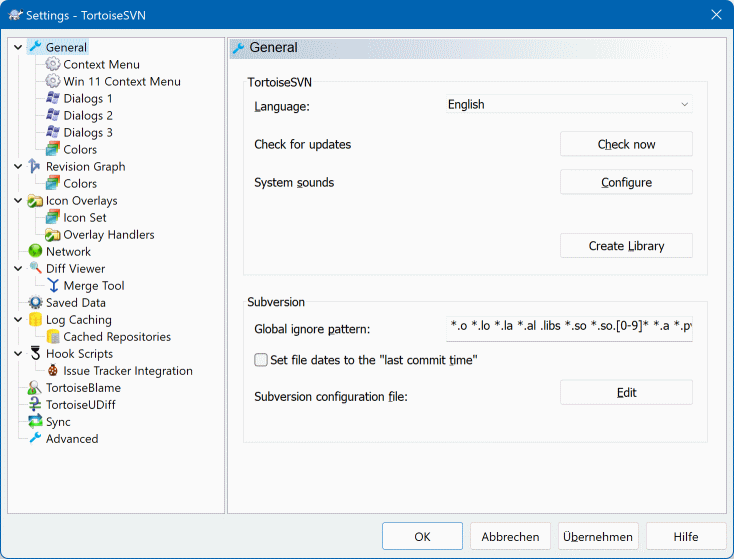
Some people prefer a graphical user interface. This means you click buttons instead of typing commands. Look for SVN clients with GUI options. TortoiseSVN is a popular choice for Windows users. It offers a friendly interface. For Mac, consider SmartSVN. These tools make SVN easier to manage.
Configuring Svn Server
Start by creating a repository. This is where your files live. Use the command line to do this. Type svnadmin create /path/to/repository. Replace /path/to/repository with your folder path. This sets up the basic structure. It is important to organize your files. Keep them neat and tidy.
Control who can access your repository. Set permissions carefully. Edit the conf/svnserve.conf file. Look for the auth-access line. Change it to your needs. Set permissions to read or write. This keeps your data safe. Only trusted users should have full access.
Choose how users will log in. Authentication is key. Use passwords for safety. Edit conf/passwd for user details. Add user names and passwords here. Another method is using SSH keys. SSH is more secure. Select the right method for your team. Keep user data private.
Connecting To Your Svn Server
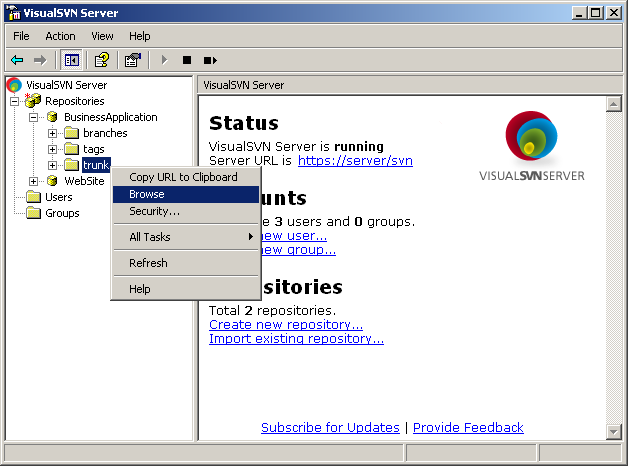
Client Software Setup is easy. First, download the software. Next, install it on your computer. Choose a program like TortoiseSVN or SmartSVN. They are simple to use. Once installed, open the client. Enter your server details. This includes the URL and login credentials. Finally, test the connection. Make sure it works.
Troubleshooting Connection Issues can be tricky. Check your internet connection first. Ensure the server is online. Double-check your login details. Sometimes, firewalls block connections. Disable them temporarily to test. Consult your software’s help section for more tips. This often solves many problems.
Remote Access Tips keep your server secure. Always use strong passwords. Change them often. Use a secure protocol like HTTPS. This encrypts your data. Monitor access logs regularly. This helps identify suspicious activity. Keep your server software updated. It protects against vulnerabilities.
Maintaining Your Svn Server
Set up your own SVN server on the web to manage code efficiently. Begin by choosing a reliable hosting service. Follow simple steps to install and configure the SVN server.
Backup Strategies
Backing up your SVN server is crucial. Always store copies of your data. Use external drives or cloud storage. Schedule regular backups. Daily backups are best. Protect your data from loss. Ensure backups are automated. This reduces human error. Verify backups for integrity often.
Updating And Upgrading
Keep your SVN server software updated. Updates fix bugs and improve security. Check for updates monthly. Upgrade to newer versions. Ensure compatibility with your system. Test updates on a separate server first. This avoids downtime. Upgrades enhance performance and features.
Monitoring Server Performance
Monitor server performance regularly. Check CPU usage and memory. High usage can slow down processes. Use tools to track server health. Identify problems early. Look for patterns over time. Address issues quickly. Keep your server running smoothly.
Credit: tortoisesvn.net
Security Best Practices
Setting up an SVN server on the web requires careful attention to security practices. Protect your data by using strong passwords and encrypting connections. Regular updates and backups ensure your server remains secure and reliable.
Securing Data Transmission
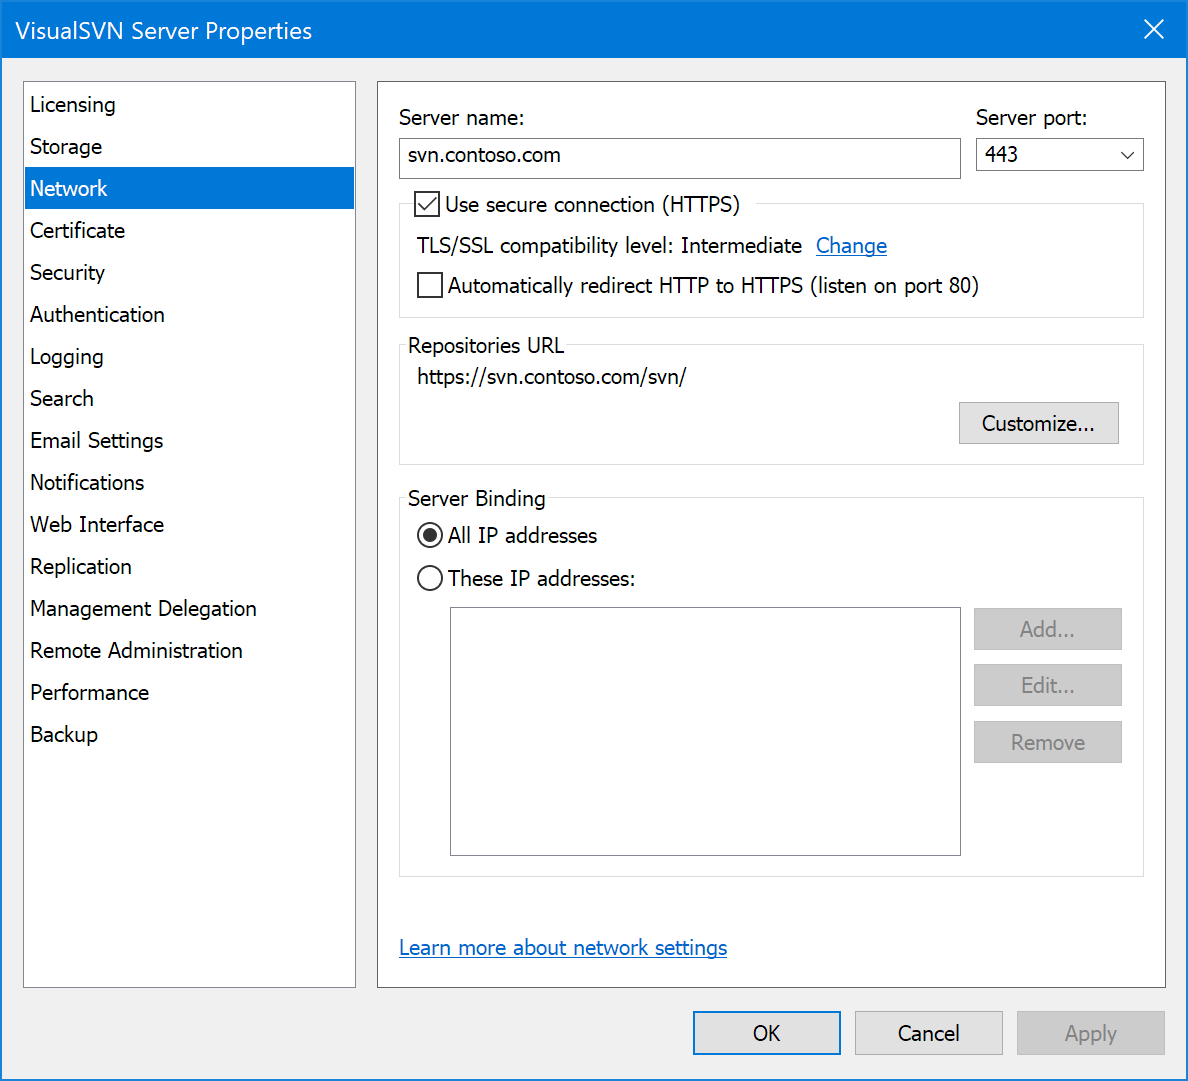
Always use SSL encryption for data safety. This protects your data from snooping. Install a valid SSL certificate on your server. This keeps data private between server and client. Check your SSL regularly for any issues. Update SSL certificates before they expire.
Firewall And Port Management
A firewall blocks unwanted access to your server. Configure it to allow only trusted users. Use secure ports for server access. Avoid using default ports. Change port numbers to increase security. Monitor port activity for suspicious actions. Keep firewall rules updated often.
Regular Security Audits
Conduct audits to find and fix security gaps. Use tools to scan your server for vulnerabilities. Schedule audits at regular intervals. Train staff on best security practices. Document every audit for future reference. Fix issues found during audits immediately.
Credit: www.visualsvn.com
Frequently Asked Questions
Where To Host Svn?
Host SVN on platforms like Assembla, CloudForge, or VisualSVN Server. These offer reliable, secure, and scalable solutions. They provide easy integration, efficient management, and excellent support for SVN repositories. Choose based on your project’s needs and budget for optimal performance.
Is Svn Obsolete?
SVN is not obsolete but less popular now. Git has gained traction due to its distributed nature and flexibility. SVN is still used in certain environments where its features are preferred. Understanding both helps in selecting the right tool for specific needs.
How To Open Svn Repository In Browser?
Access an SVN repository in your browser by entering its URL. The URL format is typically: `http://your-server-address/svn/repository-name`. Ensure you have necessary permissions and login credentials. Use a web-based SVN client if available for enhanced functionality.
How To Create A Svn Server?
Install SVN software on your server. Configure repository using command line or graphical tools. Set up user authentication and permissions. Ensure network access for clients. Test server functionality by connecting with an SVN client. Regularly update and maintain server for optimal performance.
Conclusion
Hosting your own SVN server online is straightforward. It enhances project control. You learned the essential steps. From setup to configuration. Your team can now collaborate seamlessly. Enjoy better version control. Troubleshooting is simpler with practice. Regular updates ensure security and efficiency.
Remember to monitor server performance. Backup your data often. This keeps your projects safe and organized. With these basics, you’re ready. Start hosting confidently today. Your skills will grow over time. Keep exploring and learning. The more you practice, the easier it becomes.
Happy hosting!


