
Are you ready to take control of your Anvil web app and host it locally? Imagine having the power to tweak, test, and optimize your app, all from the comfort of your own computer.
Hosting your web app locally can seem daunting, but it doesn’t have to be. This guide will walk you through the process step-by-step, making it simple and straightforward. You’ll gain a deeper understanding of your app, and unlock the ability to make quick changes on the fly.
Get ready to dive in and discover how easy it is to have your Anvil app running locally, right at your fingertips. Keep reading to transform your web development experience.
Credit: anvil.works
Setting Up Your Environment
Ensure your computer has a modern operating system. Windows, Mac, or Linux works. It should have at least 4GB of RAM. More is better for smooth performance. A stable internet connection is also needed. This helps download necessary tools. Anvil itself is lightweight. Yet, having extra storage can help. It makes room for future projects.
First, download Python from the official site. It’s free and easy to install. Next, you need to install Anvil’s App Server. Follow the guides on Anvil’s website. This step is crucial. It allows you to run apps locally. Lastly, ensure you have a text editor. This tool helps you write and edit code. Options like VS Code or Sublime Text are popular. They are simple and efficient.
Configuring Anvil App
Start by opening your Anvil app. Download your project files. This is easy. Save the files to your computer. Ensure all files are organized in one folder. This helps keep things neat. Now, you can work on them locally. It’s a simple process.
Open the settings in your Anvil app. Look for the option that says “local hosting”. Enable this option. It allows your app to run locally. Make sure you have the necessary software. Python is a must. Install it if you haven’t. Now, your app can run on your computer. It’s ready to go!
Running The Web Server
To host your Anvil web app locally, start with the built-in tools. These tools are easy and help you quickly. Begin by opening your Anvil project. Look for the run button. This button starts the local server. The server runs on your computer. You can now see your web app in a browser. This is a simple way to test your app.
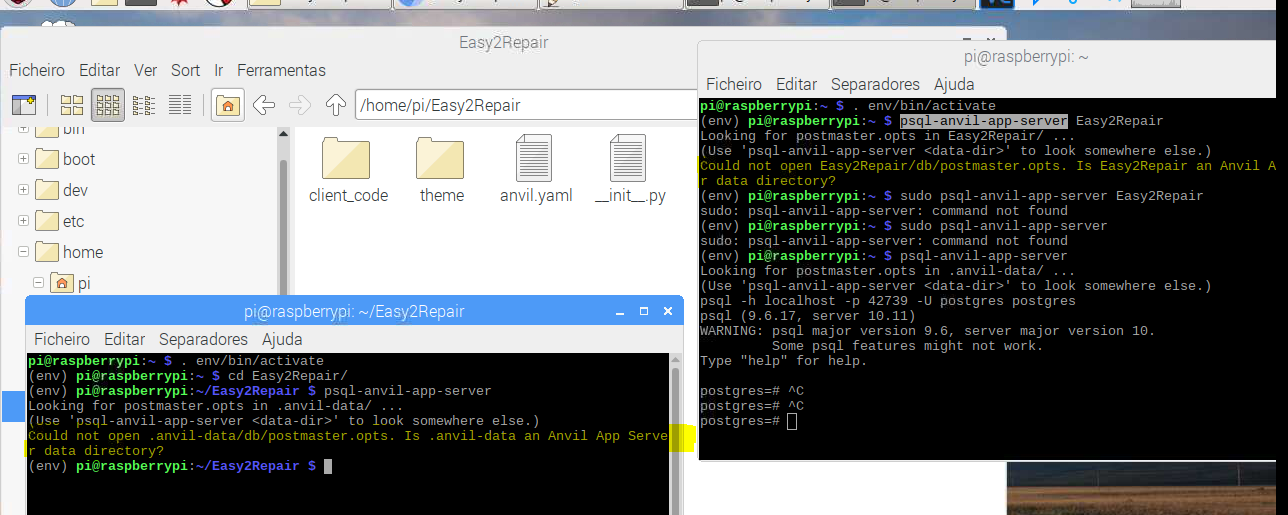
Command line options give more control. Open the terminal on your computer. Use the command anvil-app-server. This command starts the server. You can add options like –port to change the port number. This helps if the default port is busy. Type the –help command to see all options. These options make hosting easier and more flexible.
Credit: anvil.works
Testing Your Local Setup
Open your web browser on your computer. Type localhost in the address bar. Add the port number after a colon. Hit enter. You should see your app running. The page might take a few seconds. This shows your app is working. If you see errors, check your code. Ensure all files are in place. Restart the server if needed.
Sometimes, the app does not load. Check the server is running. Look at the terminal for error messages. Fix any typos in your code. Ensure all libraries are installed. Restart your computer if problems persist. Sometimes a simple restart helps. Always keep your software updated. This ensures smooth running.
Enhancing Local Hosting
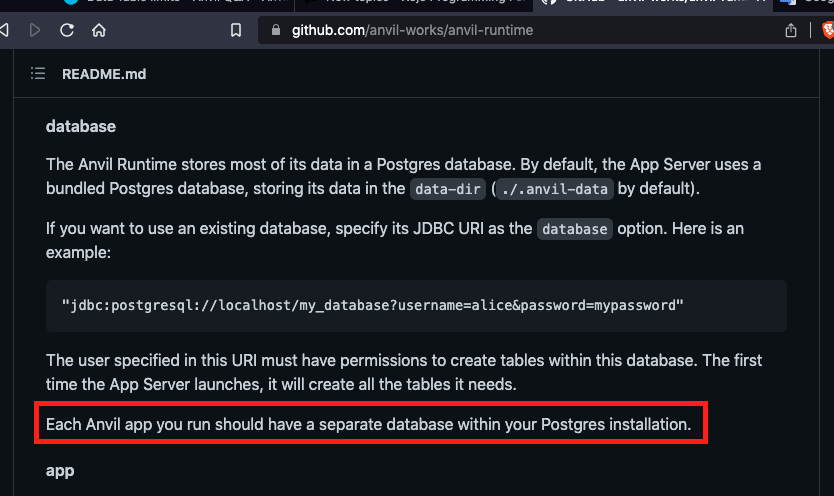
Local databases store your app’s data. They run on your computer. Easy access and quick updates are their benefits. Tools like SQLite and MySQL are popular. They are simple to use. Choose one that fits your needs. Set it up following the guide. Connect your Anvil app to this database. Keep data in sync to avoid issues. Test your database often. Ensure it works well with your app.
Virtual environments help manage app dependencies. They keep your app’s library separate. Python’s virtualenv is a common tool. It creates a contained space for your app. Install required packages in this space. This keeps other projects unaffected. Activate the environment before running your app. Deactivate when done. This method avoids conflicts. It ensures your app runs smoothly.
Security Considerations
Ensure your Anvil web app is secure when hosting locally. Protect sensitive data by implementing strong authentication methods. Regularly update software to guard against vulnerabilities.
Protecting Your Local App
Local apps need strong protection. Firewall is essential. It blocks unwanted access. Keep your software updated. Updates fix security holes. Use a reputable antivirus. It can stop malware. Back up data often. Data loss can be prevented. Limit network exposure. Only trusted devices should connect. Encryption is key. Encrypt sensitive data. Passwords must be strong. Avoid simple ones. Use a password manager. It helps keep passwords safe.
Managing User Authentication
Authentication confirms identity. Usernames and passwords are common. Use two-factor authentication. It adds extra security. Keep login details private. Never share passwords. Regularly update them. Monitor login activity. Look for suspicious actions. Limit login attempts. Block after several tries. Session management is important. Log users out after inactivity. Use secure connections. Always prefer HTTPS. Educate users about security. Share tips for safe practices.
Optimizing Performance
Good resource management helps your app run smoothly. Check your server logs often. They show how much memory your app uses. Use tools to track memory use. Fix problems quickly. Keep your app code clean. Remove old data. Use efficient algorithms to save resources. Your app will work better.
Fast load times make users happy. Minimize the data your app sends. Compress large files before sending. Use caching to store data temporarily. This reduces load time. Keep images small. Optimize your code. Simple code loads faster. Check your internet speed. A stable connection helps.

Credit: anvil.works
Frequently Asked Questions
How To Host A Web Application Locally?
Install a local server like XAMPP or WAMP. Place your web application in the server’s directory. Start the server. Access your application via localhost in your browser. This setup lets you test and develop locally before deploying online. Ensure all dependencies are correctly configured for seamless functionality.
How To Run An Anvil Locally?
Install Anvil on your computer by downloading the Anvil App Server. Follow the setup instructions on their official website. Run the server using the command line to start your local development environment. Access your app by visiting the local server URL in your web browser.
What Is An Anvil For Python?
Anvil is a web application framework for Python. It enables building web apps quickly using drag-and-drop tools and Python code, simplifying the development process. With Anvil, developers can create interactive websites without needing extensive knowledge of HTML, CSS, or JavaScript, making web development more accessible.
How Do I Set Up Anvil Locally?
To host your Anvil web app locally, first install Anvil’s App Server. Download and install Python, then run `pip install anvil-app-server`. Clone your app repository from Anvil’s GitHub. Finally, navigate to your app directory and run `anvil-app-server –app your_app_name`. Your app will be accessible locally.
Conclusion
Hosting your Anvil web app locally is simple with the right steps. Follow the guide to get your app running smoothly. Start with setting up the environment. Then, configure your Anvil app. Lastly, test your app to ensure everything works.
Remember, practice makes perfect. Troubleshoot any issues patiently. Soon, your app will be running locally. Enjoy the flexibility this method offers. Keep learning and improving your skills. Local hosting empowers you to develop confidently. Embrace the journey and explore new possibilities.


