
Imagine turning your humble Raspberry Pi into a powerhouse that hosts your very own web page. It’s not just a tech trick; it’s an adventure waiting to unfold.
Whether you’re a hobbyist, a budding web developer, or simply someone who loves tinkering with gadgets, hosting a web page on your Raspberry Pi can be immensely rewarding. You get to learn, create, and showcase your work—all from a device that fits in the palm of your hand.
This guide is designed for you. It’s straightforward, easy to follow, and packed with tips to ensure your web page runs smoothly. Ready to transform your Raspberry Pi into a web-hosting hero? Let’s dive in.
Setting Up Raspberry Pi
Raspberry Pi comes in different models. Model 4 is popular for web hosting. It has more power and memory. Older models may not handle websites well. Choose a model based on your needs. Consider the number of USB ports and network options. Think about the space you have.
Raspberry Pi OS is easy to install. Download it from the official site. Use software like Raspberry Pi Imager to write the OS to a microSD card. Follow the instructions. Insert the microSD card into the Pi. Power up the device and wait for it to boot.
Connect a keyboard and mouse to the Raspberry Pi. Use the USB ports for this. Attach a monitor using the HDMI port. Ensure all connections are secure. Start using the Raspberry Pi as a regular computer. Check if everything works fine. Adjust settings if needed.
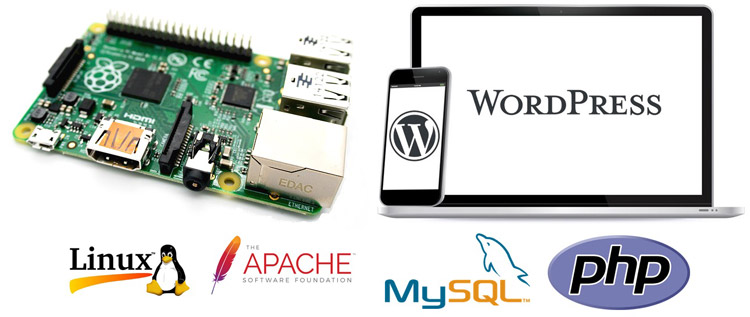
Credit: circuitdigest.com
Network Configuration
First, connect your Raspberry Pi to the internet. Use a cable or Wi-Fi. For cable, plug it into the router. Wi-Fi needs a setup. Open the terminal. Type sudo raspi-config. Select “Network Options”. Choose “Wi-Fi”. Enter your network name and password. Now, Raspberry Pi connects to the internet. Check the connection. Type ping google.com in the terminal. If you see replies, it’s working.
A static IP address helps find your Raspberry Pi easily. Open the terminal. Type sudo nano /etc/dhcpcd.conf. Scroll to the end. Add interface eth0 for cable. Use interface wlan0 for Wi-Fi. Add static ip_address=192.168.1.XX/24. Replace XX with a number. Make sure it’s unique. Save the file. Reboot the Raspberry Pi. Type sudo reboot in the terminal. Now, your Pi has a static IP.
Installing Web Server Software
Apache and Nginx are popular web servers. Both help in hosting websites. Apache is known for its stability. It is easy to set up. Nginx is fast and handles traffic well. It uses fewer resources.
Choose Apache if stability is important. It is great for small sites. Choose Nginx for high traffic websites. It performs better under load.
Start by updating your Raspberry Pi. Use the command:
sudo apt update. Then, install Apache with:
sudo apt install apache2. For Nginx, use:
sudo apt install nginx.
To check if Apache is running, enter:
sudo systemctl status apache2. For Nginx, type:
sudo systemctl status nginx. Open your browser and type your Raspberry Pi’s IP.
The default page should appear.
Creating A Basic Web Page
Start with an HTML file. It tells the browser what to show. Use tags to start and end the file. Inside, use the for the title and links. The is where you write your content. For styling, use a CSS file. It makes the page look good. You can change colors, fonts, and sizes. Link the CSS file in the HTML section.
First, connect your Raspberry Pi to the internet. Use a program like FileZilla to upload files. Open FileZilla and enter your Pi’s IP address. Then, enter your username and password. Now, drag and drop your HTML and CSS files. Make sure they go in the right folder. Check if your web page is online. Open a browser and enter your Pi’s IP address. Your web page should show now.
Configuring Domain Name
First, choose a unique domain name. It should be easy to remember. Use a domain registrar to register your domain. Popular registrars include Namecheap and GoDaddy. You might have to pay a small fee. This fee is usually for one year. After registering, you own the domain. Now, you’re ready for the next step.
Log in to your domain registrar account. Find the DNS settings section. You need to update the DNS records. Add your Raspberry Pi’s IP address here. Use the A record type for this. This connects your domain to your Raspberry Pi. Save the changes. It might take a few hours to update. Then, your domain will point to your Raspberry Pi.
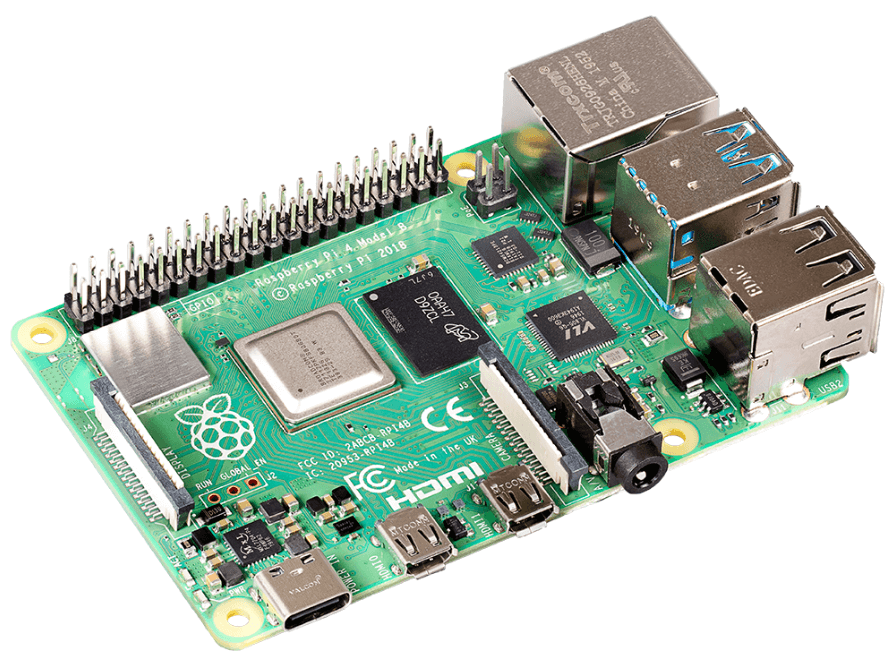
Credit: www.seeedstudio.com
Securing The Server
Host a web page on a Raspberry Pi by first ensuring server security. Set strong passwords, update software regularly, and use firewalls to protect data.
Firewall Setup
A firewall helps keep your server safe. It blocks bad traffic. Start by installing a firewall tool. UFW is a good choice for Raspberry Pi. Turn it on by typing sudo ufw enable. This command starts the firewall. Now, allow only needed ports. For web pages, allow port 80 and 443. Type sudo ufw allow 80 and sudo ufw allow 443. These commands open the right doors. Your server is now safer.
Ssl Certificates
SSL certificates make your site secure. They keep data private. Get a free certificate from Let’s Encrypt. First, install the Certbot tool. Use sudo apt-get install certbot. Then, run sudo certbot –nginx or sudo certbot –apache. Follow the steps to get your certificate. Now your site has a lock icon. Visitors feel safe. Data stays private.
Testing And Troubleshooting
Common Issues can frustrate users. The web page may not load. Check the network connection. Ensure the Raspberry Pi is on. Sometimes the server stops working. Restart the server. Look for error messages. They often give clues. Follow steps to fix the error. Make sure all cables are connected. Always double-check your IP address. It should be correct. The settings might need a change.
Performance Optimization helps the web page work better. Raspberry Pi is small. It can slow down easily. Keep the server clean. Remove any unnecessary files. Check the CPU usage. It should be low. Use lightweight software. This makes the page faster. Limit the number of visitors. Too many can make it slow. Regular updates help too. Update software often. This keeps the system fresh.

Credit: www.youtube.com
Frequently Asked Questions
How To Host A Website On Raspberry Pi 5?
To host a website on Raspberry Pi 5, install Apache or Nginx. Set up MySQL for database management. Use PHP for dynamic content. Ensure your Raspberry Pi is connected to the internet. Configure your router for port forwarding. Test the website locally before going live.
Can I Run A Web Browser On Raspberry Pi?
Yes, you can run a web browser on Raspberry Pi. Popular browsers like Chromium and Firefox work well. These browsers offer reliable performance for basic browsing tasks. Install them through the Raspberry Pi OS package manager for a seamless experience.
Raspberry Pi supports various web browsers, enhancing its functionality.
What Is The Best Http Server For Raspberry Pi?
Apache and Nginx are popular choices for Raspberry Pi HTTP servers. They offer stability and strong community support. Both servers are lightweight, making them ideal for Raspberry Pi’s limited resources. Apache provides flexibility, while Nginx excels in handling concurrent connections efficiently.
Choose based on your specific needs and experience level.
Can A Raspberry Pi Pico Host A Website?
Yes, a Raspberry Pi Pico can host a simple website. Use a web server library like PicoHTTPServer. It’s suitable for basic tasks due to limited resources. For more complex websites, consider using a full Raspberry Pi model.
Conclusion
Hosting a web page on Raspberry Pi is a rewarding task. You learn new skills while using affordable technology. This small computer offers endless possibilities. It’s great for personal projects and experiments. Raspberry Pi makes hosting accessible for everyone. You don’t need expensive equipment.
Just follow simple steps to get started. Enjoy the process and build your web presence. Your creativity knows no limits. With Raspberry Pi, you can explore new horizons. So, dive in and start your web hosting journey today!


