
Imagine having complete control over your very own web server, right from the comfort of your home. No more relying on third-party providers, no more monthly fees, and complete freedom to customize your server as you see fit.
Sound intriguing? If you’ve ever wondered how you can host your own web server at home, you’re in the right place. This guide will walk you through every step, helping you understand the process in simple terms. Whether you’re a tech enthusiast looking to learn something new, or you want to manage a website without any restrictions, hosting your own server is a rewarding endeavor.
Dive in with us, and by the end, you’ll have the confidence and knowledge to set up your own web server, unlocking a new realm of possibilities for your online presence.
Benefits Of Hosting A Web Server At Home
Hosting a web server at home can be cost-effective. You save money on hosting fees. It gives you full control over your data. You can manage your server your way. There is no third-party interference.
Customizing your server becomes easy. You can add features you like. It’s a great learning experience. You learn about networking and server management. This can be fun and educational.
Your server is always available. You can access it anytime. It can serve your personal needs. This includes hosting a blog or a portfolio. You have the freedom to experiment. Try new things without limits.
Choosing The Right Hardware
A good processor is like the brain of your server. Choose a dual-core or quad-core processor. These are fast and can handle more tasks. More RAM means your server can work faster. Aim for at least 4GB of RAM. This helps your server run smoothly.
Your server needs a place to keep files. A hard disk drive (HDD) is cheaper. But a solid-state drive (SSD) is faster. SSDs use less energy and last longer. Choose the right size for your needs. 500GB is usually enough for small websites.
A good internet connection is important. Use a router to connect your server. A wired connection is better than wireless. It is more stable. A fast Ethernet cable helps keep the connection strong. This makes sure your server is always online.
Selecting The Operating System
Windows is easy and user-friendly. Many people already use it. Linux is free and open-source. It gives more control and options. Security is a big plus for Linux. Windows might cost money. Linux has no cost.
Ubuntu is simple and popular. Debian is stable and secure. CentOS is good for servers. Each has special features. Choose what you like best. Try different types to learn more.
Start by downloading the OS image. Use a USB stick. Plug it into your computer. Follow the steps on the screen. Installation can take some time. Be patient. Once done, your server is ready.

Credit: webhostinggeeks.com
Setting Up The Web Server Software
Apache and Nginx are two popular web servers. Apache is known for its flexibility. It supports many modules and features. Nginx is praised for its speed. It’s great for handling many users at once. Each has its strengths. Choose the one that fits your needs best. Apache is easy to set up. Nginx uses less memory.
First, download Apache from the official site. Install it on your computer. After installing, find the configuration file. It’s named httpd.conf. Open it with a text editor. Change the settings to fit your needs. Save the file. Restart Apache to see changes. It’s simple and quick.
Start by downloading Nginx. Install it on your system. Look for the file named nginx.conf. This file controls how Nginx works. Open it with a text editor. Adjust the settings as needed. Save your changes. Restart Nginx to apply them. Nginx is now ready. Easy and efficient.
Configuring Network Settings
To access your server, set up port forwarding on your router. This allows internet traffic to reach your server. Find your router’s IP address and log in. Look for the port forwarding section. Enter the local IP address of your server. Specify the port number your server uses, like port 80 for web servers. Save the settings. Now, your server is reachable from the internet.
Dynamic IPs change often. This makes server access tricky. A static IP stays the same. It makes your server easier to find. Contact your internet provider to get a static IP. Some routers offer a static IP option. Check your router’s settings for this feature. This ensures consistent access to your server.
Network security is crucial for servers. Use a strong password for your router. Enable a firewall to block unwanted traffic. Keep your server’s software updated. This helps protect against hackers. Consider using encryption for sensitive data. This keeps your information safe. Limit server access to trusted devices only.
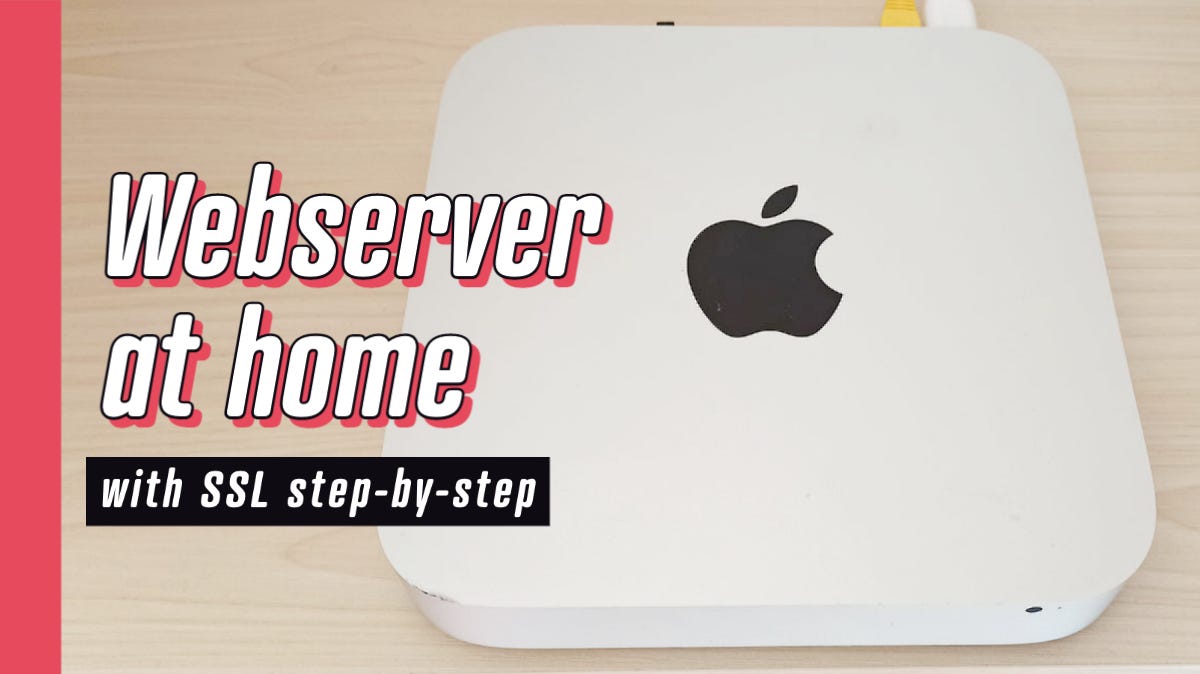
Credit: medium.com
Managing Domain Names
Pick a name for your website. It should be easy to remember. Go to a domain registrar website. Search if your name is available. If it is, you can buy it. You need to pay every year. Now, the domain is yours.
Log into your domain registrar account. Find the DNS settings section. You need to point your domain to your server. This is called configuring DNS records. Use your server’s IP address. Now, your domain knows where to go.
Home internet IPs can change. Use Dynamic DNS to fix this. It updates your domain with new IPs. Choose a Dynamic DNS service. Register and follow their steps. This keeps your domain linked to your server.
Ensuring Security
A firewall is like a gatekeeper for your server. It blocks unwanted traffic. You should set up rules to allow only safe connections. This keeps hackers away. Use strong passwords for your firewall settings. Check your firewall logs often. This helps to spot any strange activity. The firewall is your first line of defense.
SSL/TLS certificates make your server secure. They encrypt data between your server and users. This keeps information private. Install certificates from trusted providers. Make sure they are up-to-date. Check them regularly. A secure connection builds trust with users. It’s important for safety online.
Keeping your server updated is crucial. Updates fix bugs and improve security. Set a schedule for checking updates. Monitor your server health often. Use tools to track performance. Look for any odd behavior. Regular checks help spot issues early. This ensures your server runs smoothly.
Performance Optimization
Keep data ready to use. This speeds up your server. Cache stores data. It helps serve repeated requests fast. Use memory cache for quick access. Disk cache is slower but stores more. Choose right cache type for your needs. Too much cache can slow the server.
Share work between servers. This keeps things fast. Load balancing sends requests to many servers. No server is too busy. Use round-robin for equal work. Least connections sends work to the free server. IP hash sends users to the same server. Choose the best way for your server.
Watch your server closely. Monitoring tools help you know what’s happening. See CPU usage and memory load. Find problems fast. Some tools send alerts. They let you fix issues early. Use tools like Nagios or Zabbix. They show charts and graphs. They help you understand your server.
Troubleshooting Common Issues
Sometimes the server cannot connect to the internet. Check your internet cable and router. Restart them to see if that helps. Ensure your IP address is correct. Use online tools to check your port settings. Make sure your firewall is not blocking the server.
Servers can go down for many reasons. Check if your power supply is working. Ensure your server software is up-to-date. Examine your hardware for any failures. Restarting the server can sometimes fix the issue. Monitor the server to find patterns in downtime.
Error logs help identify issues. Look for error messages in the logs. Note the time of the error. Check if the error occurs regularly. Use online resources to understand the error codes. Fix the issue based on the error message.
Legal Considerations
ISPs have rules for hosting web servers at home. Check your ISP’s policy before starting. Some ISPs may block server hosting. Others might require special plans or fees. Understanding these rules can prevent future issues. Communicate with your ISP for clarity and avoid penalties.
Protecting user data is crucial. Learn about local privacy laws. Some regions have strict rules on data handling. Failure to comply can lead to legal trouble. Implement security measures like encryption. Regular updates are necessary. Secure your server to safeguard data.
Respect copyright laws when sharing content. Avoid using copyrighted material without permission. Create original content or get licenses for use. Check local content rules regularly. Violating these can result in fines. Stay informed to host responsibly.

Credit: www.youtube.com
Frequently Asked Questions
Can I Host My Own Website Server?
Yes, you can host your own website server at home or through a dedicated hosting provider. Ensure you have the right hardware, software, and a stable internet connection. Managing security, backups, and updates are crucial for effective hosting. Consider costs and technical expertise required before starting.
Can I Run My Own Server From Home?
Yes, you can run a server from home. Ensure a stable internet connection, proper hardware, and security measures. Consider electricity costs and ISP policies. Hosting from home offers control but may require technical knowledge. Check legal regulations and possible impact on internet speed.
How Do I Create My Own Web Server?
Install a server OS like Ubuntu. Set up Apache, Nginx, or another web server software. Configure firewall settings. Connect your domain. Ensure regular security updates.
Can I Turn My Pc Into A Web Server?
Yes, you can turn your PC into a web server. Install server software like Apache or Nginx. Ensure your internet connection is stable. Configure your router to allow external access. Use a static IP or a dynamic DNS service for consistency.
Secure your server with firewalls and regular updates.
Conclusion
Hosting your own web server at home is achievable. It requires patience and careful planning. Start small and build your skills. Learn from your mistakes. Focus on security and updates. Protect your data and personal information. Test your server regularly.
Enjoy the process and learn something new every day. Hosting your own server can be rewarding. It gives you control over your data. Take it step by step. You can do it. Remember, every expert started as a beginner. Your journey is unique and valuable.


