
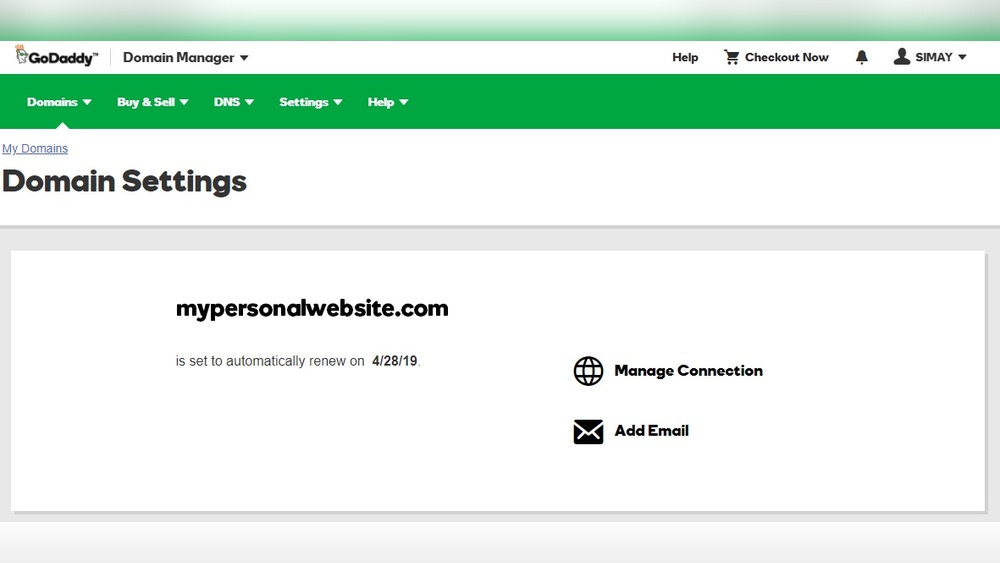
Are you ready to make your website live and accessible to the world? Hosting your domain with GoDaddy is a simple and effective way to get your site up and running quickly.
Whether you’re just starting out or looking to switch hosts, this guide will walk you through every step. By the end, you’ll feel confident managing your domain and hosting like a pro. Keep reading to discover how easy it can be to host your domain with GoDaddy—and why it’s the right choice for you.
Credit: www.godaddy.com
Choosing The Right Godaddy Plan
Choosing the right GoDaddy plan is essential for hosting your domain smoothly. The plan you pick affects your website’s speed, storage, and security. GoDaddy offers several hosting plans designed for different needs. Understanding these options helps you make a smart decision.
Comparing Hosting Options
GoDaddy provides shared, VPS, and dedicated hosting. Shared hosting is affordable and good for small websites. VPS hosting offers more power and control for growing sites. Dedicated hosting gives full server access for large, busy websites. Each plan varies in price and features. Compare storage, bandwidth, and security tools before choosing.
Selecting Based On Website Needs
Consider your website type and visitor amount. Small blogs or personal sites work well with shared hosting. Business sites or online stores need VPS for better performance. Large companies or high-traffic sites benefit from dedicated hosting. Think about future growth. Pick a plan that can expand with your website.
Registering Your Domain
Registering your domain is the first step to create your online presence. It gives you a unique address on the internet. A clear and simple domain name helps visitors find your website easily. Choosing the right domain sets the tone for your site and brand.
Godaddy makes the domain registration process easy and fast. Follow the steps carefully to secure your perfect domain name.
Searching For Available Domains
Start by visiting Godaddy’s domain search tool. Enter your desired name in the search box. The tool checks if the domain is free or taken. You can try different words or extensions like .com, .net, or .org. Godaddy shows similar options if your first choice is unavailable. This helps you find a close match quickly.
Completing Domain Purchase
After choosing your domain, add it to your cart. Review the registration period and pricing details. You can choose to add privacy protection to keep your information private. Next, create or log in to your Godaddy account. Enter your payment information and confirm the purchase. Once done, you own the domain and can start hosting your website.
Setting Up Your Hosting Account
Setting up your hosting account on GoDaddy is the first step to getting your website online. The process is simple and quick. Follow clear steps to create your account and link your domain to the hosting service. This ensures your site is live and accessible to visitors worldwide.
Creating A Godaddy Account
Start by visiting the GoDaddy website. Click on the “Sign Up” button at the top right corner. Enter your email address, create a username, and set a strong password. Confirm your details and complete the registration.
After signing up, verify your email to activate the account. This step is crucial for account security and access to all features. Once verified, log in to your new GoDaddy account to proceed.
Linking Domain To Hosting
After setting up your hosting plan, link your domain to it. Go to your GoDaddy dashboard and select “My Products.” Find your domain name and click on “Manage DNS.”
Change the nameservers to point to GoDaddy’s hosting servers. This step connects your domain with your hosting account. Save the changes and wait for them to update, which can take a few minutes to a few hours.
Once linked, your domain will direct visitors to your hosted website. Check your domain by typing it into a browser to confirm the setup is complete.
Credit: www.godaddy.com
Configuring Dns Settings
Configuring DNS settings is an important step in hosting your domain with GoDaddy. It helps connect your domain name to your website and email services. Proper DNS setup ensures your visitors reach the right web server. It also controls how your domain handles emails and other online services.
DNS settings include records like A, CNAME, MX, and others. Each record has a specific job in directing internet traffic. Let’s explore how to access and update these settings in GoDaddy.
Accessing Dns Management
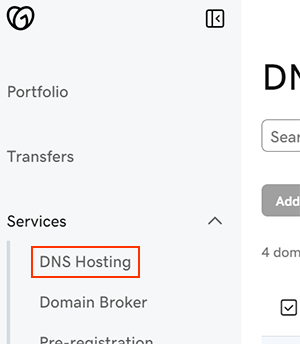
First, log in to your GoDaddy account. Go to the “My Products” page. Find your domain in the list. Click on “DNS” or “Manage DNS” next to your domain name. This opens the DNS management page. Here, you can view and edit all your DNS records.
Take care when changing DNS records. Incorrect settings can cause your website or email to stop working.
Updating Nameservers
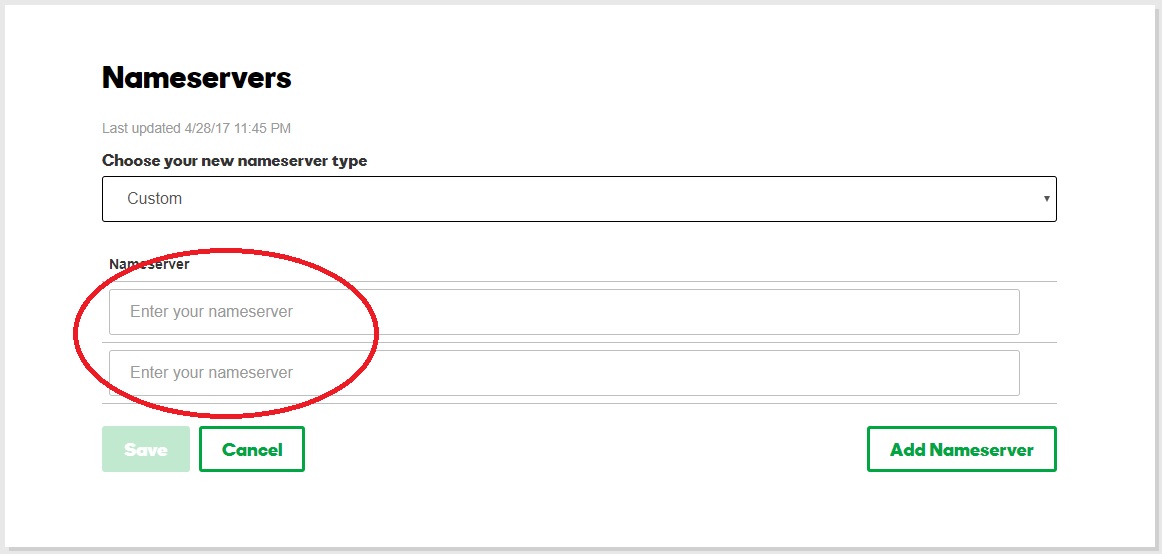
Nameservers tell the internet where to find your domain’s DNS records. To update nameservers, go to the DNS management page. Scroll to the “Nameservers” section. Click “Change” to update them.
Choose “Custom” if you want to use nameservers from another hosting provider. Enter the new nameserver addresses. Save your changes. DNS updates may take up to 48 hours to spread across the internet.
Uploading Website Files
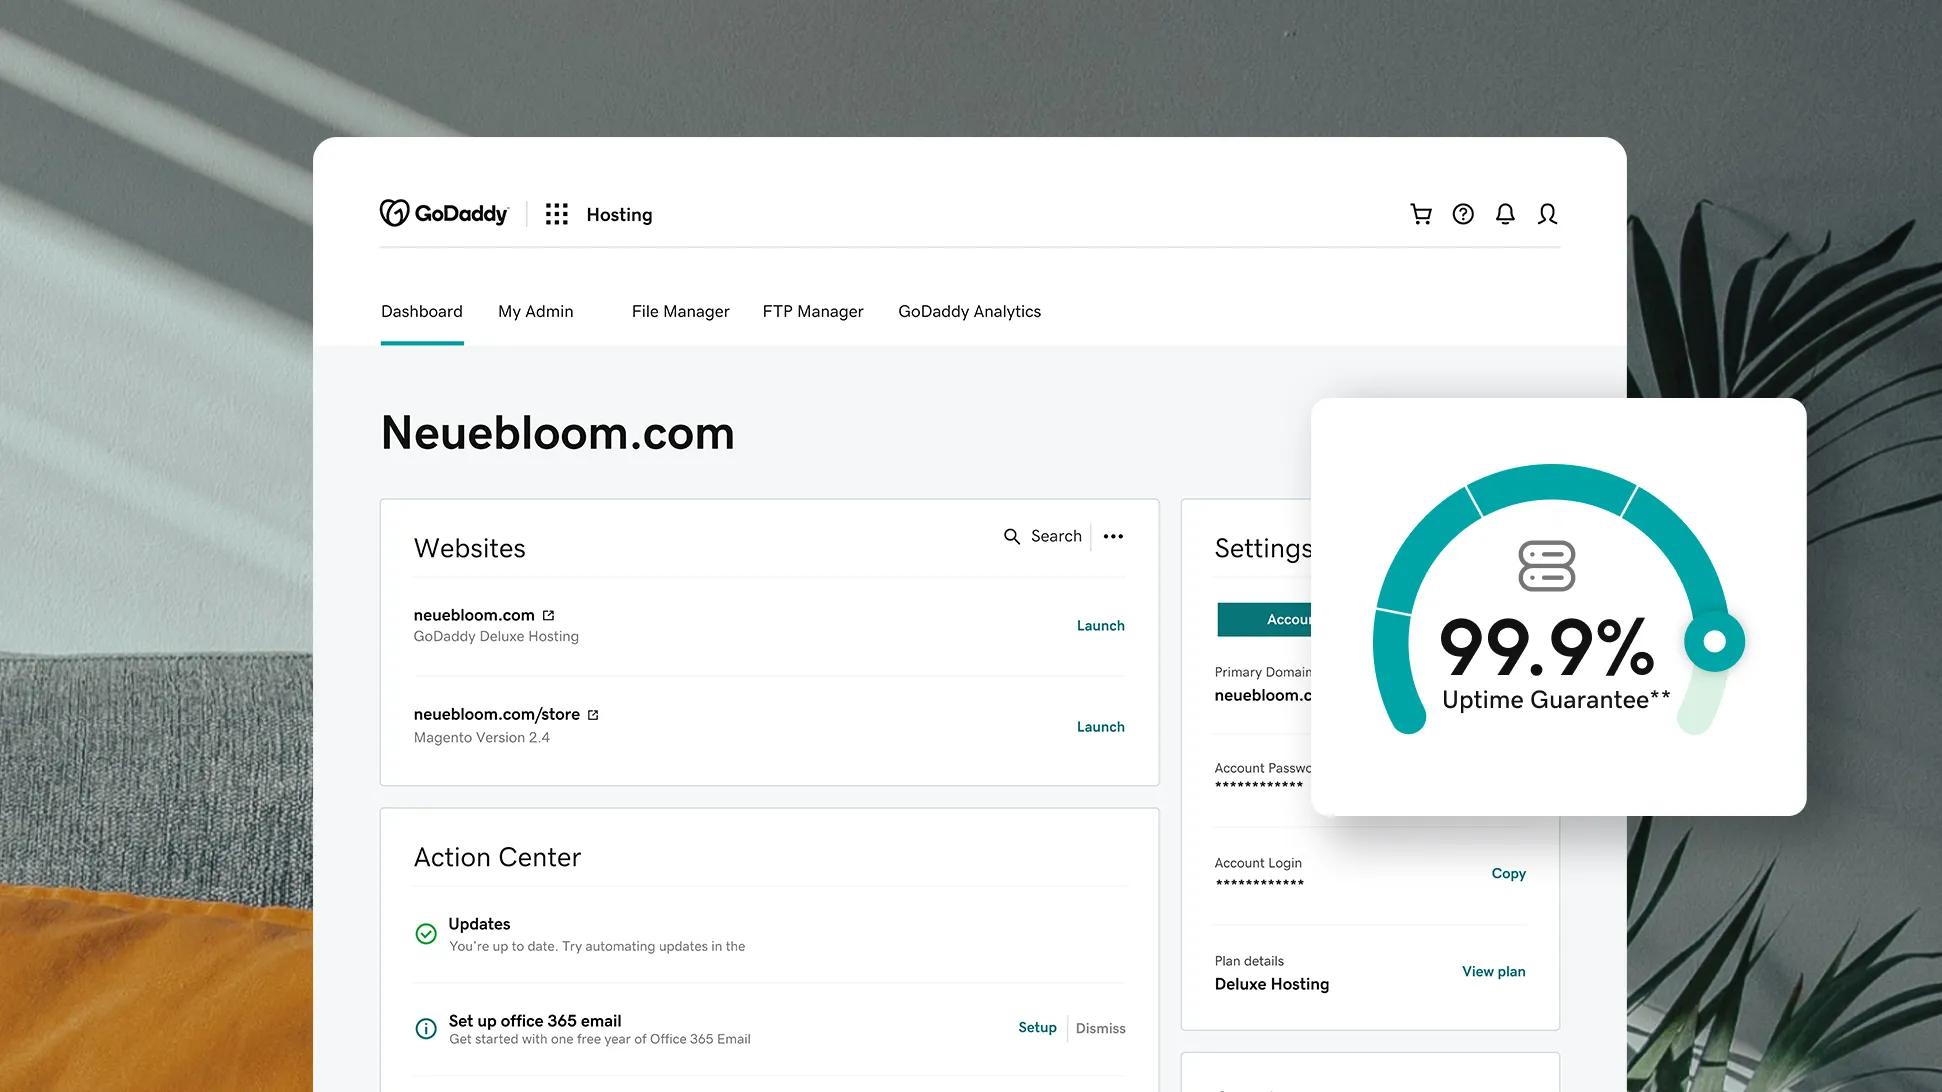
Uploading website files is a key step to make your site live on GoDaddy. This process moves your website content from your computer to the hosting server. Proper file upload ensures your visitors see your website correctly. You can upload files using GoDaddy’s built-in tools or third-party software.
Using Godaddy File Manager
GoDaddy File Manager is a simple tool inside your hosting account. It lets you upload, delete, and organize files directly on the server. You can access it from your GoDaddy dashboard under the hosting section.
To upload, open File Manager and find the folder named “public_html”. This folder stores your website files. Click “Upload” and select files from your computer. Wait until the upload finishes before closing the window.
This method is easy for small websites or quick updates. It does not need extra software or setup. You can also edit files online in the File Manager if needed.
Using Ftp For File Transfer
FTP stands for File Transfer Protocol. It is a common way to move many files quickly to your hosting account. FTP needs a client program like FileZilla or Cyberduck. These programs connect your computer to GoDaddy’s server.
First, get your FTP login details from GoDaddy. They include server address, username, and password. Open your FTP client and enter these details. Connect to the server to see your website folders.
Drag and drop your website files into the “public_html” folder. The client will upload all files to the server. FTP works well for large websites with many files. It also allows easy file management and backup.
Installing Applications And Cms
Installing applications and content management systems (CMS) is a key step after hosting your domain on GoDaddy. This process helps you build your website quickly. Many hosting services offer tools to simplify installation. You can add blogs, online stores, or portfolios fast. This section shows how to install apps and CMS on GoDaddy.
Using One-click Installers
GoDaddy includes one-click installers in its hosting control panel. These tools let you install popular apps with a single click. They save time and avoid complex manual steps. You just choose the app, fill in basic details, and start the installation. The system handles the technical parts. This method supports apps like WordPress, Joomla, and Drupal. It is ideal for beginners and saves effort.
Setting Up WordPress Or Other Cms
WordPress is the most popular CMS for websites. GoDaddy makes setting it up fast and easy. After installation, log in to your WordPress dashboard. Customize your site by adding themes and plugins. You can also change settings to fit your needs. Other CMS options like Joomla or Drupal follow similar steps. They offer different features for various website types. Choose one based on your website goals and skill level.
Testing Your Website
Testing your website after hosting your domain on GoDaddy is crucial. It confirms that your site is live and works well. This step helps catch any issues early. Ensuring your website is accessible and functional improves user experience. Follow these simple checks to verify everything is set up correctly.
Checking Domain Propagation
Domain propagation means your domain name spreads across the internet. This process can take some time, usually up to 48 hours. Use online tools to check if your domain points to GoDaddy’s servers. Enter your domain name in a DNS checker. It shows if the changes have reached servers worldwide.
Wait patiently if propagation is not complete. Avoid making more changes during this period. Frequent updates can delay the process. Once propagation is done, your domain will connect to your hosting smoothly.
Verifying Website Functionality
Open your website in different browsers like Chrome, Firefox, or Edge. Check if pages load quickly and appear correctly. Test all links to ensure they lead to the right places. Fill out any forms to confirm they send data properly.
Look for broken images or missing content. If you find errors, fix them in your hosting control panel. Testing on mobile devices is also important. Your site should be easy to use on phones and tablets.
Managing Your Hosting Account
Managing your hosting account on GoDaddy keeps your website active and secure. It involves tasks like renewing your domain and hosting services. Also, upgrading your hosting plan to match your website needs.
These steps help maintain your online presence without interruptions. Easy management tools on GoDaddy make these tasks simple for everyone.
Renewing Domain And Hosting
Domains and hosting services have expiration dates. Renewing them on time prevents your website from going offline. GoDaddy sends reminders before expiration. You can renew with just a few clicks.
Go to your GoDaddy account dashboard. Find the domain or hosting section. Choose the service to renew. Select the renewal period and complete payment. Set up auto-renew to avoid missing dates.
Upgrading Hosting Plans
Your website may grow and need more resources. Upgrading your hosting plan adds more space and bandwidth. It helps your site handle more visitors smoothly.
Log in to your GoDaddy account. Go to the hosting section. Pick the upgrade option. Compare plans and select one that fits your needs. Confirm the upgrade and wait for the process to finish.
Credit: www.godaddy.com
Frequently Asked Questions
How Do I Host My Domain On Godaddy?
To host your domain on GoDaddy, first log in to your account. Then, purchase a hosting plan. Connect your domain to the hosting via the DNS settings. Finally, upload your website files to GoDaddy’s server.
Can I Use Godaddy Hosting With An Existing Domain?
Yes, you can use GoDaddy hosting with an existing domain. Simply update the domain’s nameservers to point to GoDaddy’s hosting servers. This links your domain to your hosting account for website management.
What Are The Steps To Connect Domain And Hosting On Godaddy?
Log into GoDaddy, buy a hosting plan, and go to DNS settings. Change nameservers to GoDaddy hosting servers. Upload website files through cPanel or File Manager. Your domain will then be successfully connected to your hosting.
Is Godaddy Domain Hosting Beginner-friendly?
Yes, GoDaddy offers beginner-friendly hosting with easy setup guides. Their control panel is intuitive, and customer support is available 24/7. This makes hosting your domain straightforward, even if you have no technical experience.
Conclusion
Hosting your domain on GoDaddy is simple and fast. Just follow the steps carefully. Managing your domain settings helps keep your website online. Regularly check your account to avoid any issues. Take your time to understand each part. This way, your website stays accessible and secure.
Now, you are ready to share your site with the world. Keep learning and updating your skills as you go. Your online presence starts here.


