
Are you ready to showcase your creativity or business to the world? Hosting a web page is your first step towards establishing a digital presence.
Imagine having the power to share your ideas, products, or services with anyone, anywhere, at any time. Sounds exciting, right? But if the thought of hosting a web page seems daunting, you’re not alone. The good news is, it’s much simpler than you think.
With the right guidance, you can have your web page up and running in no time. In this guide, we’re going to walk you through the process, step by step, ensuring you have the confidence and know-how to get your site live. So, if you’re eager to learn how to host a web page and unlock the doors to endless online possibilities, keep reading. Your digital adventure is about to begin!

Credit: pages.github.com
Choosing The Right Hosting Service
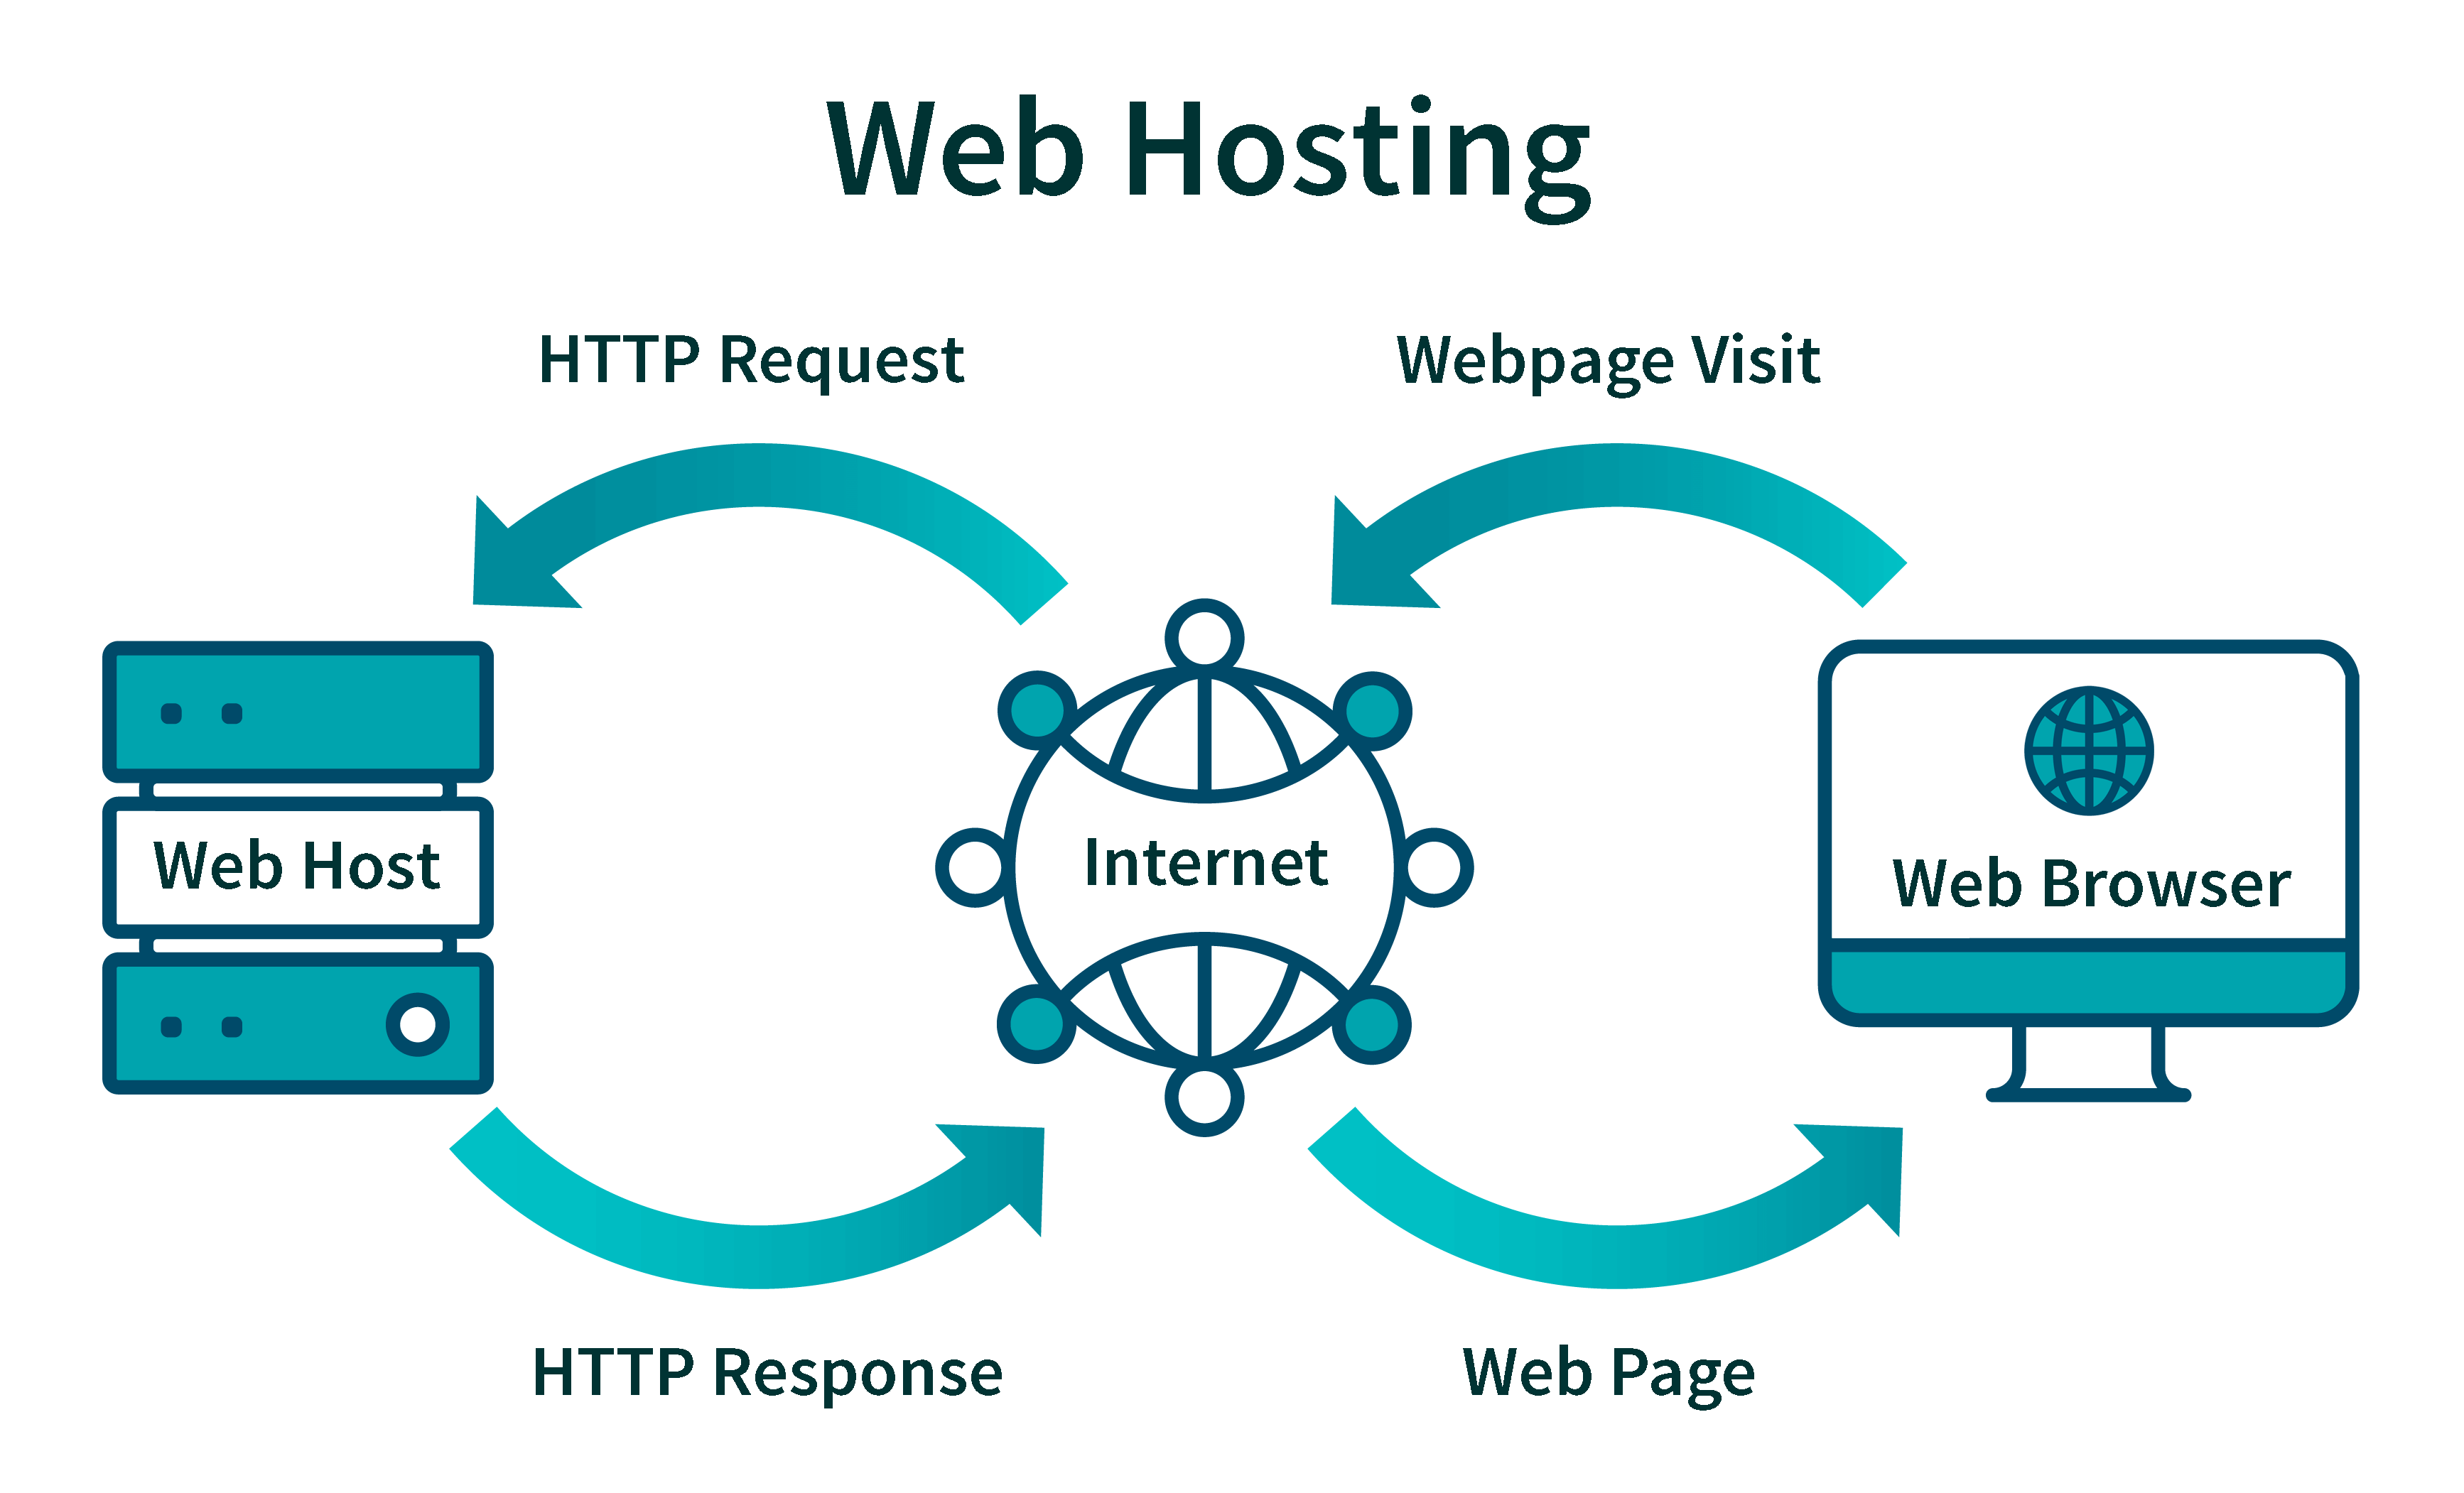
Shared hosting is like sharing a room with friends. It is cheap. But, it can get crowded. VPS hosting gives you your own space. It is better than shared. But, it costs more. Dedicated hosting is having the whole house to yourself. It is fast and powerful. But, it is the most expensive.
Check reviews and see what users say. Look at uptime guarantees. Good providers promise 99% uptime. Customer support is important. You need help sometimes. Providers should have a 24/7 support team. Look for easy-to-use control panels. They make tasks simple. Compare prices and choose what fits your budget.
Credit: techterms.com
Registering A Domain Name
Choosing the right domain name is important. It should be short and easy to remember. Think about what your website is about. Use words that match your site’s purpose. Avoid using numbers and hyphens. They can be confusing. Make sure the name is easy to spell. It should also be unique. Check if the name is available. Many names are already taken. Be creative but clear.
After picking a name, register it. Go to a domain registrar website. Some popular ones are GoDaddy and Namecheap. Search for your domain name. If available, click to register. Fill in your details. Choose how long you want the domain. Many choose one year first. Pay for your domain. Use a credit card or PayPal. After paying, you own the domain.
Setting Up Your Hosting Account
Choose a hosting provider that fits your needs. Check their plans. Pick the one you like. Sign up with your email. Create a username and password. Always keep them safe. Fill in your billing details. Make sure they are correct. Review your order. Click confirm to finish.
Log into your new account. Look for the settings page. You can change your password here. Set up your domain name. It’s the address people will visit. Link it to your account. Check the security settings. Turn on extra protection. You want your site to be safe. Save all changes before you leave.
Uploading Your Web Page Files
FTP software helps upload files to your web server. File Transfer Protocol is what FTP means. It is like moving files from your computer to the internet. You need a username and password. These are from your hosting provider. They help access your server. Start by opening the FTP software. Enter your username and password. Click to connect to your server.
Look at your files on the left side. Drag them to the right side. This moves them to the server. Wait for the upload to finish. Now your files are on the internet. Always check your web page after uploading. Make sure everything works.
Keep files organized. Use folders for different types of files. Name files clearly. This helps find them quickly. Delete old files you don’t need. This saves space. Back up files often. Use external drives or cloud storage. This keeps your files safe.
Don’t mix up file names. Use lowercase letters. Avoid spaces. Use underscores or dashes to separate words. This makes file paths easy to type. Always keep a copy of your files. You need this if something goes wrong.
Configuring Dns Settings
DNS Records are like address cards for websites. They help computers find where your site lives on the internet. The most common types are A, CNAME, MX, and TXT. The A record points to your site’s IP address. The CNAME is for domain aliases. For email, the MX record is used. TXT records are for text information. Each plays a vital role. Knowing these helps in configuring DNS settings.
Start by logging into your domain registrar’s site. Find the DNS settings or DNS management page. Enter the new DNS records provided by your web host. Save the changes. It may take time to update. Sometimes up to 48 hours. Always double-check the entries. Ensure no mistakes. Incorrect DNS can break your site. Patience is key while waiting.
Testing Your Web Page
Web pages must be easy for all to use. Some visitors may have special needs. Ensure your website is accessible to everyone. Use tools like screen readers to check. Test with different devices and browsers. Make sure buttons and links are easy to click. Images need alt text for description. Text should be clear and big enough to read.
Web pages might have problems. Identify and fix them quickly. Check for broken links. They lead to nowhere and frustrate users. Pages should load fast. No one likes to wait. Use tools to find slow loading parts. Fix them to speed up the page. Ensure all forms work properly. Test each form to avoid errors. Always update your page regularly.
Maintaining Your Website
Regular backups keep your website safe. Problems can happen anytime. Backups help recover lost data. They protect your hard work. Use automatic backup tools. They save time and effort. Cloud storage is a smart choice. It stores data safely. You can access it anywhere. Keep copies of important files. This is a smart move. Check your backups regularly. Make sure they work well. Don’t forget to update them. Updated backups are more reliable.
Website performance is crucial. A slow website can lose visitors. Use tools to check speed. Google Analytics is a helpful tool. It shows how your site performs. Look at loading times. Faster is better. Check for broken links. Fix them quickly. They can annoy users. Track visitor numbers. Know what pages they like. This helps improve your site. Keep an eye on server uptime. Downtime can hurt your website. Ensure it runs smoothly.
Credit: www.geeksforgeeks.org
Frequently Asked Questions
How Do I Host A Web Page?
Choose a hosting provider and sign up. Upload your website files using an FTP client. Configure DNS settings to point your domain to the hosting server. Ensure your site is secure with HTTPS. Regularly update and maintain your site for optimal performance.
Can I Host My Website Myself?
Yes, you can host your website yourself. You’ll need a server, technical expertise, and reliable internet connection. Self-hosting provides control but requires regular maintenance and security updates. Consider costs and time investment before deciding on self-hosting your website.
Can I Host A Website For Free?
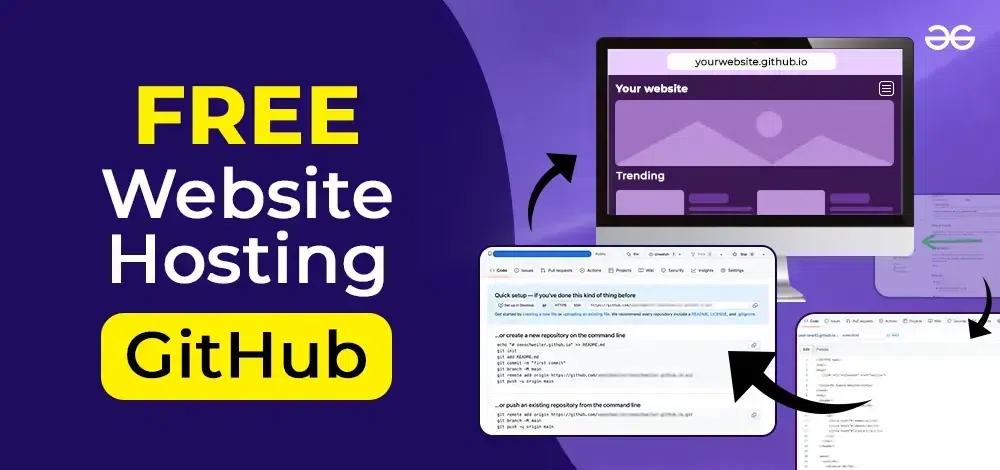
Yes, you can host a website for free. Many platforms like GitHub Pages and WordPress. com offer free hosting. Free hosting often comes with limitations like bandwidth, storage, and domain customization. Consider your needs before choosing a free hosting option.
Is Google Web Hosting Free?
Google does not offer free web hosting. Google Cloud provides hosting services but charges based on usage. Free trials and credits are available for new users. Pricing varies depending on resources and services used. Check Google Cloud’s website for detailed pricing information and offers.
Conclusion
Hosting a web page doesn’t have to be complex. Start with a reliable provider. Choose the right hosting plan for your needs. Set up your domain and upload your files. Ensure security measures are in place for safety. Regularly update and maintain your site for best performance.
Troubleshoot issues promptly to keep visitors happy. A well-hosted website attracts more visitors. It makes your online presence strong and effective. Now you can easily get your website online. Enjoy sharing your content with the world. Hosting made simple. Your journey begins here.


