
Imagine the thrill of seeing your very own web page live on the internet, accessible to anyone, anywhere. Hosting a web page on a server might seem like a daunting task, but it’s easier than you think.
If you’ve ever wondered how you can bring your website vision to life, you’re in the right place. This guide will walk you through the steps of hosting your web page on a server, breaking down the process into simple, manageable parts.
You’ll learn how to choose the right server, upload your files, and make your website accessible to the world. By the end, you’ll not only understand how to host a web page but also gain the confidence to do it yourself. Ready to get started? Let’s dive in!
Choosing The Right Web Server
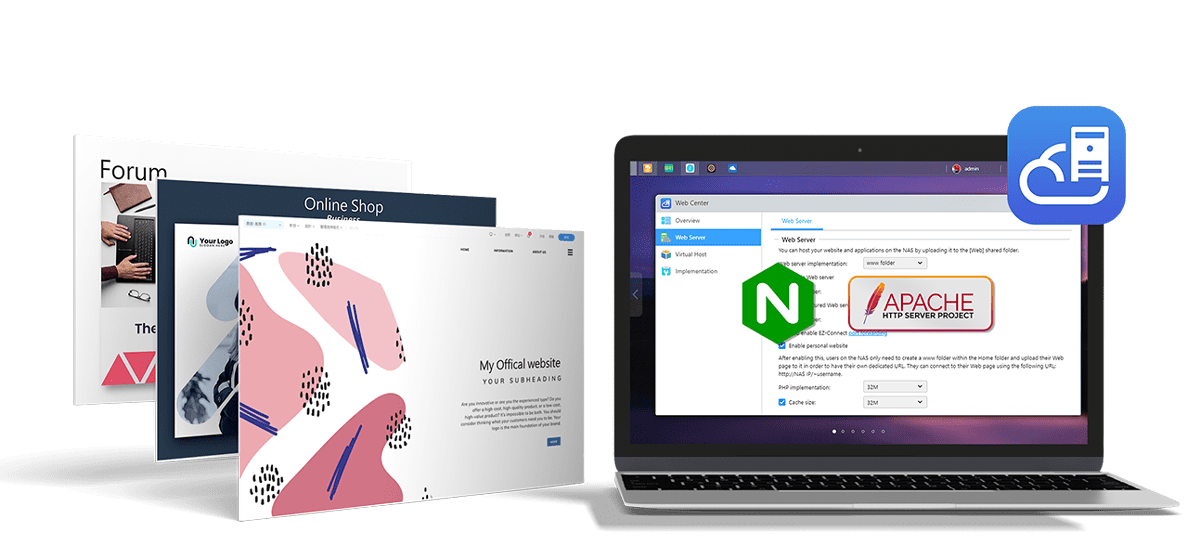
Web servers help show your website to people online. There are different kinds. Apache is a popular choice. It works on many computers. Nginx is fast and uses fewer resources. Microsoft IIS is good for Windows users. Each server has unique features. They all have pros and cons. Choose one that fits your needs best.
Pick a web server based on key things. Look at its speed and security. Check if it can handle many visitors. See if it supports the languages you use. Consider the cost if it’s not free. Make sure it has good support. This helps if you have questions. Choose wisely for a smooth experience.
Credit: www.scaler.com
Setting Up Your Domain Name
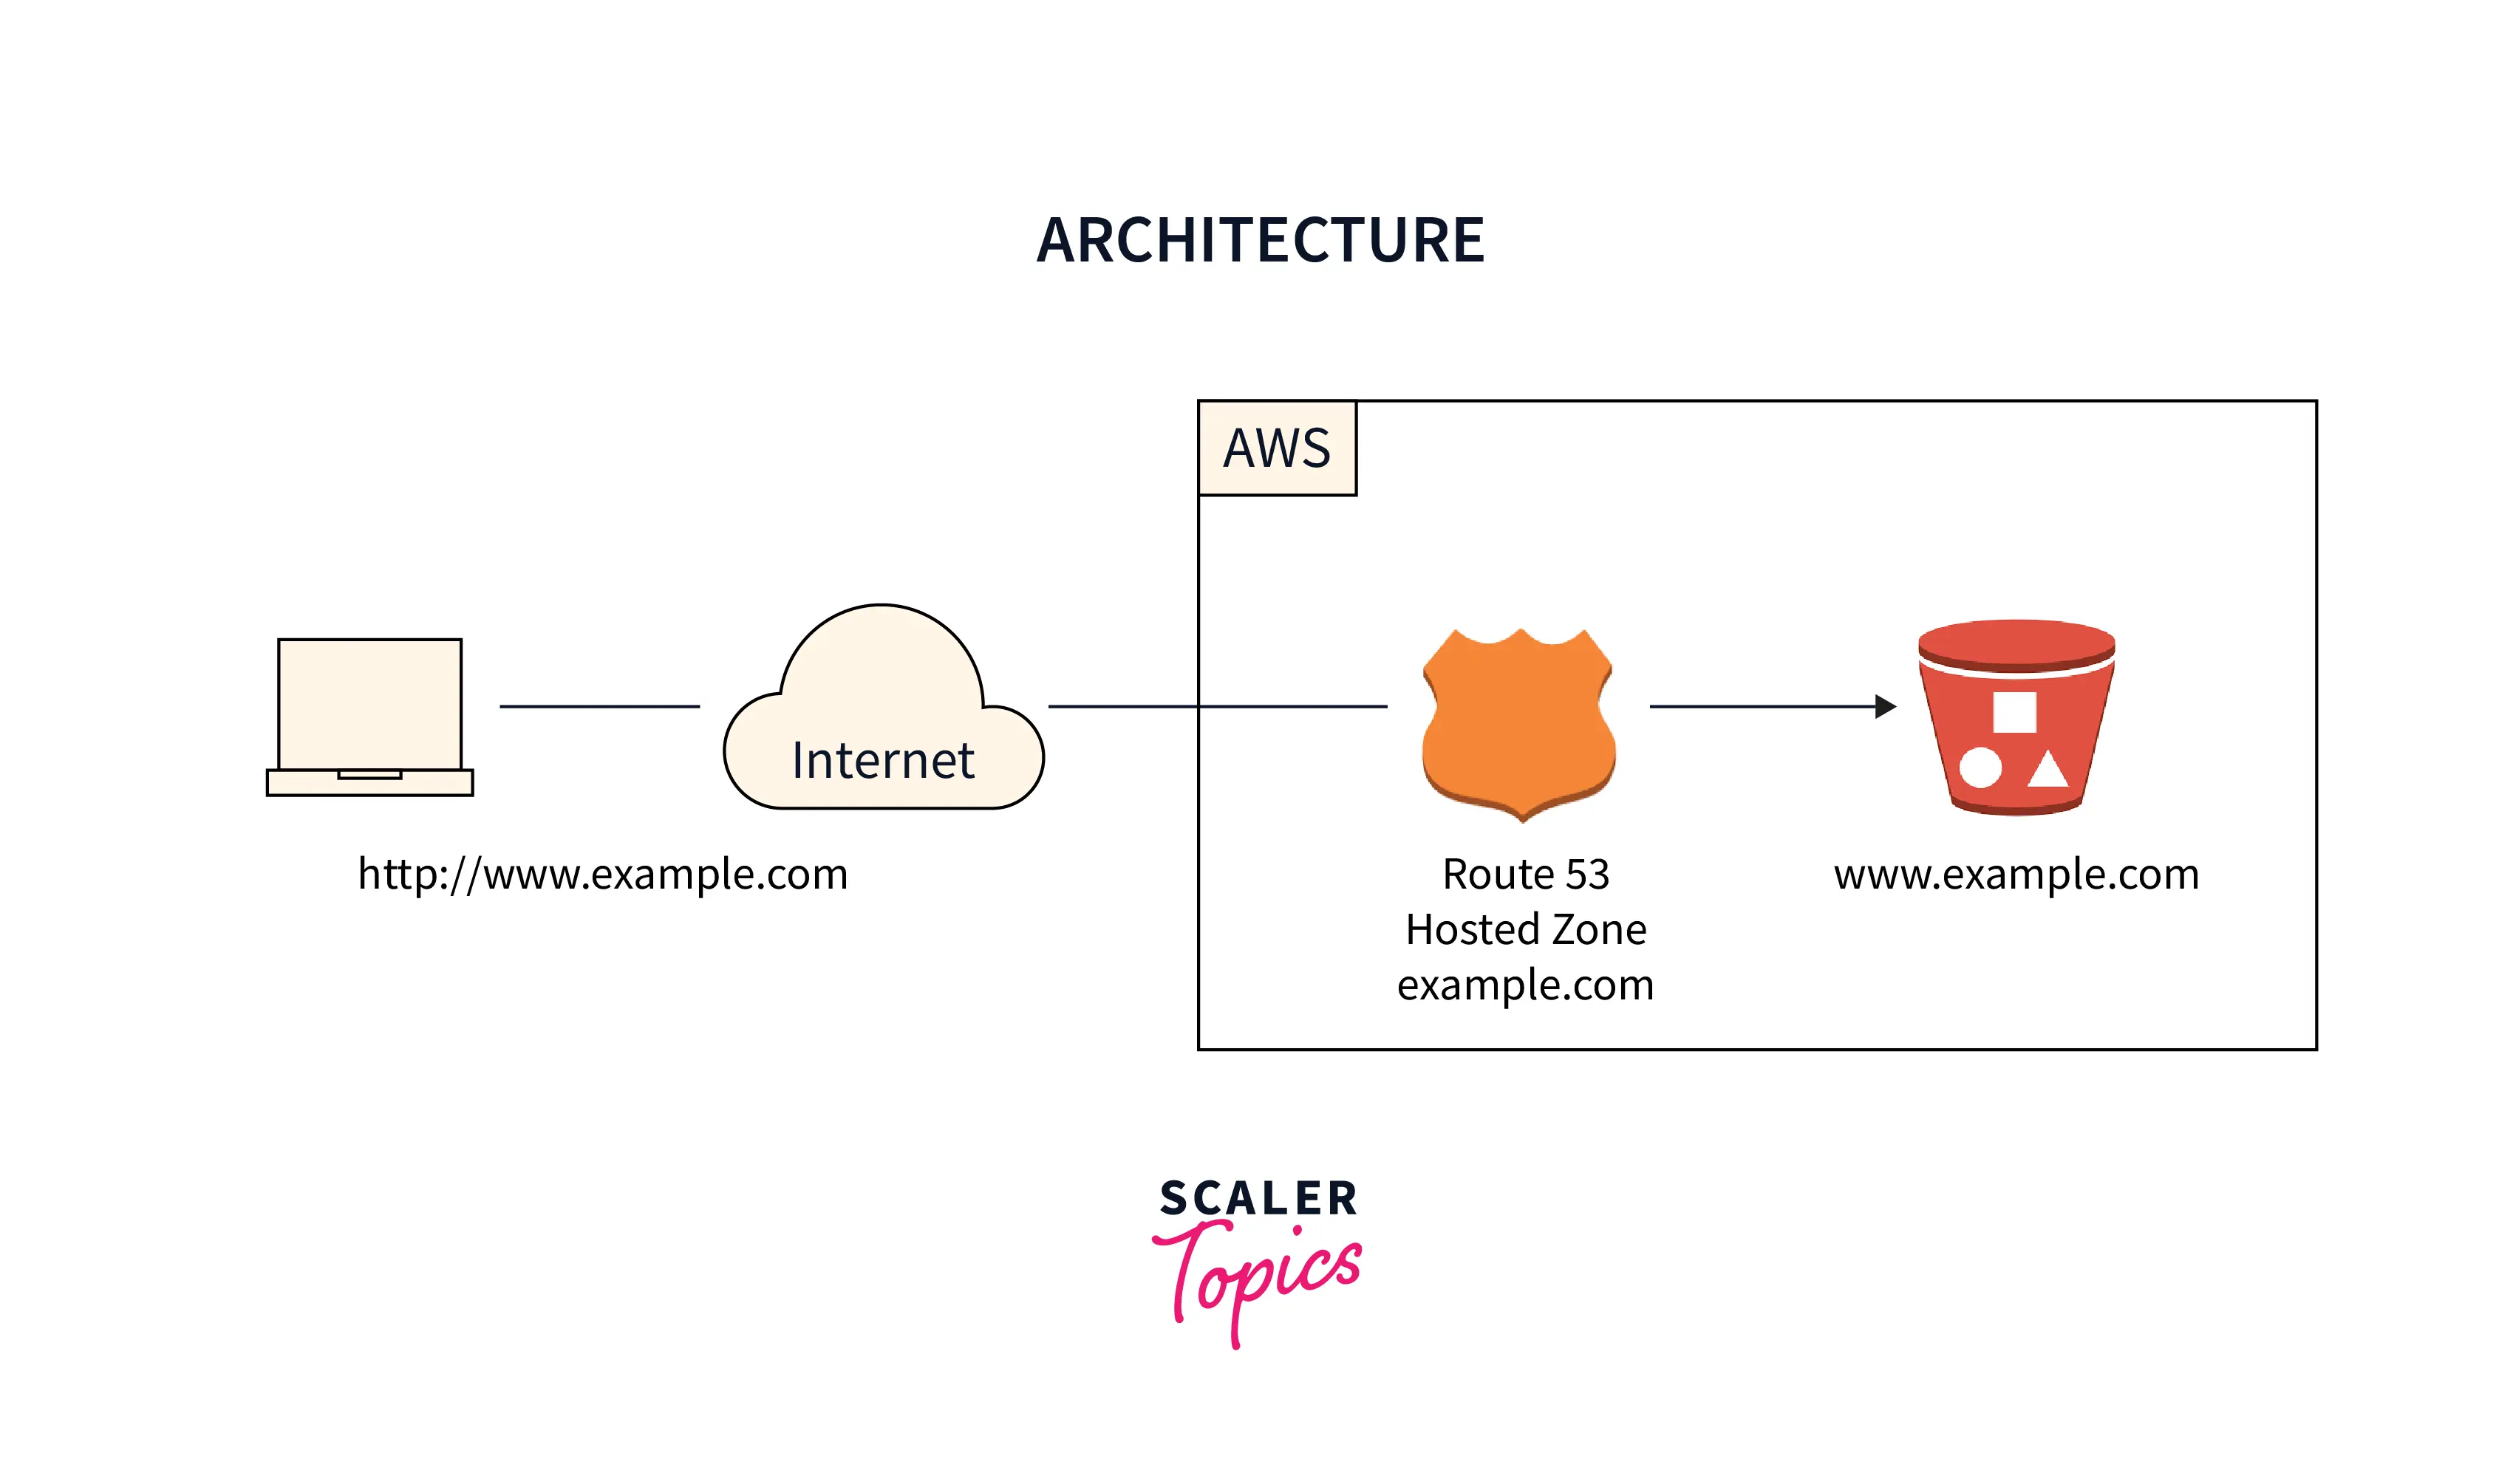
First, you need a domain name. This is your website’s address. Choose a name that is easy to remember. You can register your domain through a domain registrar. Some popular registrars are GoDaddy, Namecheap, and Bluehost. Check if your chosen name is available. If it’s taken, try a different name. Follow the steps to complete the registration. You will need to provide contact information. You may also choose privacy protection to hide your details. After payment, your domain is registered.
After registering, connect your domain to a web server. This lets people see your website. Log into your domain registrar account. Find the DNS settings. You will need to update the nameservers. Your web hosting provider gives you these. Enter the nameservers in the DNS settings. Save your changes. It might take some time for changes to update. Once done, your domain points to your server.
Installing Web Server Software
Many choose Apache for web hosting. It is free and open source. Another option is Nginx. It is fast and uses less memory. Microsoft IIS is also popular. It works well on Windows servers. Each software has its own features. Pick one that suits your needs.
First, download the software from its website. Then, run the installer. Follow the instructions on the screen. Choose where to install it. Set up the basic settings. Make sure the server is running. Check if it is working by typing your server’s IP in a browser. You should see a welcome page.

Credit: www.researchgate.net
Uploading Web Page Files
File Transfer Protocols help in moving files. Use FTP or SFTP. These tools transfer files from your computer to the server. FTP is simple. SFTP is safer. Choose what suits you best.
Organizing Files On Server
Organize files neatly on the server. Make folders for images, styles, and scripts. Use clear names. This keeps things easy to find. Good organization helps in quick updates.
Configuring Server Settings
Security is key. Always update the server software. Check for firewall settings. Make them strong. Use passwords that are hard to guess. Protect your data with encryption. Keep backups safe. These steps help keep your site secure.
Fast sites are better. Reduce image size. Compress files. Boost speed with caching. Limit plugins to essential ones. Check server logs often. Look for errors. Fix them quickly. Better performance means happy users.
Credit: www.asustor.com
Testing Your Web Page
Checking for Errors is important. Look for broken links. Make sure all images appear. Check the spelling on the page. Ensure that all buttons work. Fix errors before going live.
Ensuring Compatibility is crucial. Test your web page on different browsers. Try Chrome, Firefox, and Safari. Make sure it looks good on mobile too. Use different devices like phones and tablets. This helps everyone see your page well.
Managing And Maintaining Your Server
Servers can fail. Data can be lost. Regular backups are key. Save your files often. Store them safely. Use external drives or cloud storage. This ensures data safety. Backup at least once a week. Daily is even better. Keep multiple copies. This helps with recovery. You won’t lose everything.
Software updates are important. They fix bugs and errors. Updates improve security. New features are added. Always use the latest version. Check for updates weekly. Set automatic updates. They save time. Updates keep your server running smoothly. Don’t ignore them. Your server will thank you.
Frequently Asked Questions
How To Host A Website On A Server?
Choose a reliable hosting provider. Register a domain name. Upload website files using FTP. Configure DNS settings. Test your website to ensure it’s live.
Can I Host My Website On My Home Server?
Yes, you can host your website on a home server. Ensure a stable internet connection and adequate hardware. Protect your server with security measures to prevent unauthorized access. Consider potential limitations, such as bandwidth and uptime, compared to commercial hosting services.
How Do I Host An Html Page On A Server?
Upload your HTML file to the server using FTP or a web hosting control panel. Set the correct file permissions. Ensure the server supports HTML. Access your page via your domain or IP address. Use a reliable hosting provider for optimal performance and security.
Can I Host A Website On Windows Server?
Yes, you can host a website on Windows Server. It supports IIS for web hosting, enabling various applications and services. Windows Server offers security, scalability, and integration with Microsoft technologies. Ensure proper setup and configuration for optimal performance.
Conclusion
Hosting a web page on a server is straightforward. Start with selecting the right server. Then, upload your files securely. Ensure your domain is connected properly. This makes your website accessible online. Check everything is working smoothly. Regular updates keep your site secure and fresh.
Learning these steps improves your web skills. Anyone can host a web page with practice and patience. Keep experimenting to gain confidence. Hosting is a valuable skill in today’s digital world. It opens doors to creativity and communication. Now, you’re ready to host your web page efficiently.


