
Are you ready to take the next step in bringing your web application to life? Hosting your web application on a server using IIS (Internet Information Services) can seem daunting at first, but it doesn’t have to be.
Imagine the satisfaction of seeing your creation accessible to users around the world, running smoothly and efficiently. This guide is crafted just for you, breaking down the process into simple, actionable steps that will empower you to confidently host your application.
Whether you’re a beginner or looking to refine your skills, you’ll find insights that make this task manageable and rewarding. Dive in, and let’s transform your web application into a seamlessly hosted masterpiece.
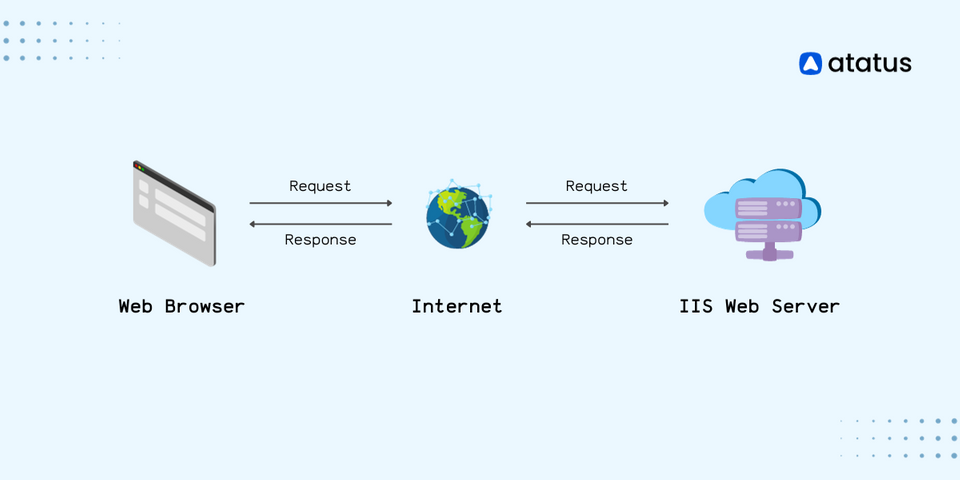
Credit: www.atatus.com
Prerequisites For Hosting
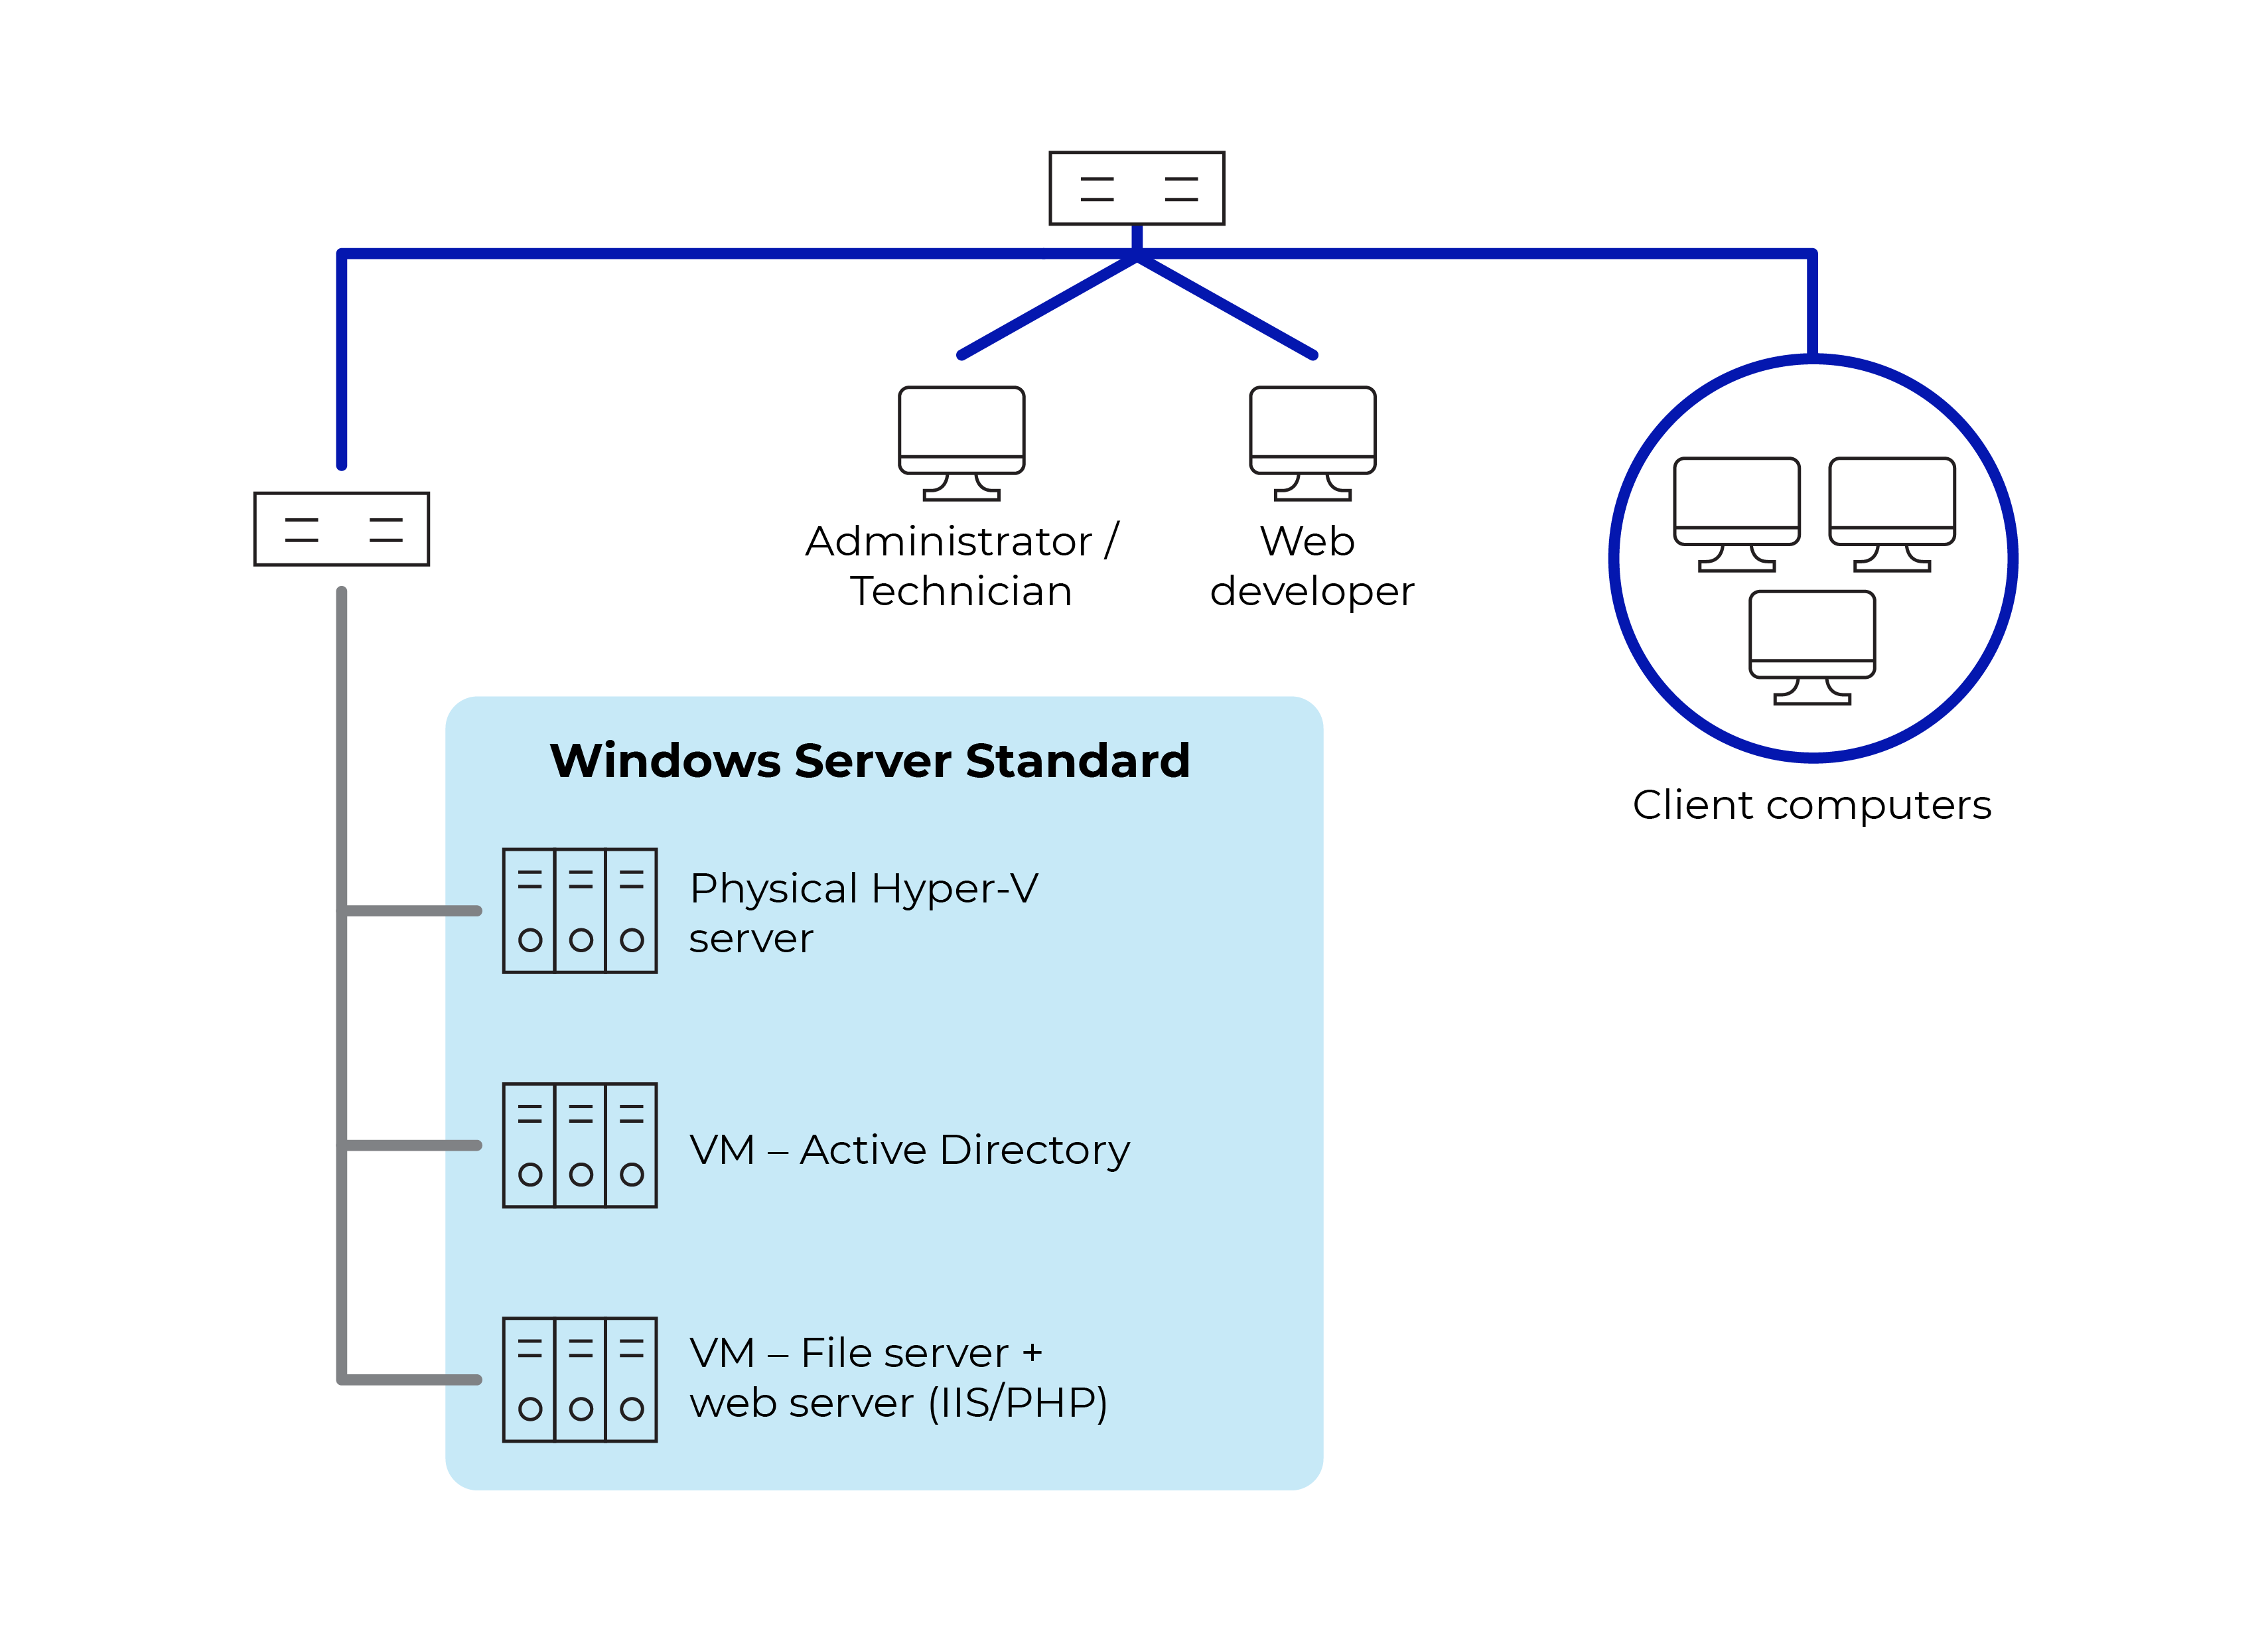
Ensure your computer has enough power. A good processor and RAM are important. Check the operating system version. It should support IIS. Windows Server is a common choice. Make sure there is enough storage space for your application.
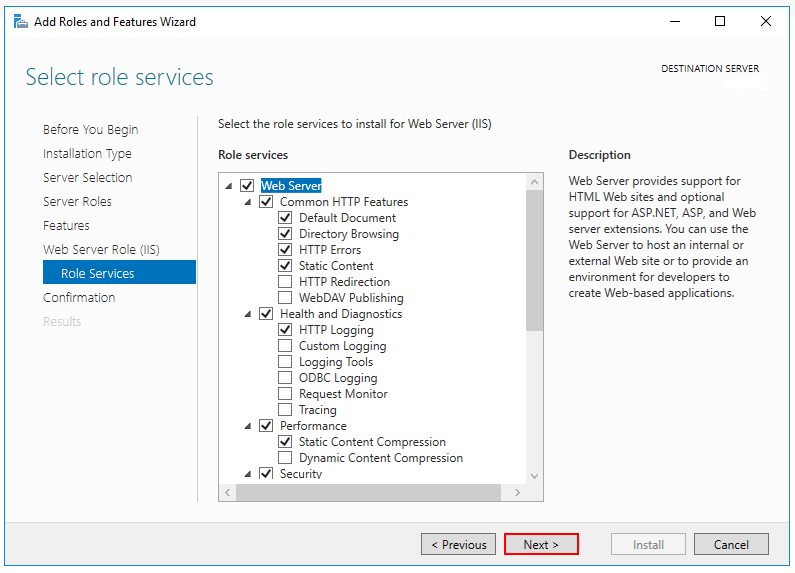
Open the Control Panel. Go to Programs and Features. Click on Turn Windows features on or off. Find and select Internet Information Services (IIS). Click OK to install. Wait for the process to finish. IIS is now on your computer.
Check your network settings. Ensure you have a stable connection. Open the IIS Manager. Navigate to your application. Set the IP address and port number. Make sure they are correct. Configure the firewall to allow traffic. Your application should now be reachable.
Preparing The Web Application
Begin by creating your web application. Use tools like Visual Studio. Ensure the code is clean and error-free. Check for any warnings or issues. Debug your application regularly. This helps in finding mistakes early. Build your application when ready. This creates the necessary files. These files are needed for deployment.
A deployment package contains all the files. It includes the code and settings. Use Visual Studio to create this package. Select the Publish option. Follow the steps provided. Choose the correct configuration settings. Ensure you select the Release mode. This mode optimizes the package for production. Save the package to your computer. It is now ready to be deployed to the server.
Setting Up Iis
Find the IIS Manager in your computer. It helps you manage websites. Open the Control Panel. Look for Administrative Tools. Click on it. Now, you can see IIS Manager. Double-click to open. Here, you can see all settings for your web application. Easy, right?
In IIS Manager, find the Sites section. Right-click on Sites. Choose Add Website. A window will pop up. Fill in the details. Add a name for your site. Set the path to your website files. Choose a port number. Click OK to create your site. Your new site is ready. Simple steps, big results!
Configuring Site Settings
First, choose a name for your site. This name should be unique. It helps you identify the site on the server. A clear and simple name is best. Avoid using special characters.
Next, select a physical path for your site files. This path points to the folder with your web files. Store your files in a secure location. Always use a path that is easy to find.
Bind your site to a domain. This step connects your site to a web address. Enter the domain name in the binding settings. Ensure there are no typos. Your site is now linked to the web.
Deploying The Application
Hosting a web application on a server using IIS is straightforward. Begin by installing IIS and configuring server settings. Upload your web application files, ensuring compatibility with IIS versions. Adjust permissions and test to verify functionality.
Copying Files To Server
Copy all necessary files to the server. Ensure the files are complete. Use FTP or a file share for transfer. Double-check file paths and locations. This step is crucial for correct deployment.
Configuring Application Pool
Create a new application pool in IIS. Assign the correct .NET version. Use appropriate pool settings. These settings help run your web app smoothly. Link the application to the pool. This ensures your application uses the right resources.
Setting Permissions
Adjust permissions for files and folders. Ensure the web server has access. Set read and write permissions carefully. Incorrect permissions can cause errors. Use security settings wisely. This keeps your app safe and functional.
Credit: openclassrooms.com
Testing And Troubleshooting
To access the site, open a web browser. Type the website’s URL in the address bar. Press “Enter” to load the page. If the site opens, it works. If not, check your internet connection. Ensure the server is running. Make sure the URL is correct.
Logs help find problems. Open the IIS Manager. Go to “Sites” and select your site. Click on “Logging” in the Features View. Check for errors in the logs. Errors might show why the site isn’t working. Fix the issues found in the logs.
Many issues are easy to fix. First, check for typos in the code. Ensure all files are uploaded correctly. Restart the server if needed. Look for common error messages. Each message gives clues to the problem. Follow these steps to solve most issues.
Enhancing Security
Enabling HTTPS is key for security. It protects data during transfer. Without HTTPS, data is at risk. You need an SSL certificate. This helps in securing your web application.
Setting Up Firewalls adds another layer of protection. Firewalls block unauthorized access. They monitor incoming and outgoing traffic. Configuring firewalls is essential. It keeps your server safe from threats.
Implementing Authentication is crucial. It controls who can access your application. Use strong passwords. Two-factor authentication is a good choice. It makes it harder for intruders to get access.
Credit: learn.microsoft.com
Performance Optimization
Optimizing performance involves hosting a web application using IIS efficiently. Start by configuring application pools for better resource management. Fine-tune server settings to enhance load times and ensure smooth operation.
Enabling Compression
Compression makes files smaller. Smaller files load faster. Enable compression to speed up your web application. Use IIS settings to turn on compression. This will help reduce bandwidth use. It also improves loading times for users.
Configuring Caching
Caching saves data for quick access. It reduces server load. Configure caching in IIS to store common data. This helps your server handle more requests. It also speeds up response times for users. Set caching rules based on content type.
Monitoring Performance
Keep an eye on your server’s performance. Use IIS tools to monitor server health. Check CPU usage and memory usage. Look for any spikes in data. Monitoring helps find problems early. Fixing issues quickly keeps your app running smoothly.
Regular Maintenance
Keeping your web application running smoothly involves regular maintenance on the IIS server. This process ensures security updates, performance tuning, and error monitoring are up-to-date. Regular checks help prevent downtime and enhance user experience.
Updating Iis
Keeping IIS updated is very important. Updates fix security issues and bugs. Always install the latest patches. This keeps your server secure and running smoothly.
Backing Up Data
Backing up data is crucial. It protects against data loss. Use a reliable tool for automatic backups. Store backups in a safe place. Regular backups ensure you can recover lost data easily.
Monitoring Uptime
Monitoring uptime helps track server performance. Use tools to check if the server is online. Set alerts for downtime. This helps fix problems fast. Keeping the server online is important for users.
Frequently Asked Questions
How To Host A Web Application On An Iis Server?
To host a web application on IIS, install IIS via Windows Features. Configure your site by adding it in IIS Manager. Set the physical path, binding, and authentication settings. Deploy your application files to the defined directory. Start the application by clicking “Start” in IIS Manager.
How To Add An Application In An Iis Server?
Open IIS Manager and right-click on “Sites”. Select “Add Website”. Enter site name, physical path, and binding information. Click “OK” to add the application. Ensure your application pool is configured correctly for optimal performance.
How To Run An Application From Iis?
Open IIS Manager and navigate to your site. Right-click, choose “Manage Website,” then “Browse. ” This runs your application. Ensure your site is configured correctly in IIS for seamless operation.
How To Deploy A Web Application On A Server?
Deploying a web application involves uploading files to the server, configuring settings, and ensuring database connectivity. Use FTP or SSH for file transfer. Configure the server environment and update DNS settings. Test the application to ensure it runs smoothly. Consider using deployment tools like Docker or cloud services.
Conclusion
Deploying web applications with IIS is straightforward. Follow the steps carefully. Ensure your server settings are correct. Test your application after deployment. This confirms everything works perfectly. Regular monitoring is important. It helps maintain optimal performance. Troubleshooting issues early keeps your app running smoothly.
Keep learning about IIS updates. They can improve functionality. Hosting with IIS offers security and reliability. These are crucial for your web application. Happy hosting!


