
Are you ready to take your web API to the next level? Hosting it on Azure could be the perfect solution.
Azure offers a robust platform that ensures your API is secure, scalable, and always available. But how do you get started? If the thought of diving into cloud hosting seems daunting, don’t worry. This guide is here to help you every step of the way.
Imagine having your API perform seamlessly, with the ability to handle increased traffic without a hitch. Picture the peace of mind knowing your data is protected by world-class security. By the end of this article, you’ll feel confident in your ability to host your web API on Azure, unlocking endless potential for your project. Curious? Keep reading to discover how Azure can transform the way you manage your API.
Choosing The Right Azure Service
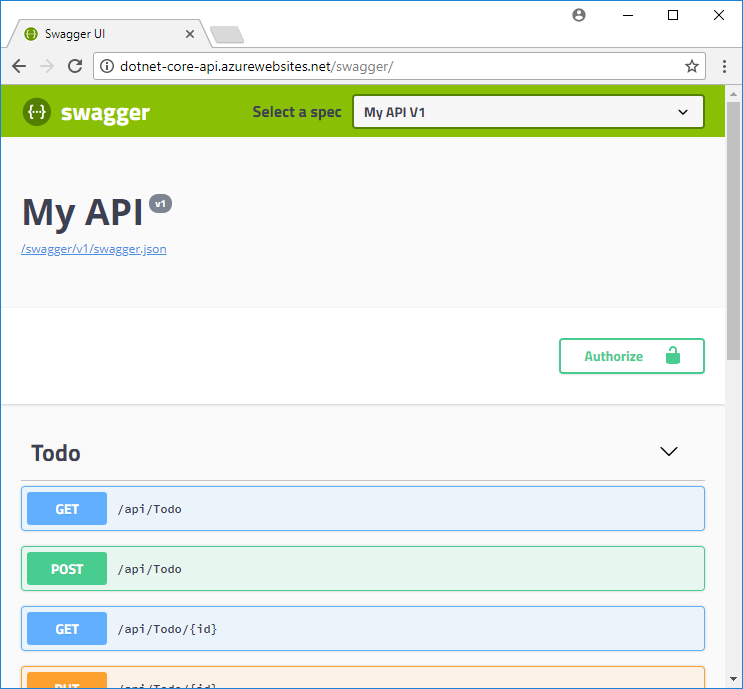
Azure App Service is great for hosting web apps. It supports many languages like Java, Python, and PHP. You can easily scale your app with App Service. It provides built-in security features. Perfect for apps with high traffic. Easy to manage through the Azure portal.
Azure Functions is a serverless option. It is ideal for small tasks and event-driven processes. Functions run code without needing servers. You only pay for the execution time. This service is flexible and cost-effective. Great for apps with variable loads.
Azure Kubernetes Service is for containerized applications. It helps manage containers efficiently. AKS offers built-in scaling and monitoring. It suits complex apps requiring high availability. Provides seamless integration with other Azure services. Perfect for modern cloud apps.
Credit: learn.microsoft.com
Setting Up Your Azure Account
Start by visiting the Azure website. Click on “Free account” to begin. Follow the steps to set up your account. You need an email for this. Use a secure password. After that, enter your payment details. Azure offers a free trial for new users. You will get some credits to use. Credits let you try different services. Check your email for a confirmation link. Click it to verify your account. Now, you have an Azure subscription ready.
Azure offers different pricing tiers for services. Basic tier is for small projects. It is cheap and has limited features. Standard tier has more features. It costs more than basic. Premium tier is for big projects. It has the best features and costs the most. Choose a tier based on your needs. Make sure to check your budget. Pricing can change with usage. Keep an eye on costs to avoid surprises.
Preparing Your Web Api For Deployment
First, ensure your API works with HTTPS. This keeps data safe. Set up necessary authentication methods. These keep your API secure. Also, check your API routes. They should be clear and organized.
Next, add environment variables. Use these for sensitive data. Do not hard-code secrets in your API. Instead, use configuration files. They help manage different settings.
Run your API on your computer first. Use a tool like Postman. It helps test your API requests. Check each endpoint carefully. Ensure they return the right results. Try different scenarios to see how your API behaves. Fix any issues you find.
Finally, check for error logs. They show any problems in your code. Fix these errors before deploying. This makes sure everything runs smoothly.
Credit: www.pragimtech.com
Deploying To Azure App Service
An App Service Plan is needed for hosting. First, log in to the Azure Portal. Then, find the App Services section. Click on “Create” and select “App Service Plan“. Choose a pricing tier that fits your needs. Remember, the pricing affects performance. Name your plan and select a location. Click “Review + Create” to finish.
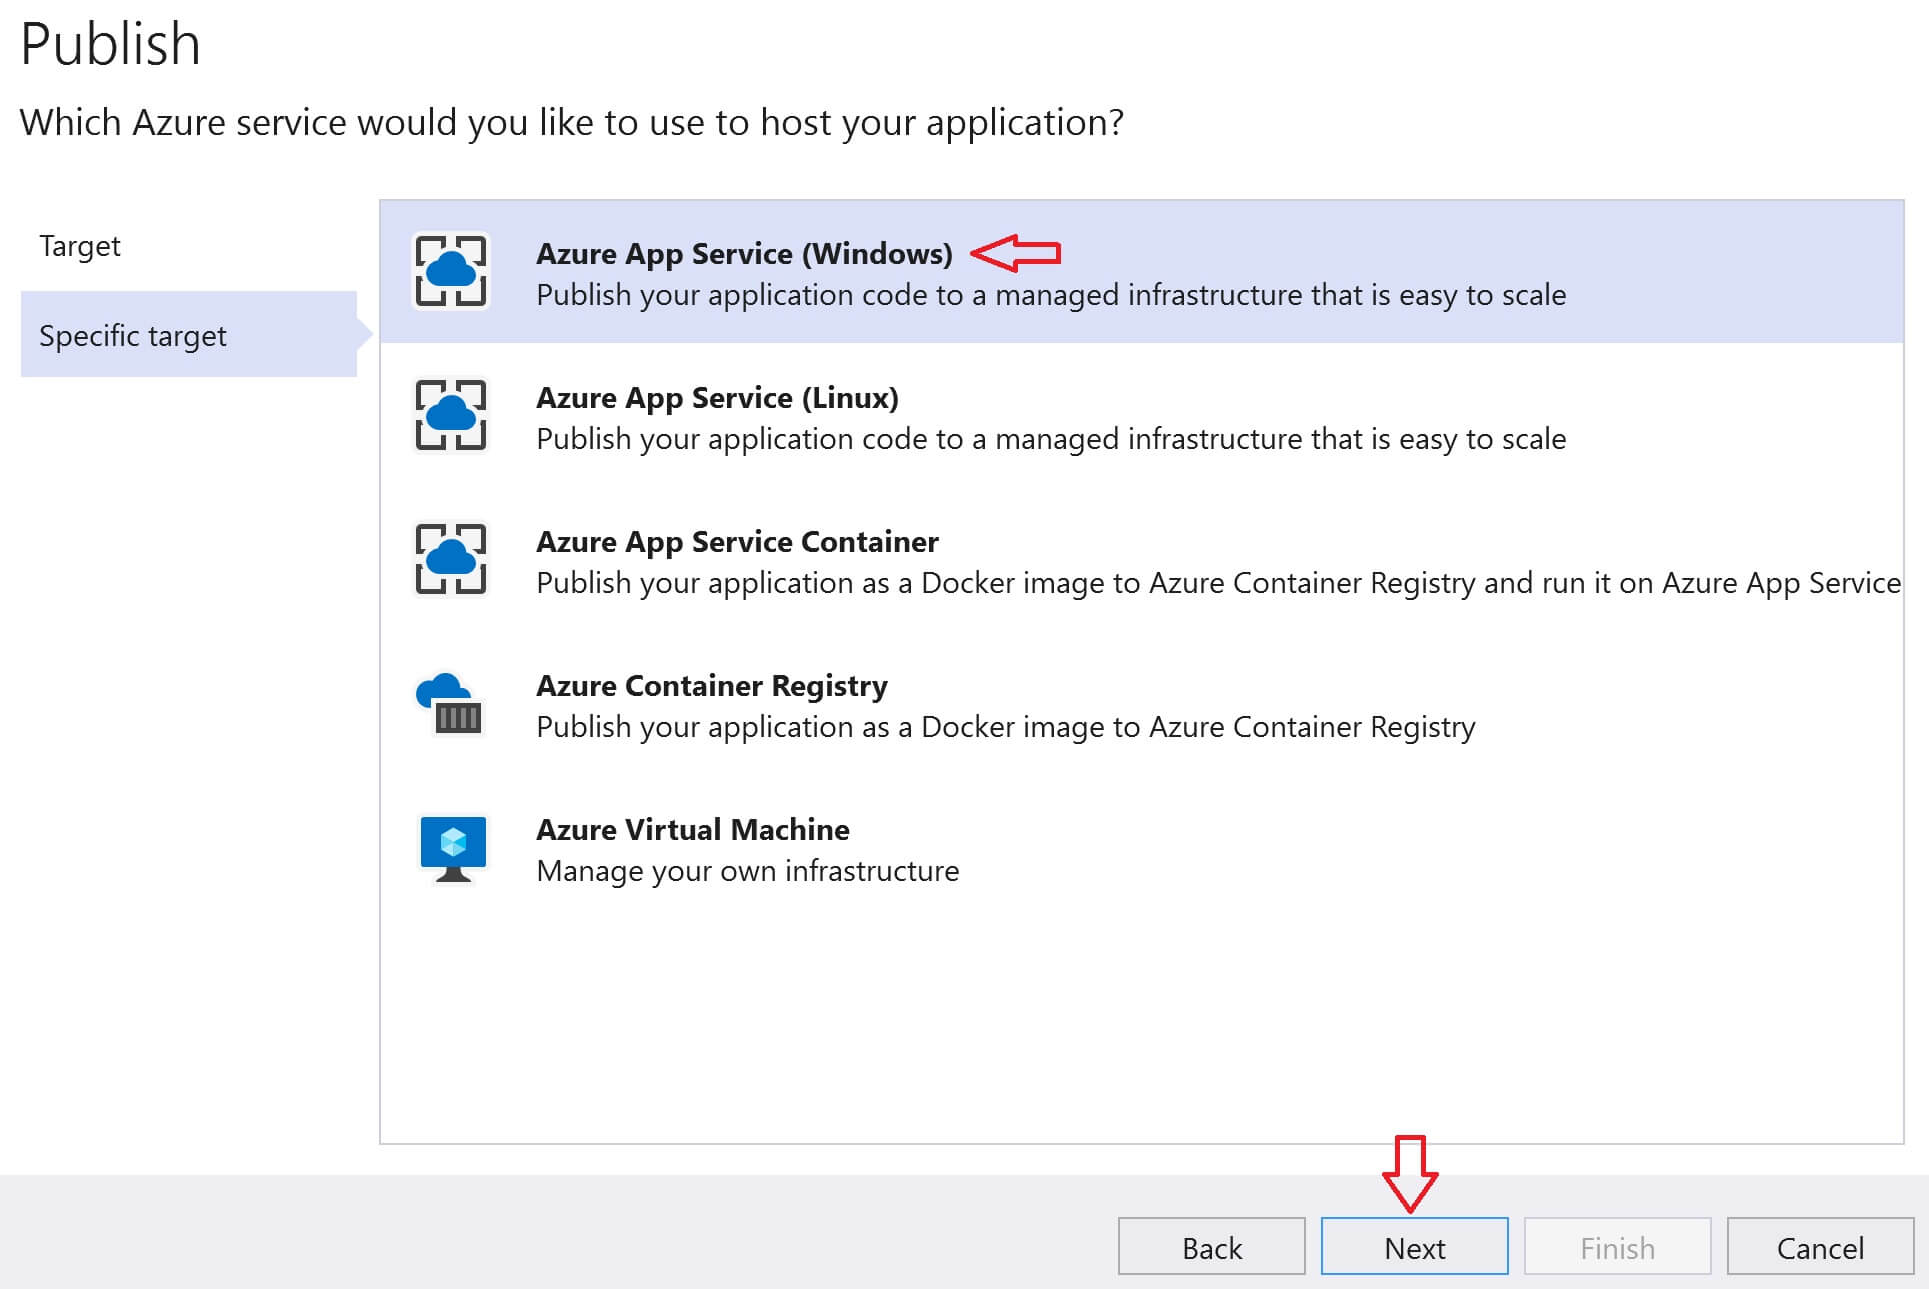
Open your project in Visual Studio. Go to the “Build” menu and click “Publish”. Choose Azure as your target. Sign in with your Azure account. Select your App Service from the list. Click “Next” and then “Finish”. Visual Studio will now deploy your app to Azure.
Go to the Azure Portal. Click on “App Services“. Select your App Service. Find the “Deployment Center“. Choose the deployment method. You can use GitHub or FTP. Follow the instructions to connect your source. Start the deployment by clicking “Sync”. Your app will be live in minutes.
Implementing Azure Functions
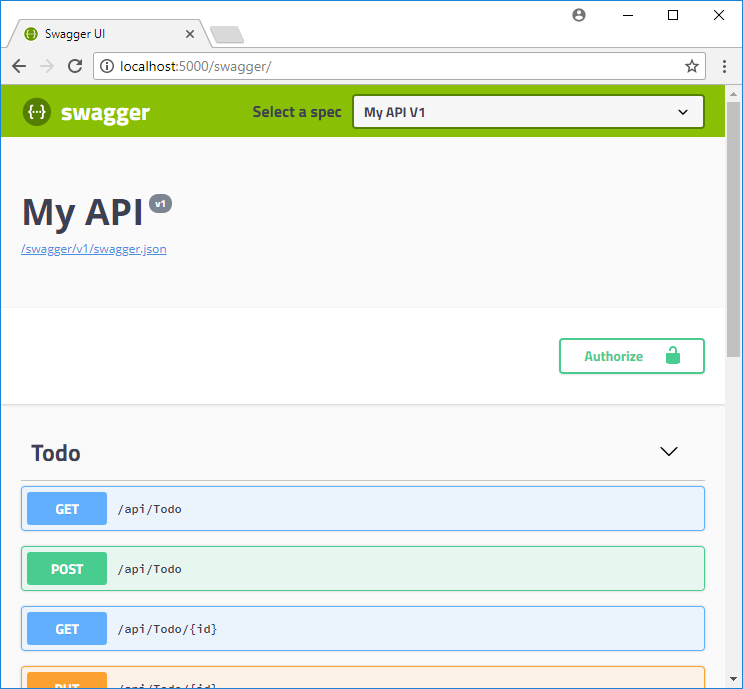
Azure Functions make hosting web APIs easy. Start by creating a Function App. This app is the container for your functions. Choose a name for your app. Make sure it is unique. Select the runtime stack. This can be .NET, Java, or another. Set the region for your app. Pick a place close to your users. Create the app and wait for Azure to set it up.
Deploying code is simple. Use Azure Portal or Visual Studio. Upload your code to the Function App. Check your code for errors before deploying. Use deployment slots for testing. This helps keep your main function safe. Monitor the deployment process. Look for any issues. Fix them quickly. Once deployed, your API is ready for users.
Credit: learn.microsoft.com
Using Azure Kubernetes Service
Start by creating a Docker image of your application. This image is a package that contains everything your app needs. Use Docker CLI to build this image. Next, push this image to Azure Container Registry. This step makes your image available in the cloud. Azure Container Registry stores your images securely.
Begin by creating an Azure Kubernetes Service (AKS) cluster. Use the Azure portal for this task. Set the node count based on your needs. Once done, connect to your AKS cluster. Use the kubectl tool for this purpose. Deploy your Docker image to the cluster. This step makes your app ready to use.
Configuring Security And Authentication
Setting up security and authentication is key for hosting a Web API in Azure. Ensure data protection by configuring Azure’s built-in security features. Adjust authentication settings to control access and safeguard your application.
Setting Up Azure Active Directory
Azure Active Directory helps protect your API. It controls who can access the API. Users must sign in through Azure AD. This process ensures only authorized users enter. Security and authentication are crucial. They prevent unauthorized access. Set up Azure AD by following simple steps. Create a directory. Add users who need access. Assign roles to manage permissions. Connect your API to Azure AD. Now, users have secure access.
Implementing Api Management
API Management controls how the API behaves. It allows you to manage traffic. You can set limits on requests. It helps monitor usage and performance. Throttling protects the API from overload. You can create policies. Policies define rules for handling requests. API Management also helps secure the API. It works with Azure AD to authenticate users. Monitoring tools track API health. They help ensure smooth operation. Use API Management for better control.
Monitoring And Logging
Hosting a Web API in Azure requires effective monitoring and logging. These tools help track performance and identify issues. Azure’s built-in features provide real-time insights, ensuring your API runs smoothly. Keep an eye on metrics and logs to maintain optimal service.
Using Application Insights
Application Insights helps you see your app’s performance. It checks how your app behaves. This tool shows where problems happen. You can find errors quickly. Real-time data is available. Get details on user activity. Understand how they use your app. It gives alerts for issues. You can fix problems fast. It shows the app’s health. You know if your app is slow. Or if it crashes often. You can make your app better with this info.
Setting Up Log Analytics
Log Analytics helps gather logs from Azure services. It stores logs in one place. You can search logs easily. Find patterns in the data. See what needs fixing. It shows performance trends. You learn how your app behaves over time. It helps in finding security issues. You can protect your app better. It is important for troubleshooting. Fix problems using the logs. You get insights into your app’s workings.
Scaling And Performance Optimization
Auto-scaling is a useful feature in Azure. It helps handle more users. As more people use your API, it can grow. This way, your system runs smoothly. Azure lets you set rules for scaling. Use these rules to add or remove resources. This is done based on need. Always check your usage patterns. This helps in setting the right scaling rules. Scaling saves money by using only what’s needed.
Improving API speed is important. Fast APIs make users happy. Start by checking code for slow parts. Fix these for better speed. Use caching to store frequent data. It reduces loading time. Azure has tools to check API health. Use them to find and fix issues. Keep your system updated. Updates can improve performance. Always test changes in a safe area first.
Best Practices For Azure Web Api Hosting
Discover the best practices for hosting a Web API in Azure. Focus on security by using API keys and HTTPS. Optimize performance through Azure’s scaling features. Ensure reliability with Azure’s monitoring tools.
Ensuring High Availability
High availability means your API is always up. Use multiple servers. If one server fails, the others keep running. Load balancers distribute traffic evenly. This avoids overloading any server. Geo-replication helps. It copies data to different locations. Users access the nearest copy. This reduces delay. Failover systems are crucial. They switch to backup servers during outages. Regular testing ensures everything works.
Implementing Devops Practices
DevOps improves development and operations. Automate tasks to save time. Use CI/CD pipelines. They allow automatic code updates. Testing happens before deployment. This reduces errors. Version control tracks changes. Teams can revert mistakes. Monitoring tools check performance. They alert teams about issues. Frequent updates keep the API efficient and secure.
Frequently Asked Questions
How To Create A Web Api In Azure?
Create a web API in Azure by using Azure App Service. Choose a template, configure settings, and deploy. Use Azure Portal or Azure CLI for management. Secure your API with authentication and monitor performance using Azure features.
How Do I Host My Web Api?
Choose a hosting provider supporting APIs like AWS, Azure, or Google Cloud. Deploy your API using containers or serverless functions. Ensure your hosting environment meets your API’s requirements. Set up domain, SSL, and security protocols. Monitor performance and scale as needed.
How Do I Deploy .net Web Api In Azure?
Deploy. NET Web API in Azure by creating an Azure App Service. Publish your API using Visual Studio or Azure CLI. Configure app settings and connection strings. Verify deployment by accessing the API URL. Optimize settings for performance and security.
What Is The Difference Between Web Api And Azure Api?
Web API facilitates communication between different software applications. Azure API Management provides tools to manage, secure, and analyze APIs on Azure.
Conclusion
Hosting your Web API in Azure simplifies your deployment process. Azure offers reliable services and easy scalability. You can manage resources efficiently. Security options keep your data safe. With Azure, your API can handle global traffic. Beginners find Azure user-friendly.
Start with basic setup. Gradually explore advanced features. Monitor performance with Azure tools. Adjust settings as needed. Keep your API updated for best results. Understanding Azure improves your API hosting. Experiment and learn from Azure’s features. Hosting on Azure enhances your web project’s potential.
Enjoy streamlined, secure hosting with Azure’s robust platform.


